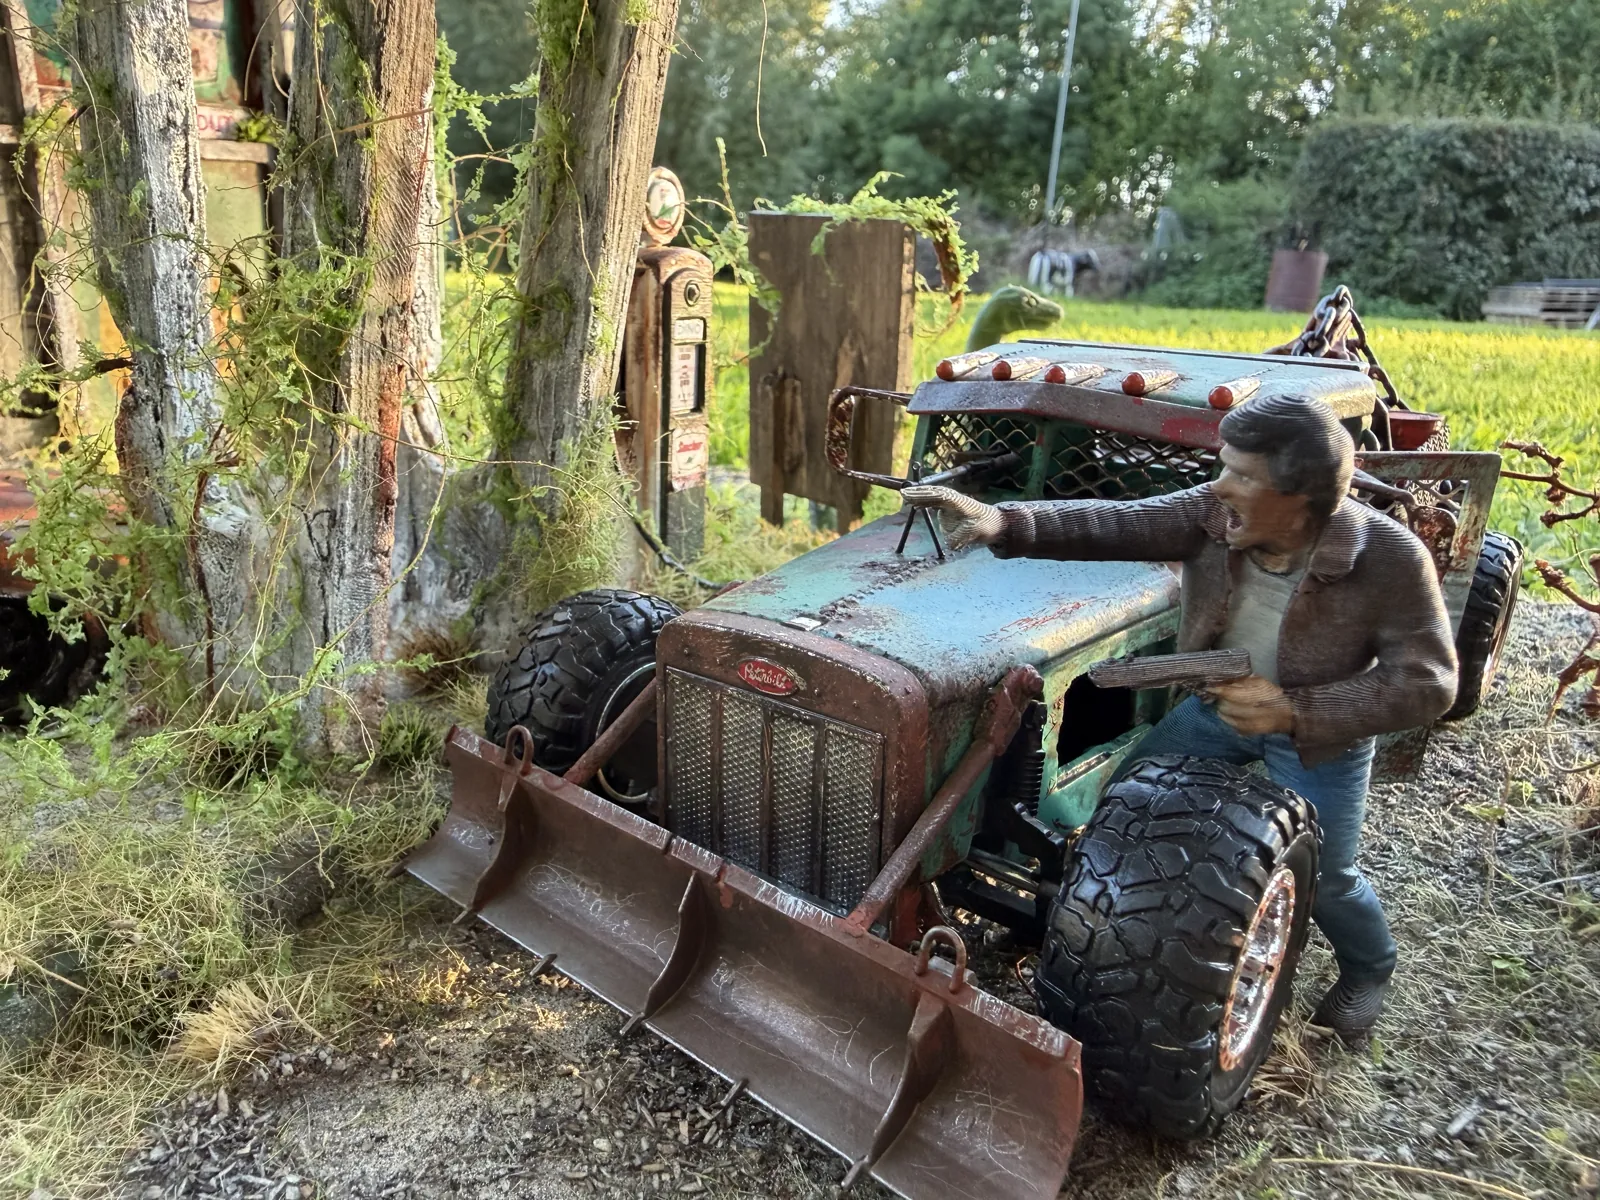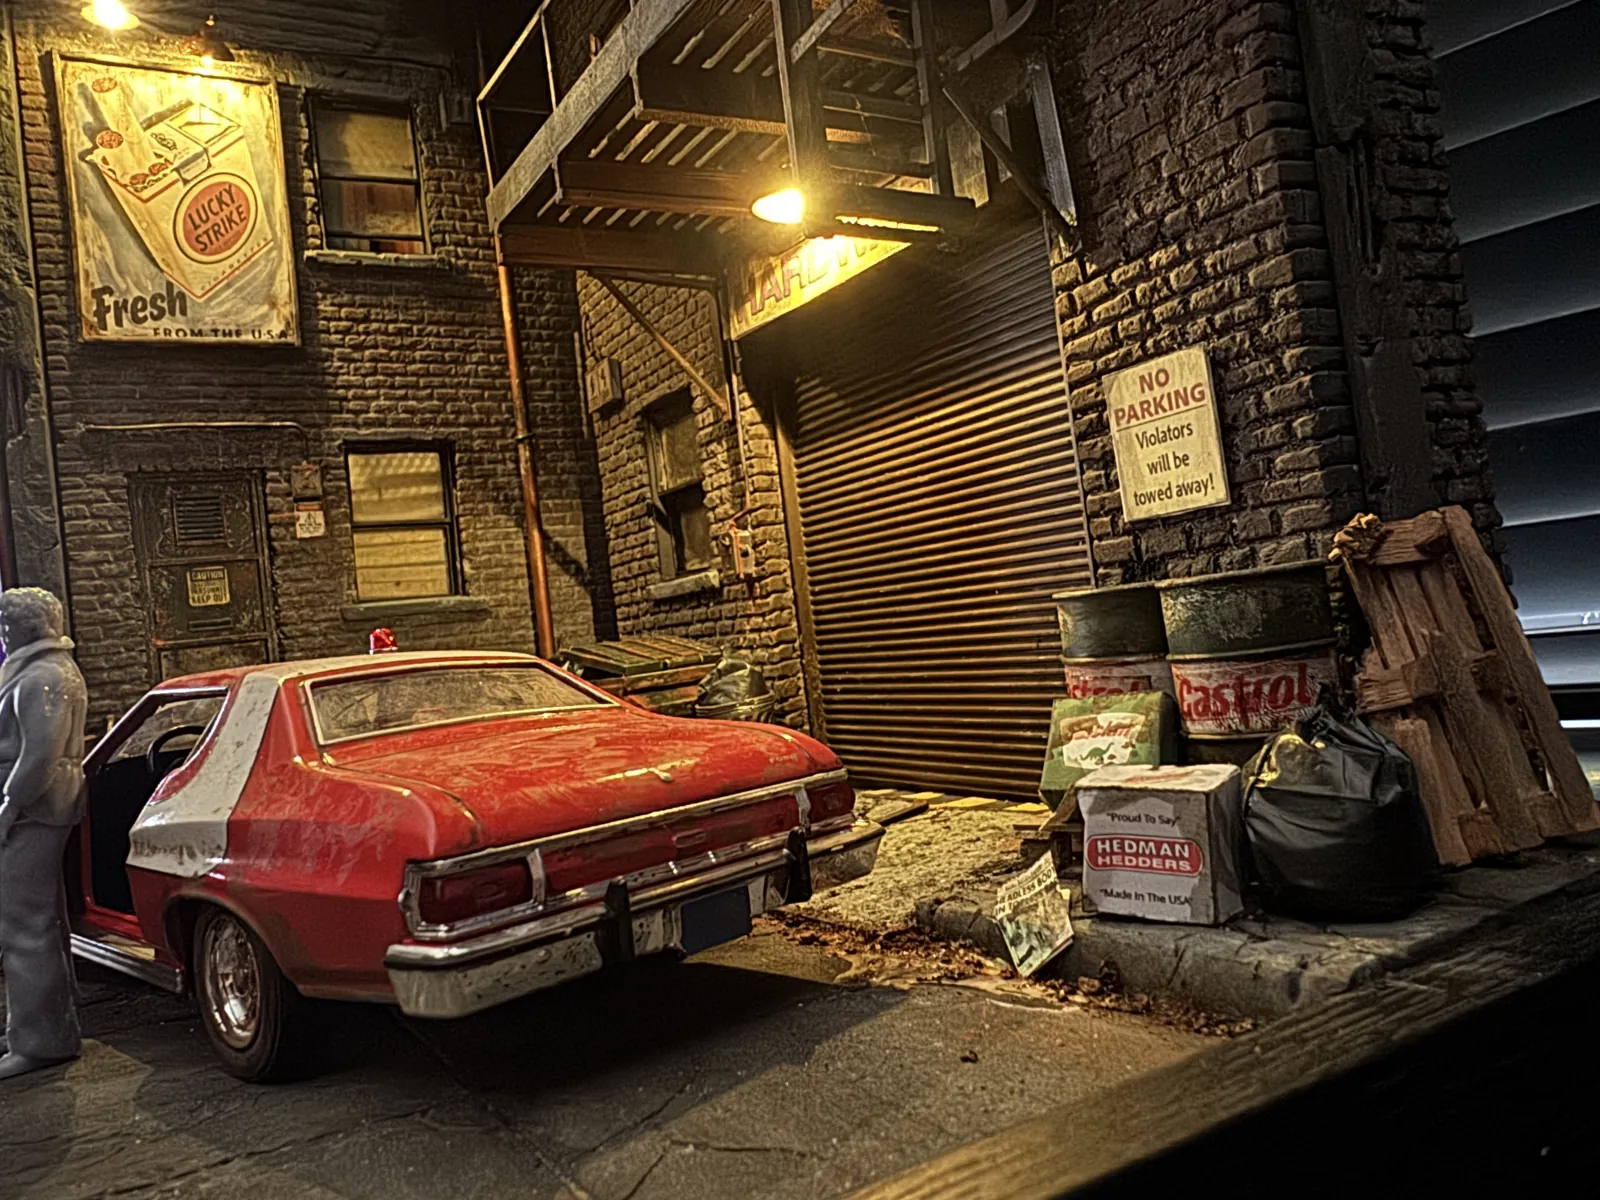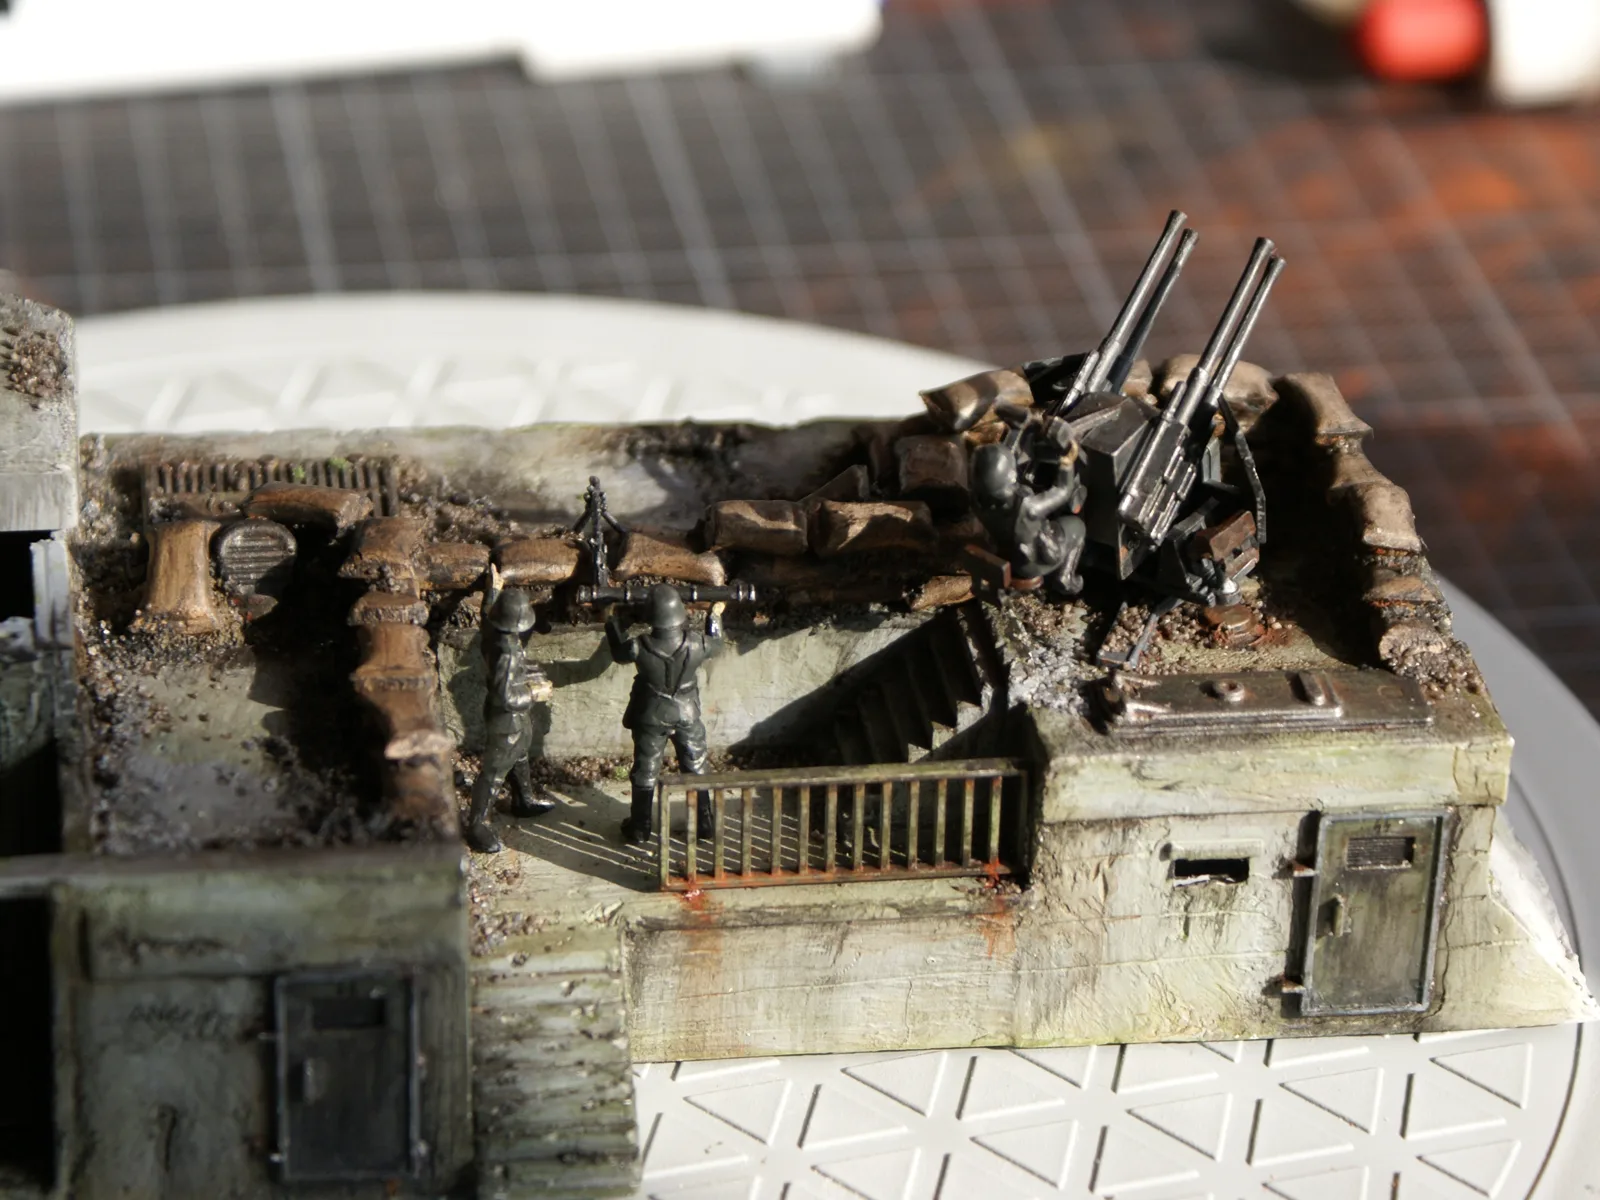
The wasteland is alive: Mad Max 1:24 garage build complete
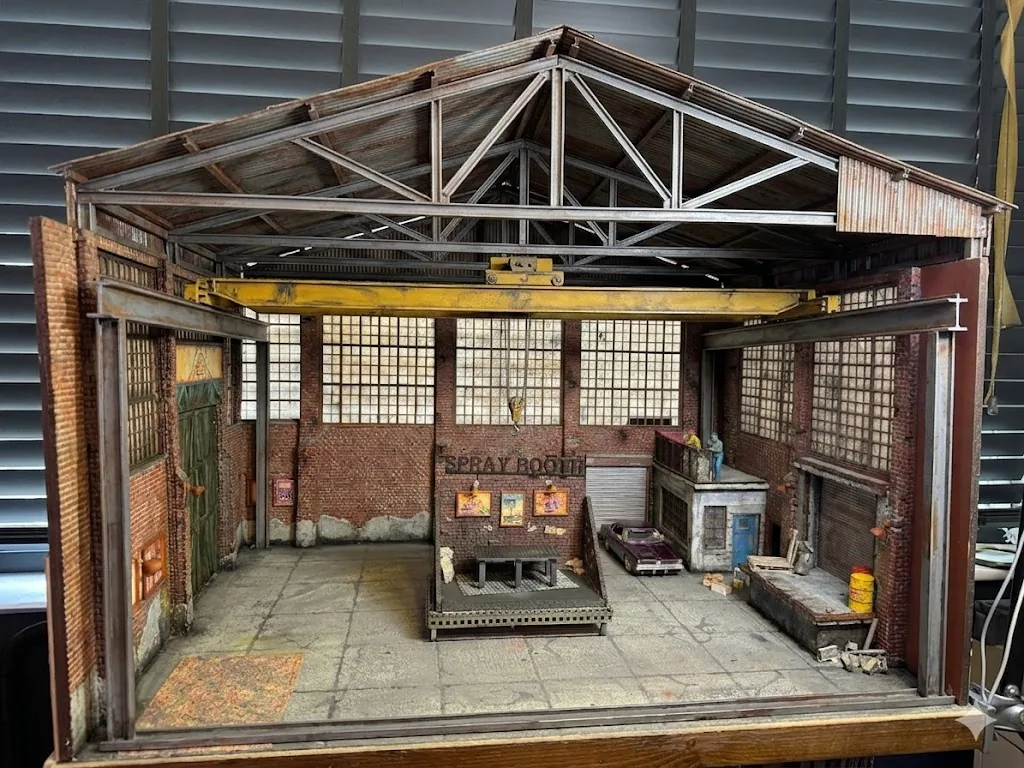
After months of blood, sweat and a few sliced thumbs, my Mad Max-inspired 1:24 mancave garage is finished. The full 48-minute feature is on the channel.
This post contains affiliate links. If you buy through them I may earn a small commission, at no extra cost to you.

After months of blood, sweat and a few sliced thumbs, my Mad Max-inspired mancave garage is finally alive. The 48-minute feature is just the beginning: I'll keep adding to it in future episodes, but the garage is now officially ready to serve as the cinematic backdrop for my future wasteland car builds.
The whole concept is fuelled by the first two Mad Max movies. If you're a Gen-Xer like me, you already know those films are mandatory viewing.
The foundation
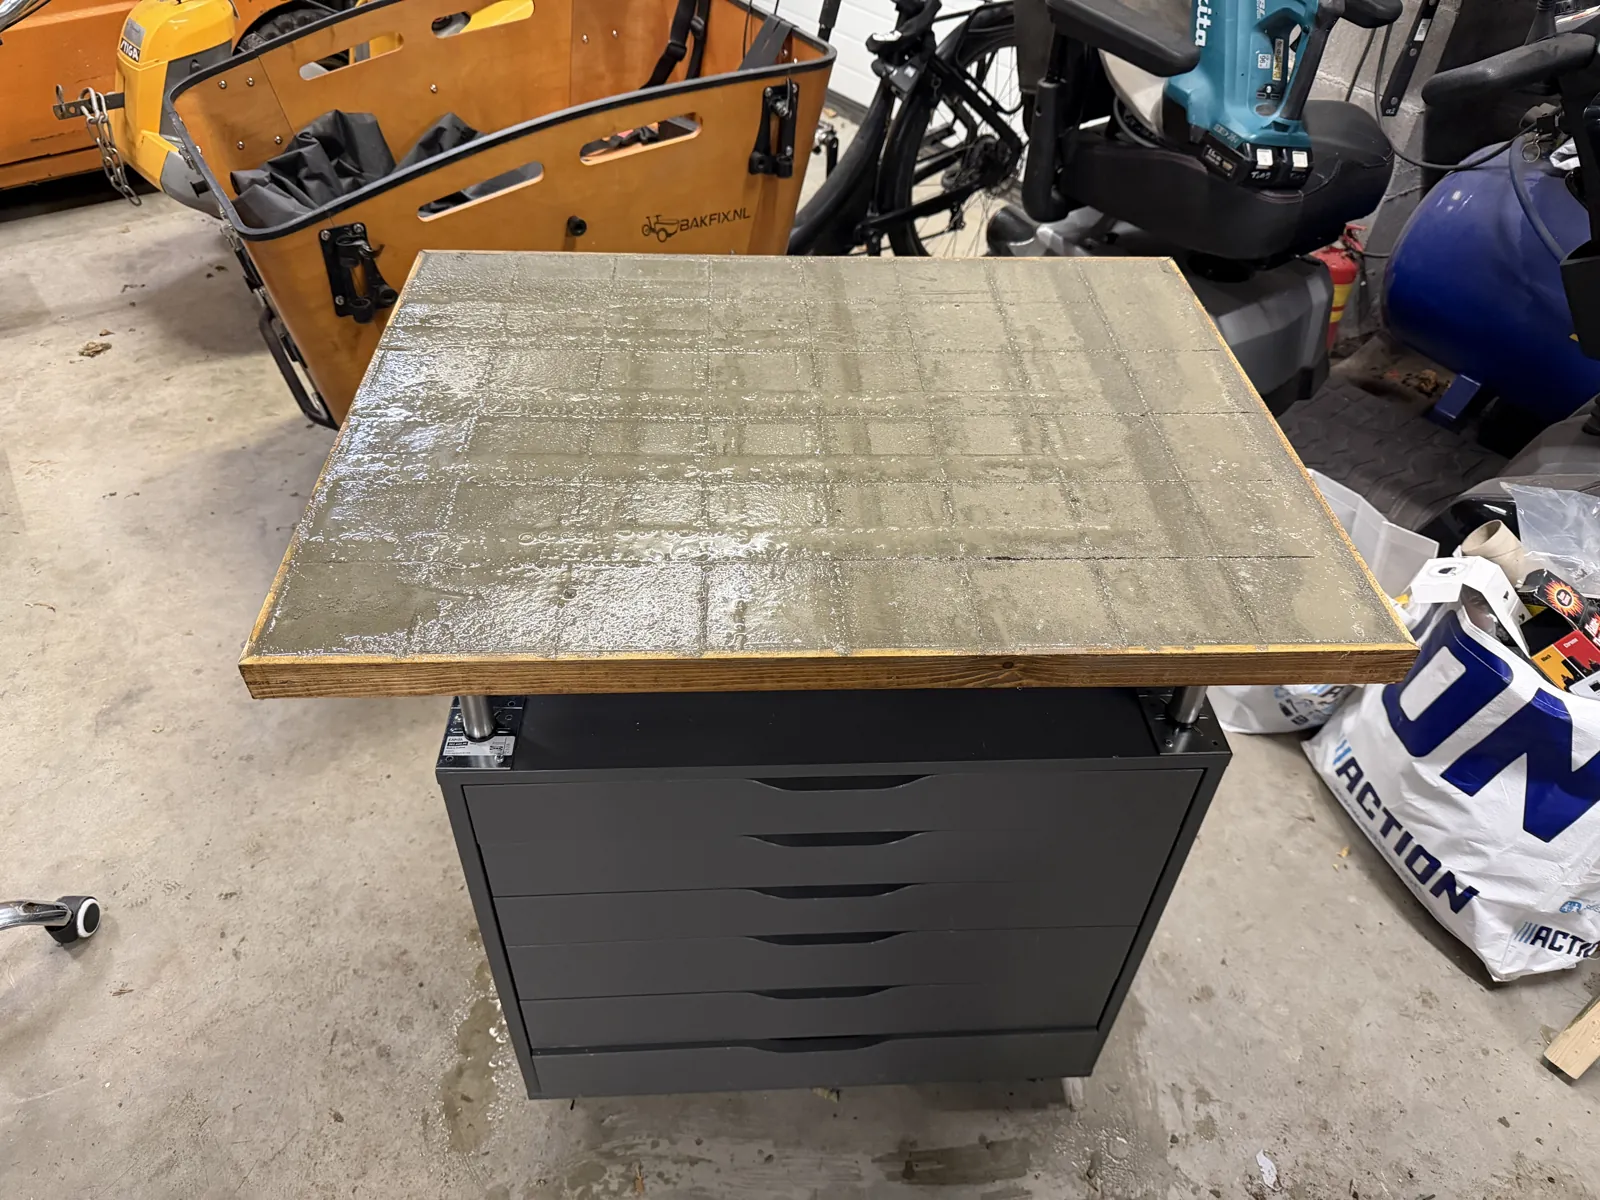
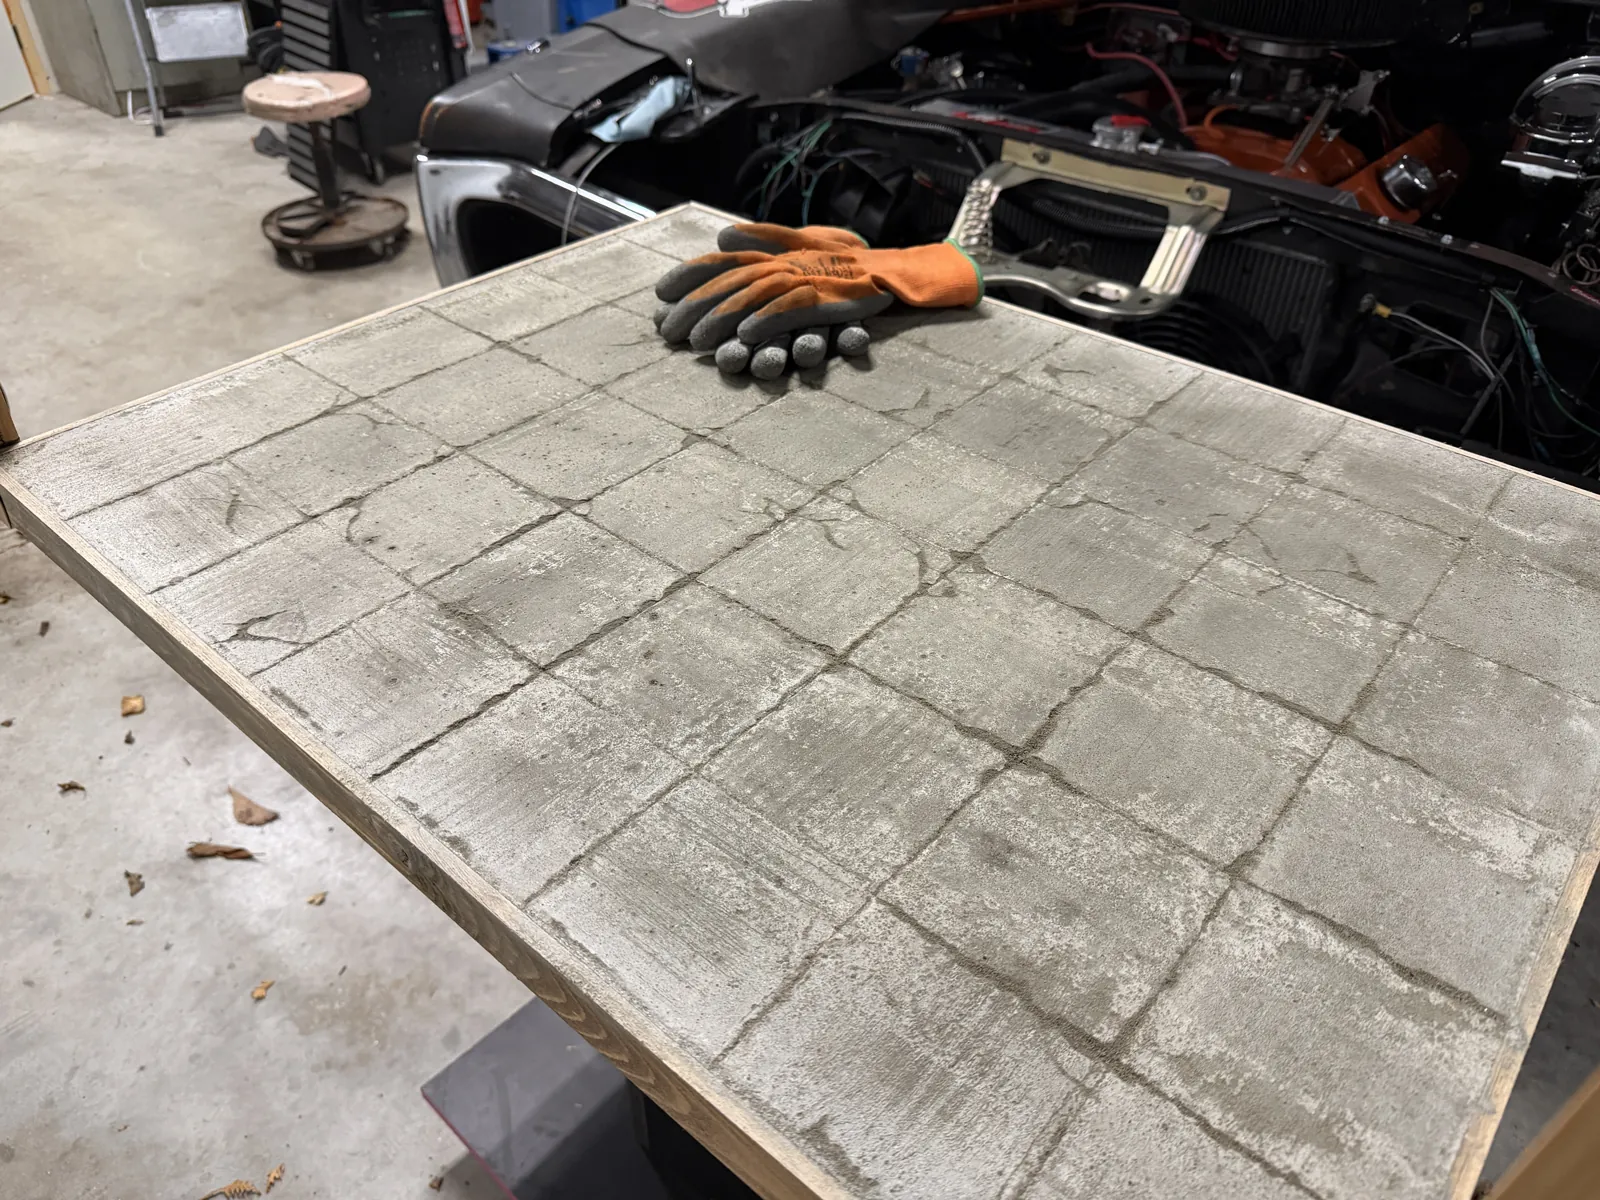
The entire compound sits on a custom-poured slab of 80 × 60 cm (about 31.5 × 23.6 inches). This is real cement, with real reinforcement inside, poured into a wooden frame just like a full-size floor. Once it had set, I scribed in the tile joints and hairline cracks. Getting the tile grid right took more attempts than I'd like to admit, but nothing beats real concrete for texture.
The walls
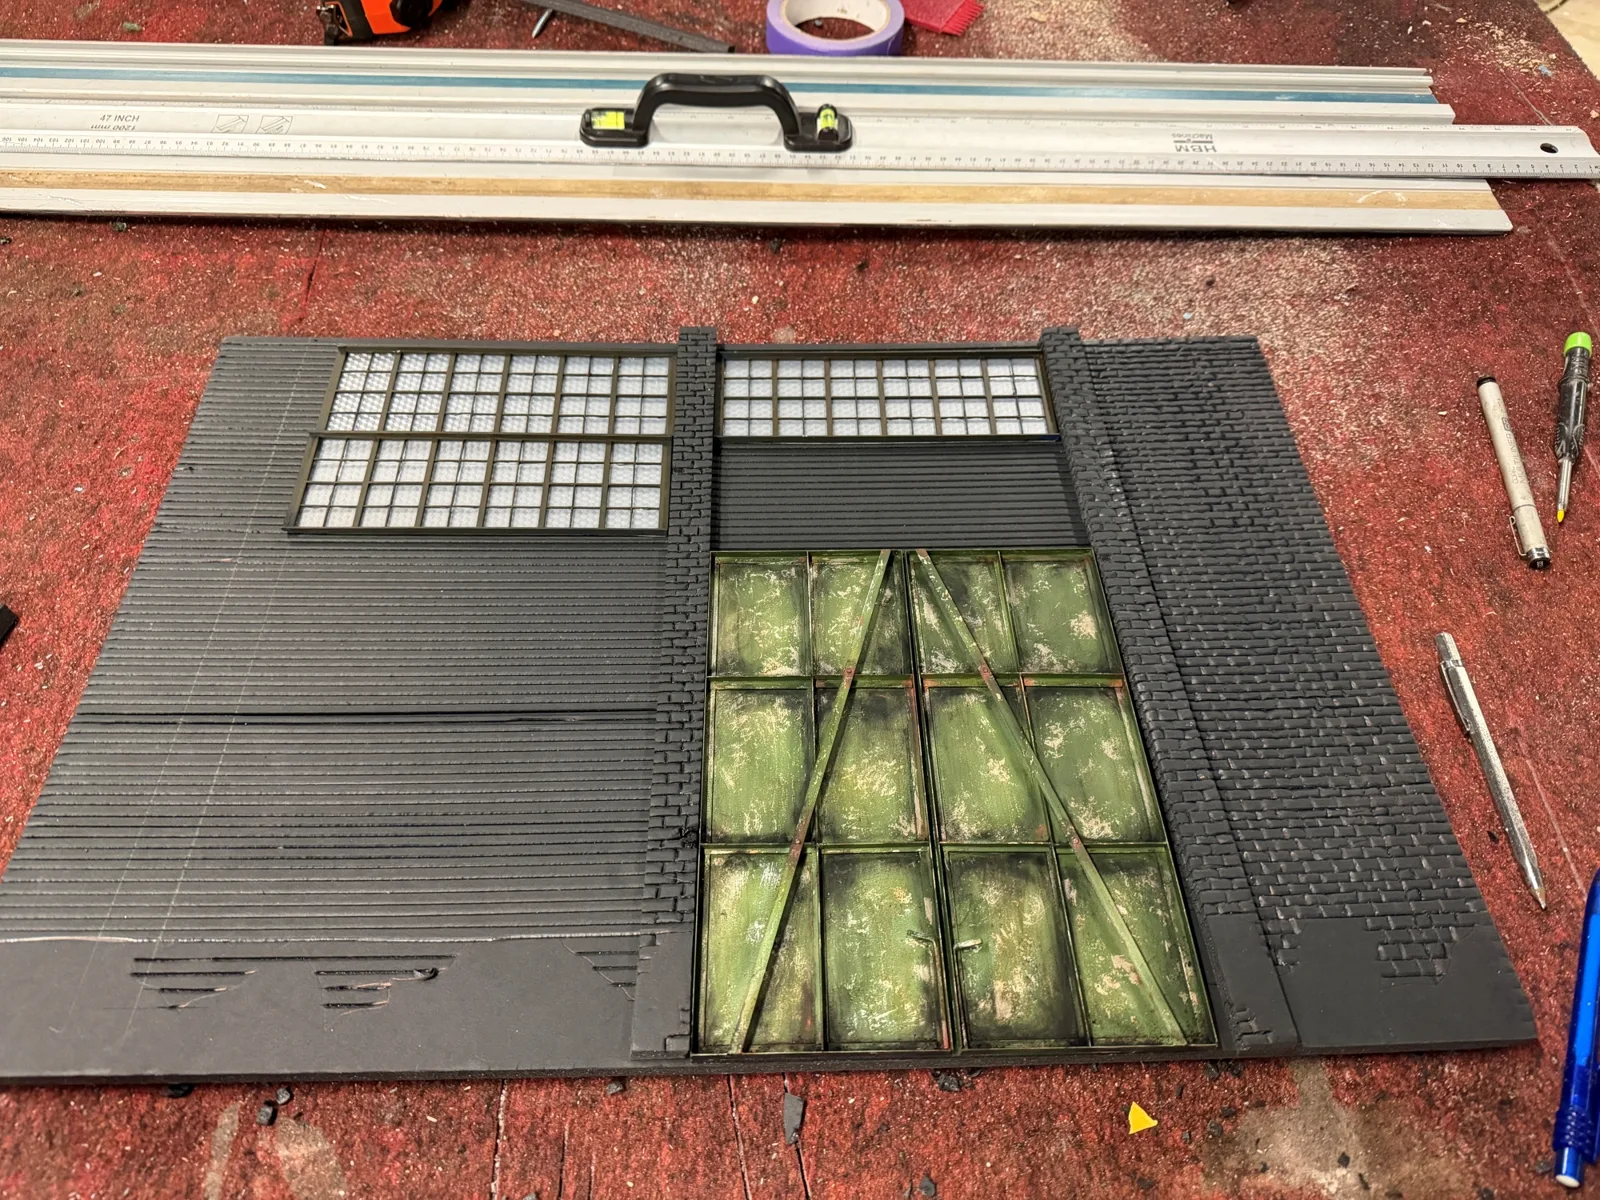
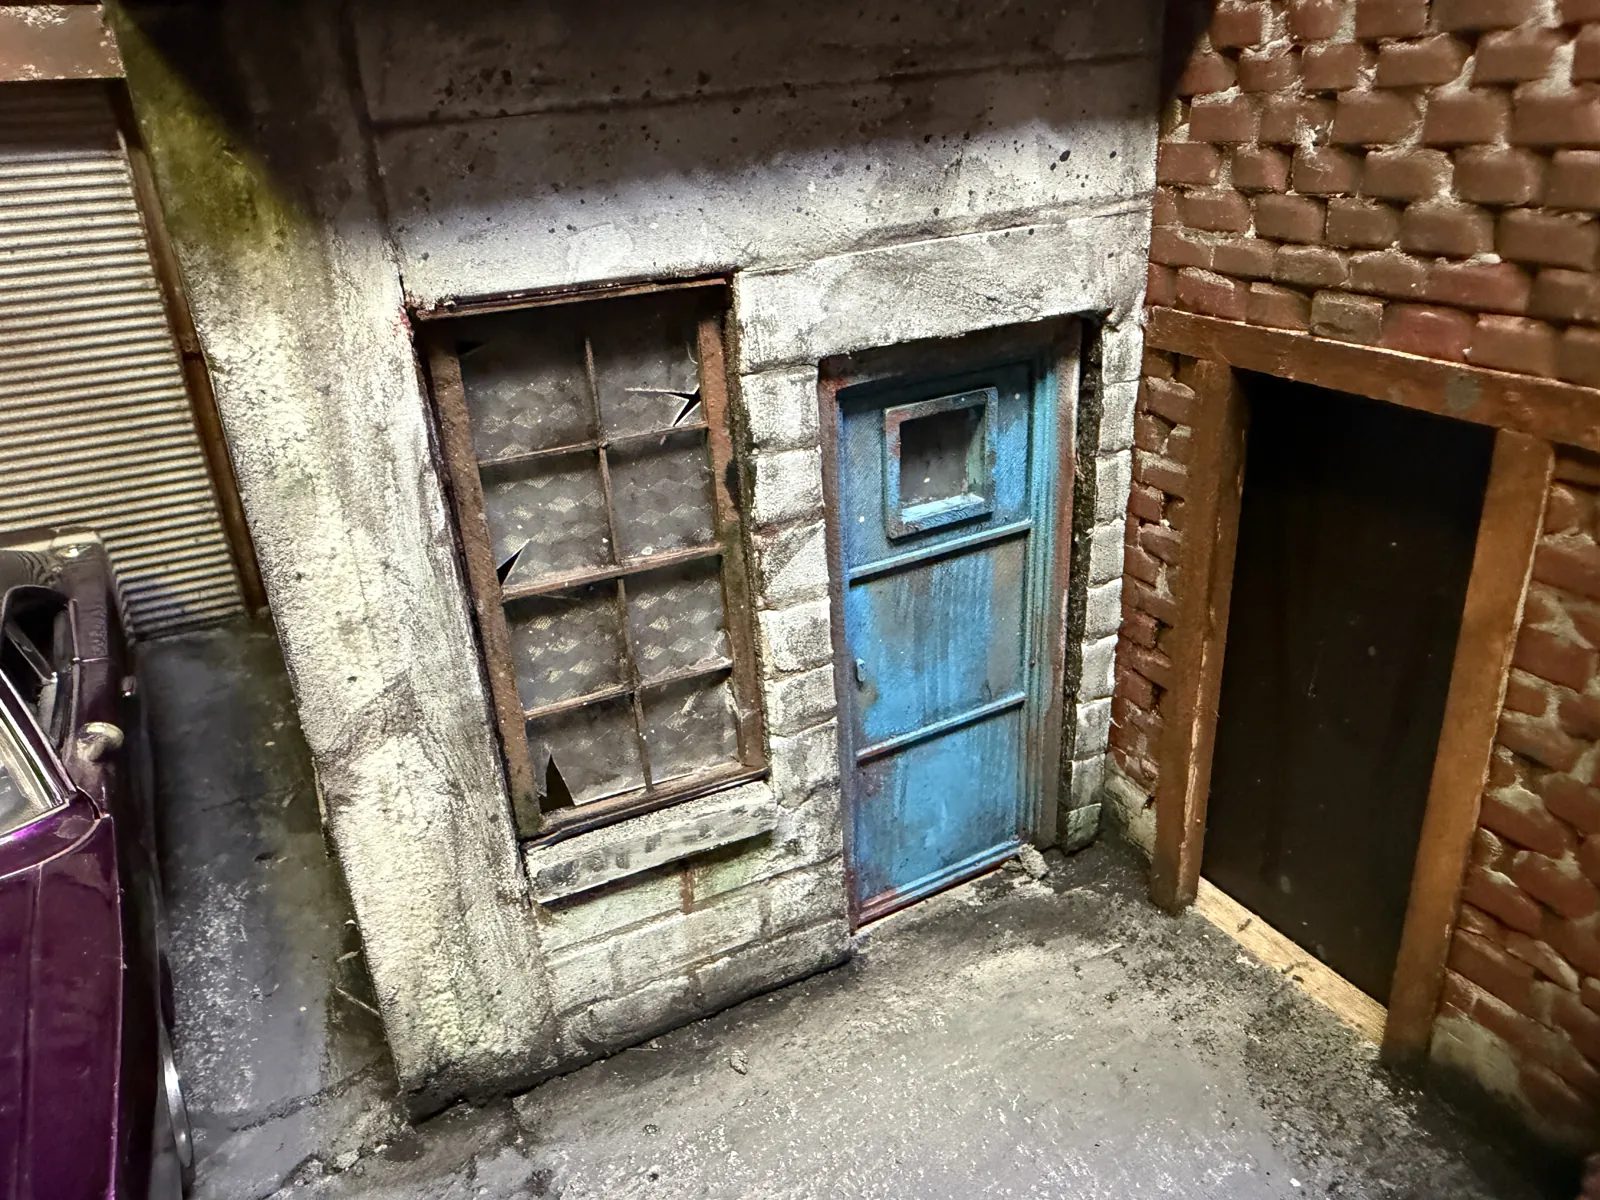
The walls are carved from foam, and every single brick was cut by hand with a foam cutter and a sharp hobby knife. That took weeks and cost me a few battle wounds. A tip I learned the hard way: I accidentally used foam with a hard top layer, which made scribing a total nightmare. For the next project I'm switching to a denser foam that's easier to carve.
The front wall with the big overhead door is cut from the same foam. Here it is on my workbench, primed black, with every brick scribed in by hand, before it went onto the slab.
3D printing: resin vs. filament
I experimented with both. My filament printer is a Bambu Lab X1 Carbon. At this scale, resin is king for crisp details. Filament works great when you actually want some raw texture, but for precision pieces like the ball turret and the engine block it fell a bit short. I'll probably redo those in resin later on.
Many of the custom parts in this garage are my own designs. You can download them on Cults3D, and the first sets are coming to the shop here too: the steel back door, the industrial windows and the bunk bed are all from this garage.
Details at fingernail scale
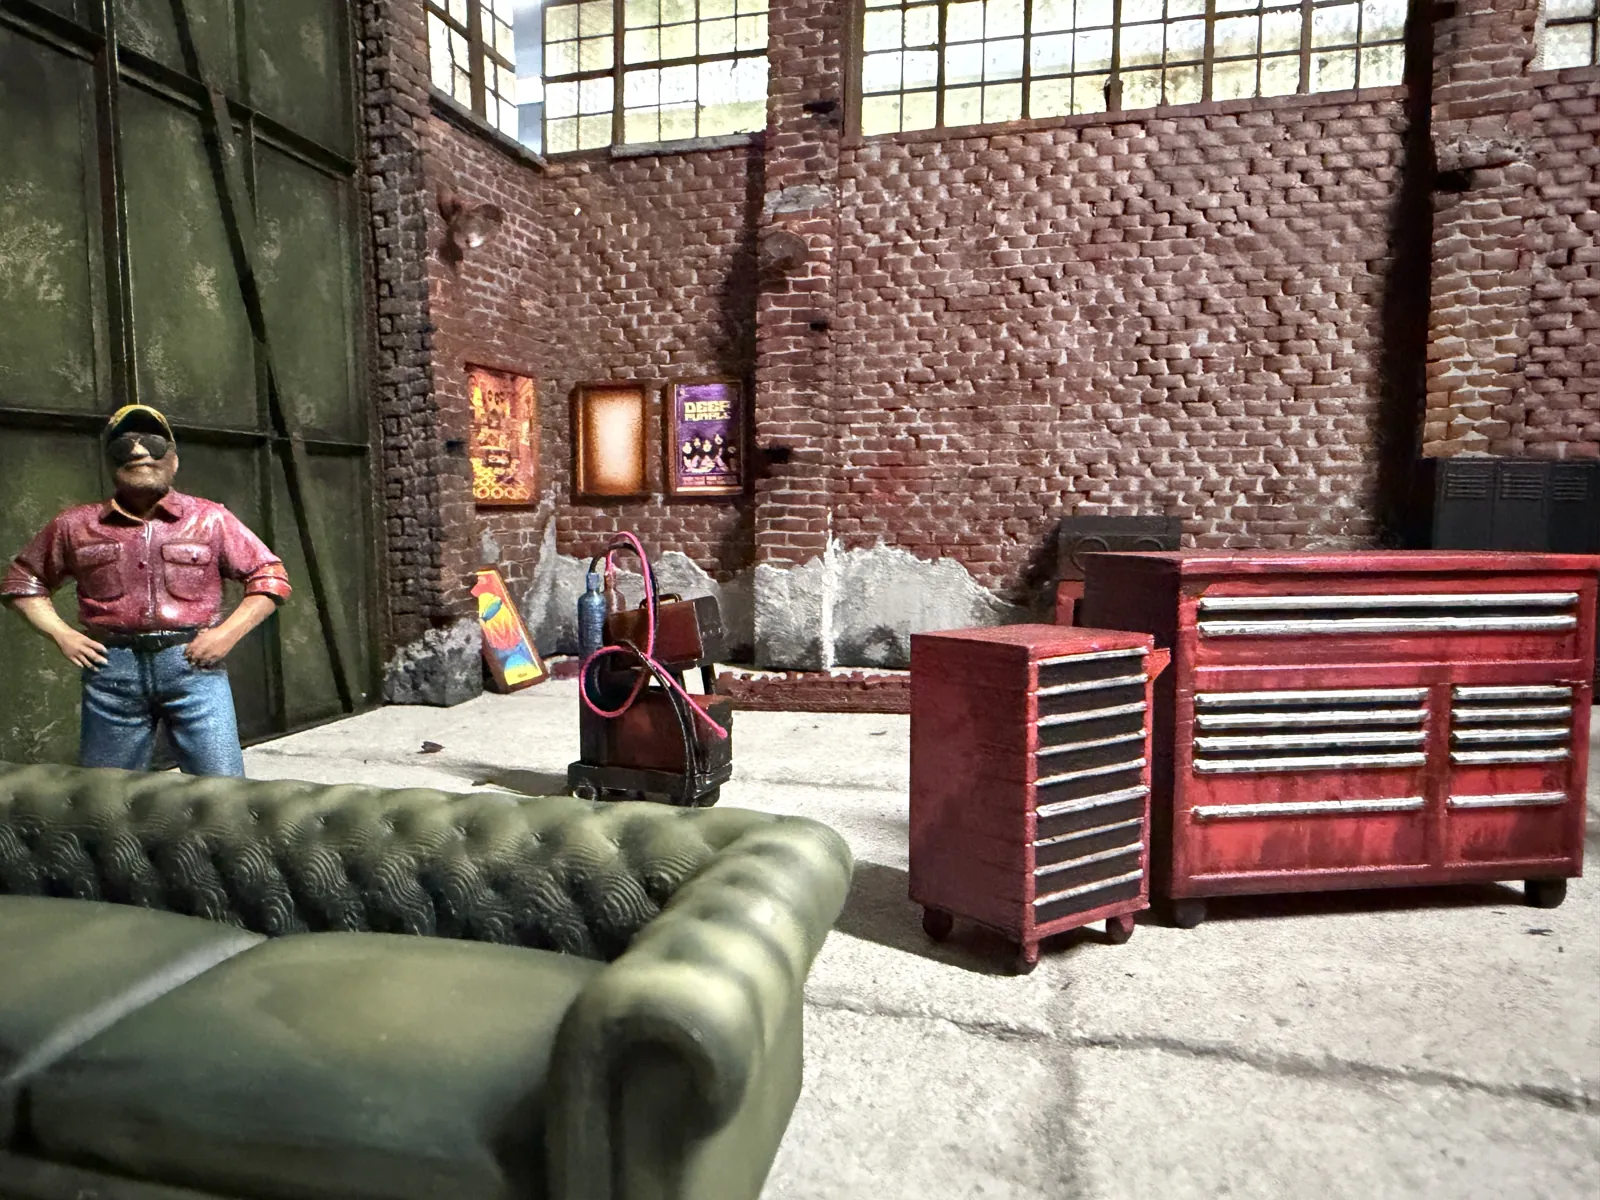
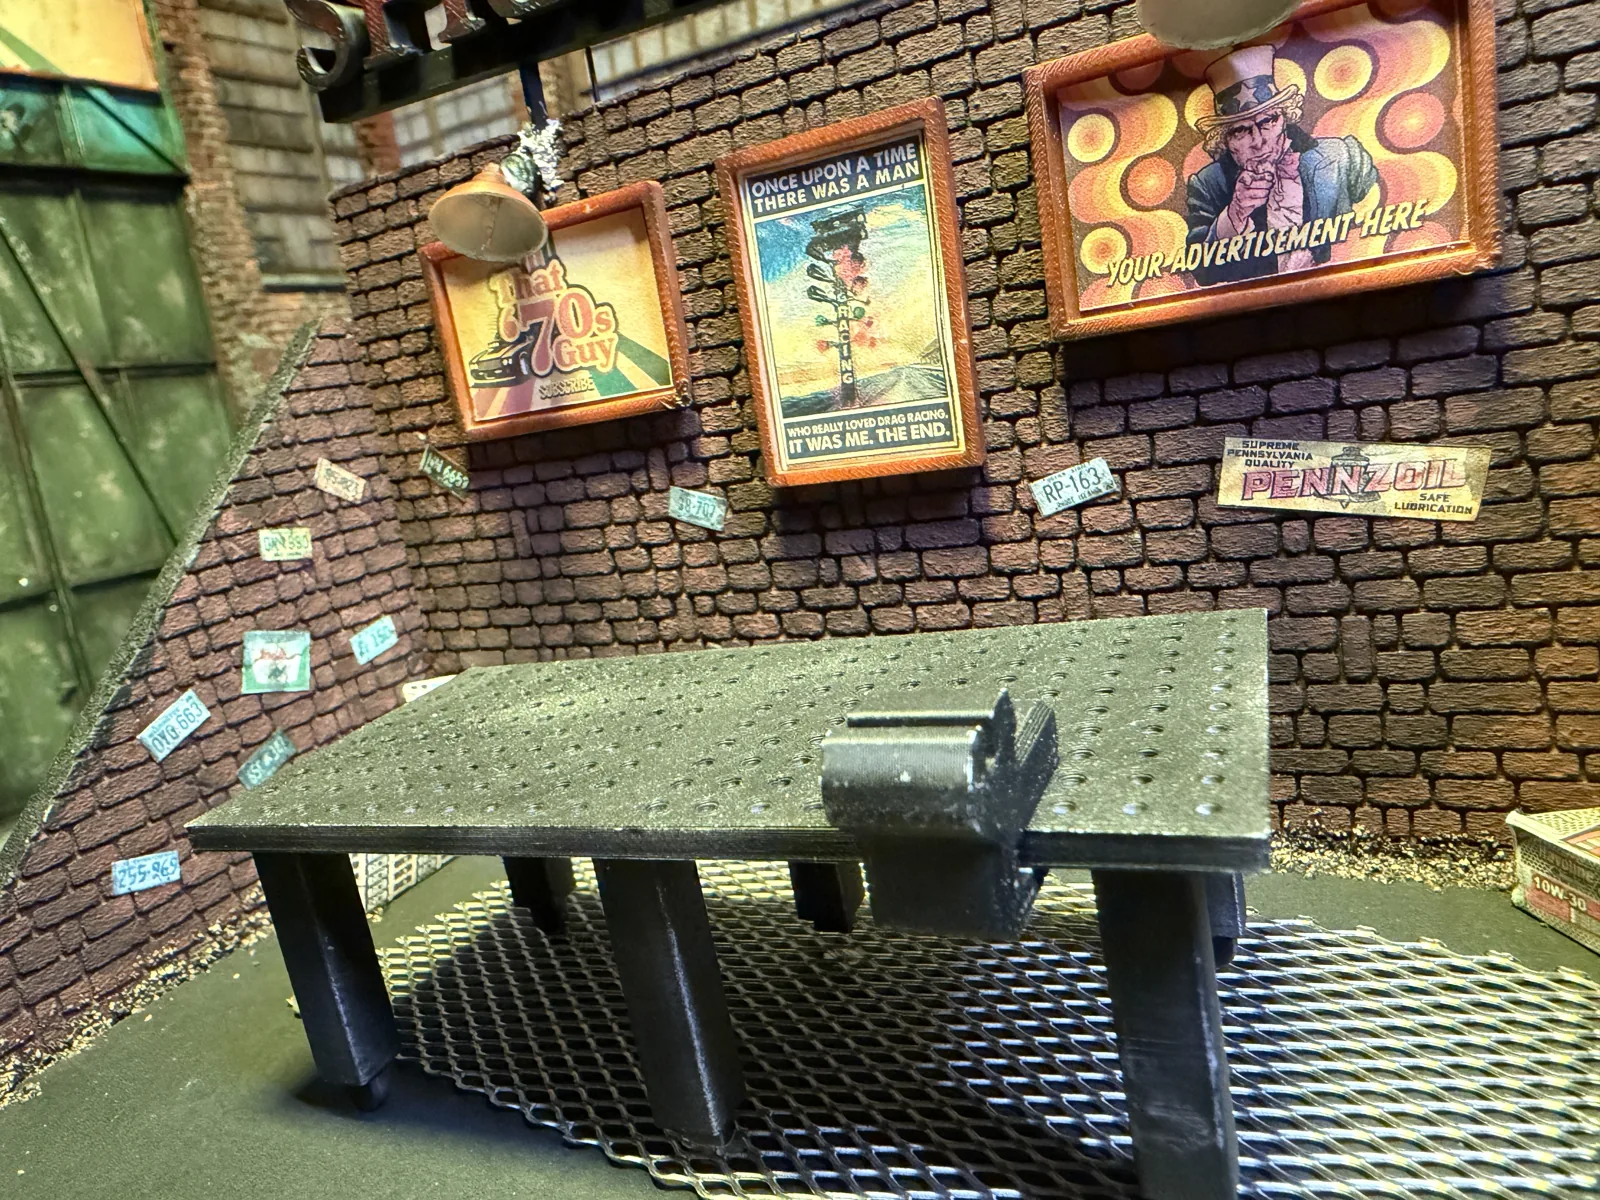
Most of the items in this garage are barely bigger than a fingernail, so I filmed a lot of extreme close-ups. I'm the first to admit this isn't the most mathematically perfect, hyper-detailed build on YouTube. But if it looks killer under the right lighting and from a proper camera distance, it does its job: it's a film set. Working this small, a magnifier and a good pair of precision tweezers are never far from my hands.
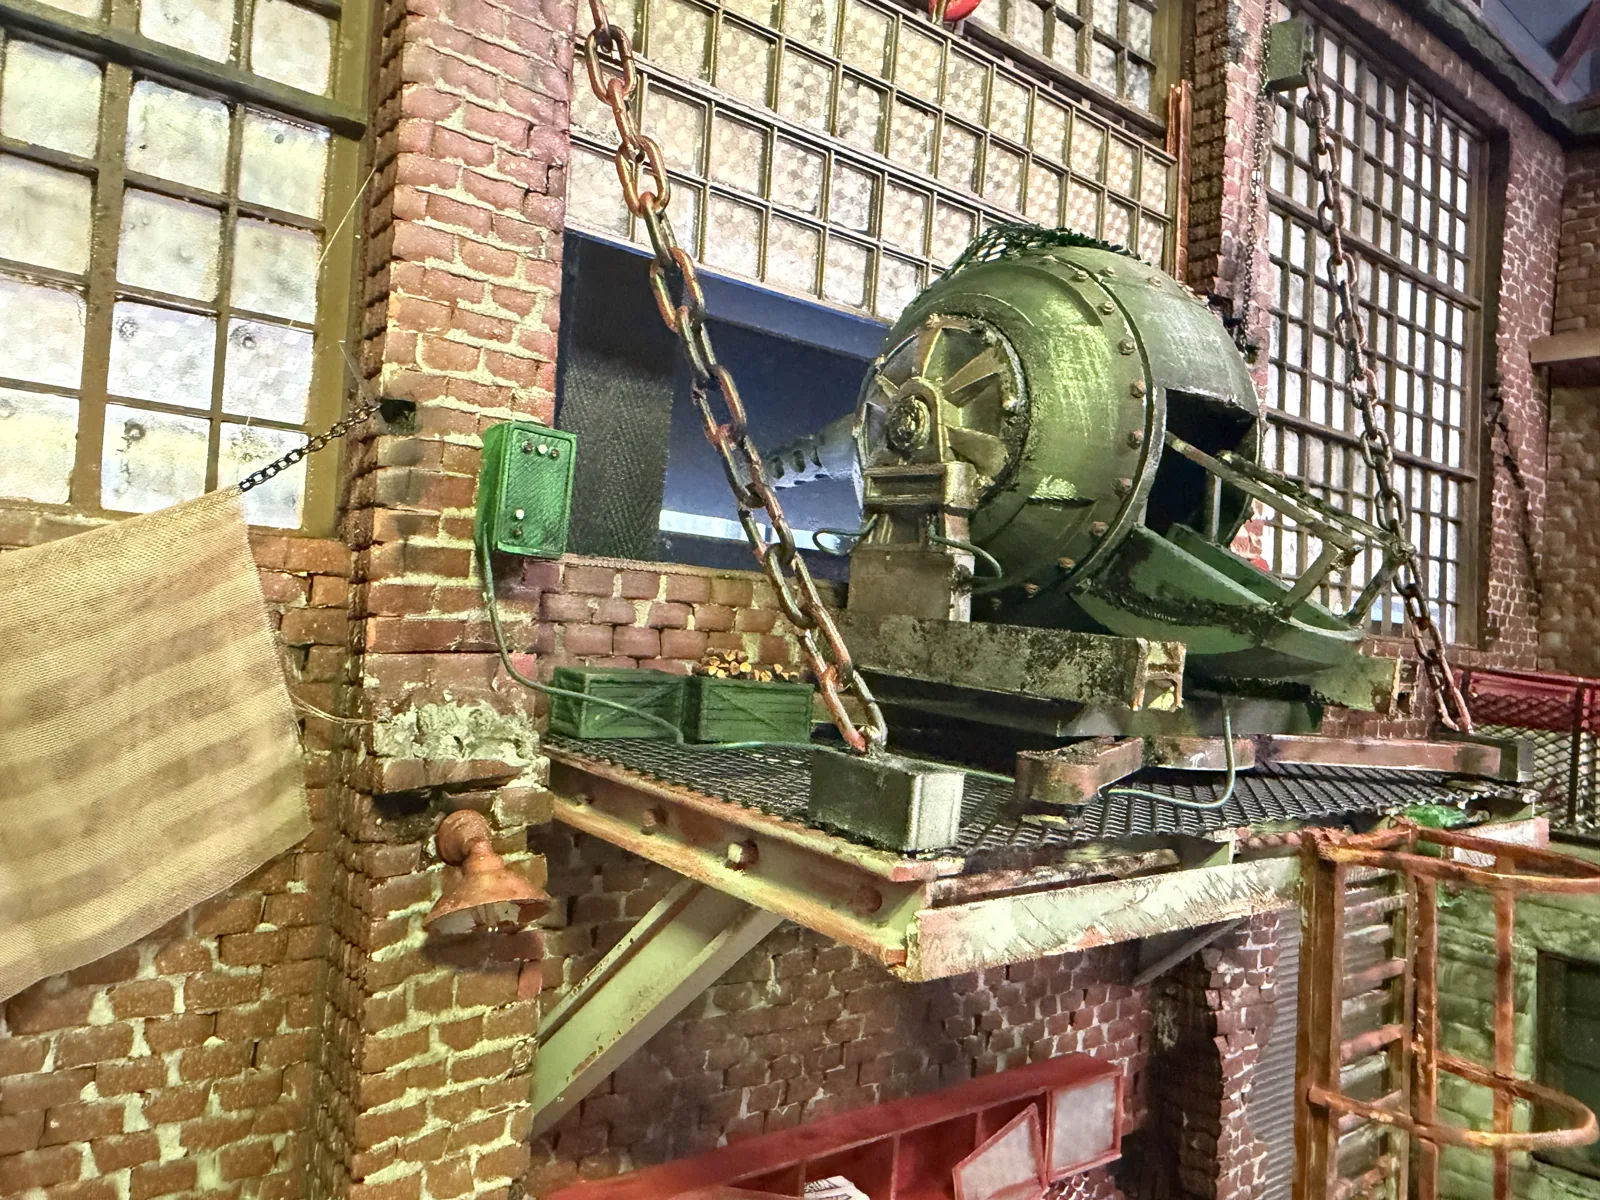
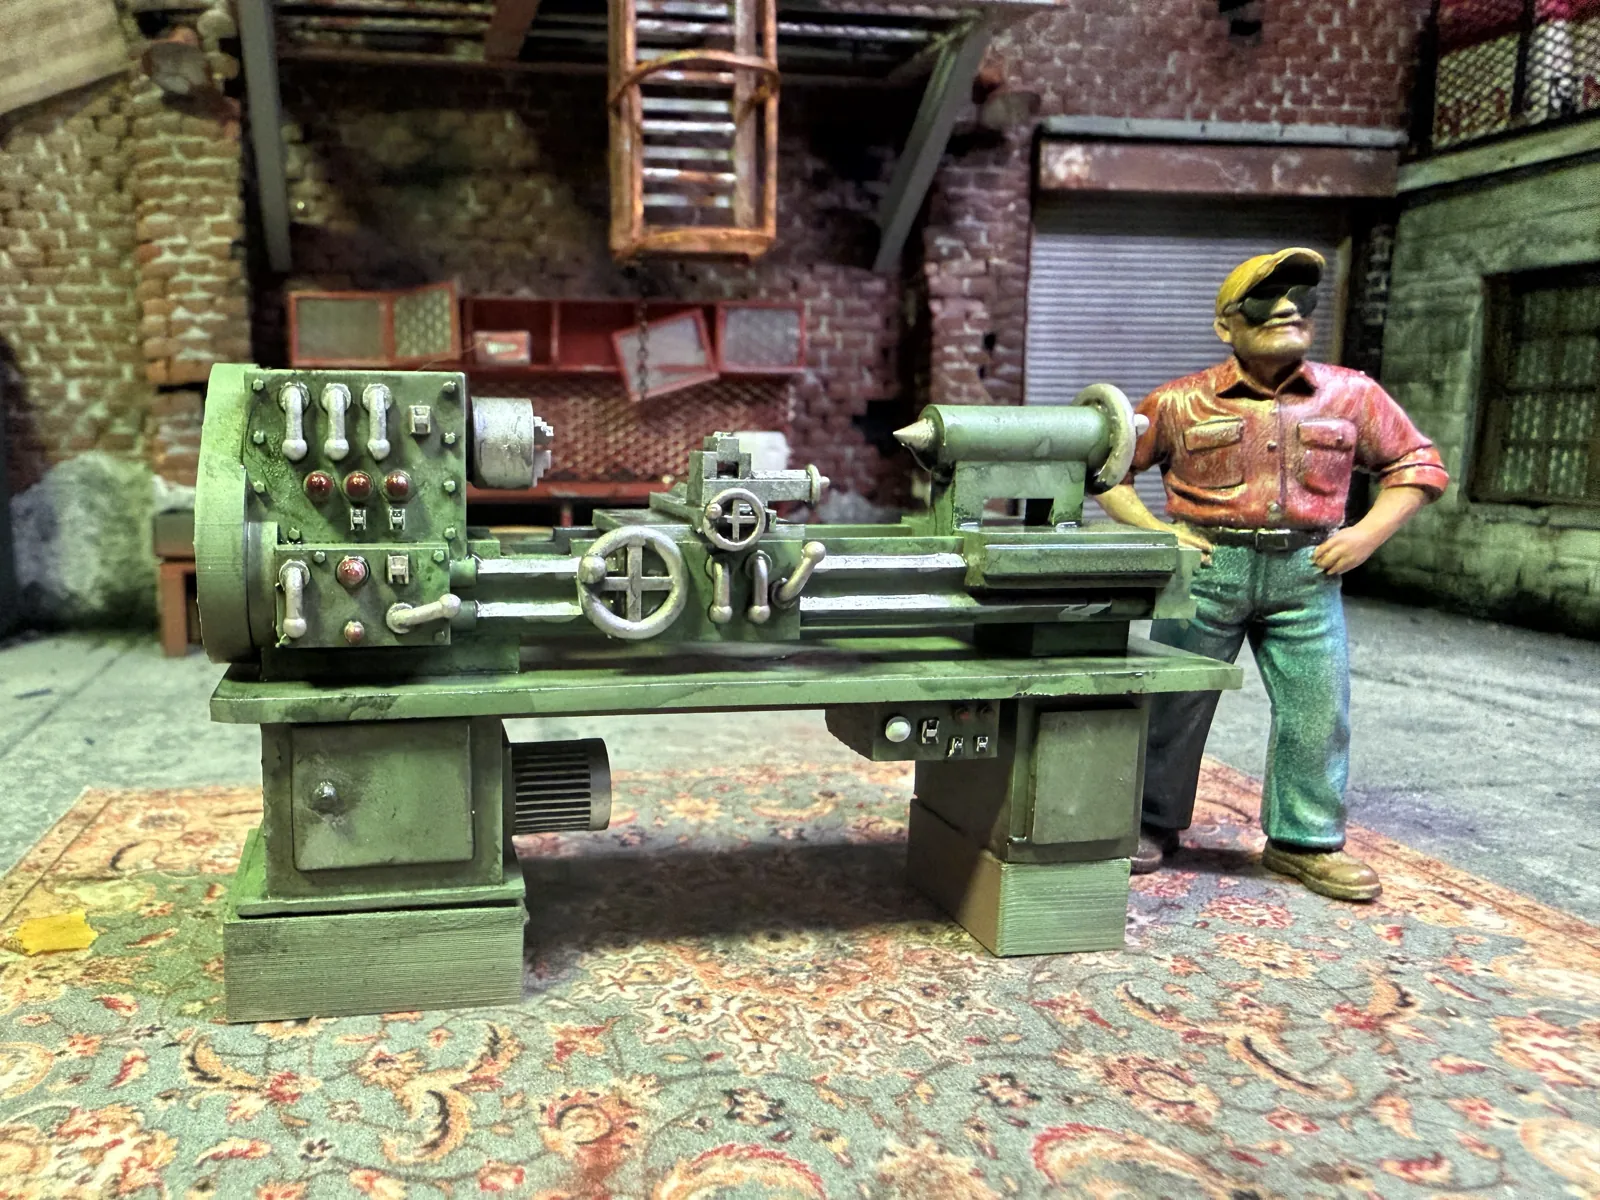
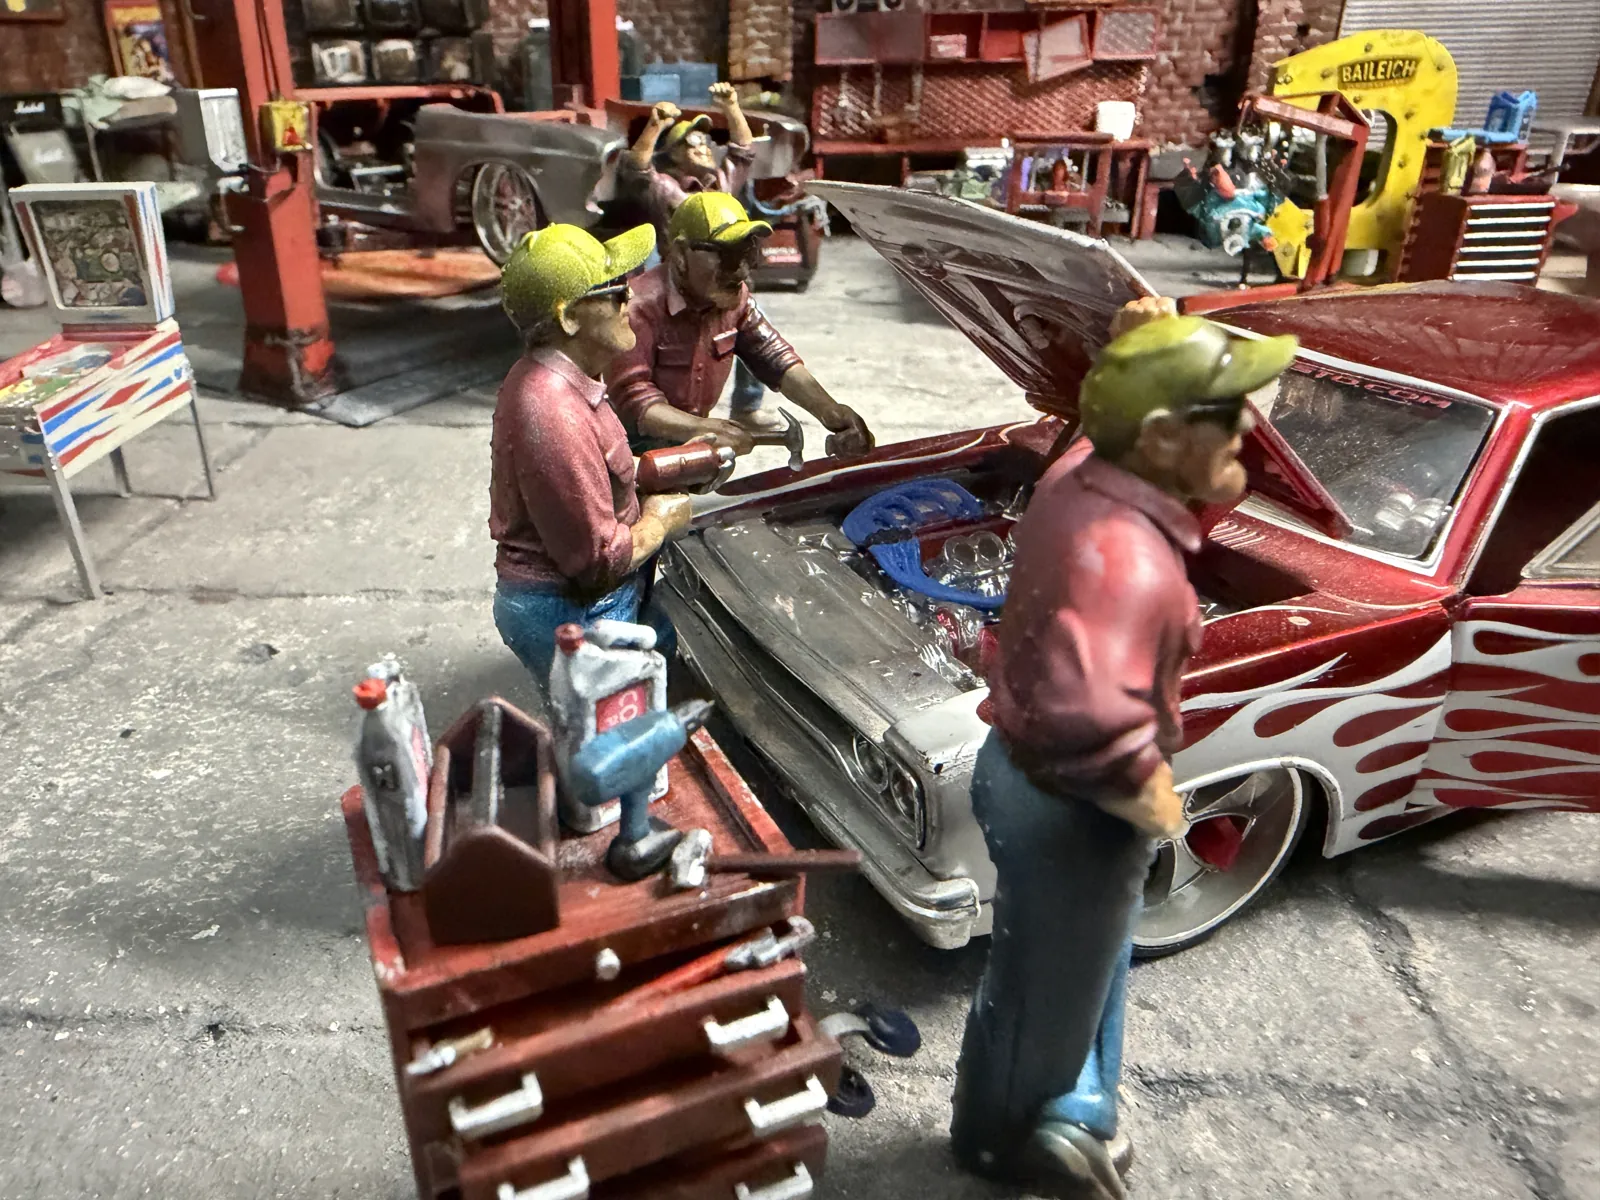
Inside you'll find a 1:24 muscle car, an overhead crane, a metal lathe and a mechanic who looks like he's been there since 1976. A salvaged industrial motor hangs from rusted chains above the mezzanine, and yes, I painted every chain link one by one. My paint shelf is mostly Vallejo, with AMMO by Mig for the rust and grime.
A darker, cinematic tone
For this premiere I wanted to experiment with a darker, more atmospheric tone. I'm testing a narrative style, with AI-animated fragments to bring things to life and a slow, haunting soundtrack to set the mood. Let me know in the comments under the video what you think of this cinematic approach.
The outro
Stick around for the end of the video. The outro premieres "I Got The Relic", a brand new track from my band Sweet Revenge, alongside a gallery of behind-the-scenes stills and making-of footage.
What's next
The building is now fully wired for lights, and I'm working on a massive roof structure with hanging industrial lighting. In the upcoming videos I'm diving into advanced lighting techniques and cinematic filmmaking to really make this wasteland pop. This garage is where everything will happen: the future car builds and, as my skills grow, some epic miniature action sequences.