Guns of Navarone: rebuilding the vintage Airfix coastal defence fort
I built this Airfix fort when I was about seven. Years later I bought it again, threw a second kit into the mix and turned two boxes into one heavily customised fortress.
Some kits never really leave you. The Airfix Coastal Defence Fort is one of them. I first built it when I was about seven. It had those big guns poking out over the cliffs, just like the fortress in The Guns of Navarone, and to a young me that was about the coolest thing a box of grey plastic could turn into.
And here's the thing: I still have it. A weathered, battle-scarred piece of that very first fort survived all these years. It's the real thing, built by seven-year-old me. All that white you see isn't just age: back then I gave it a snow setting, a full winter scene. Seven-year-old me clearly had big plans.
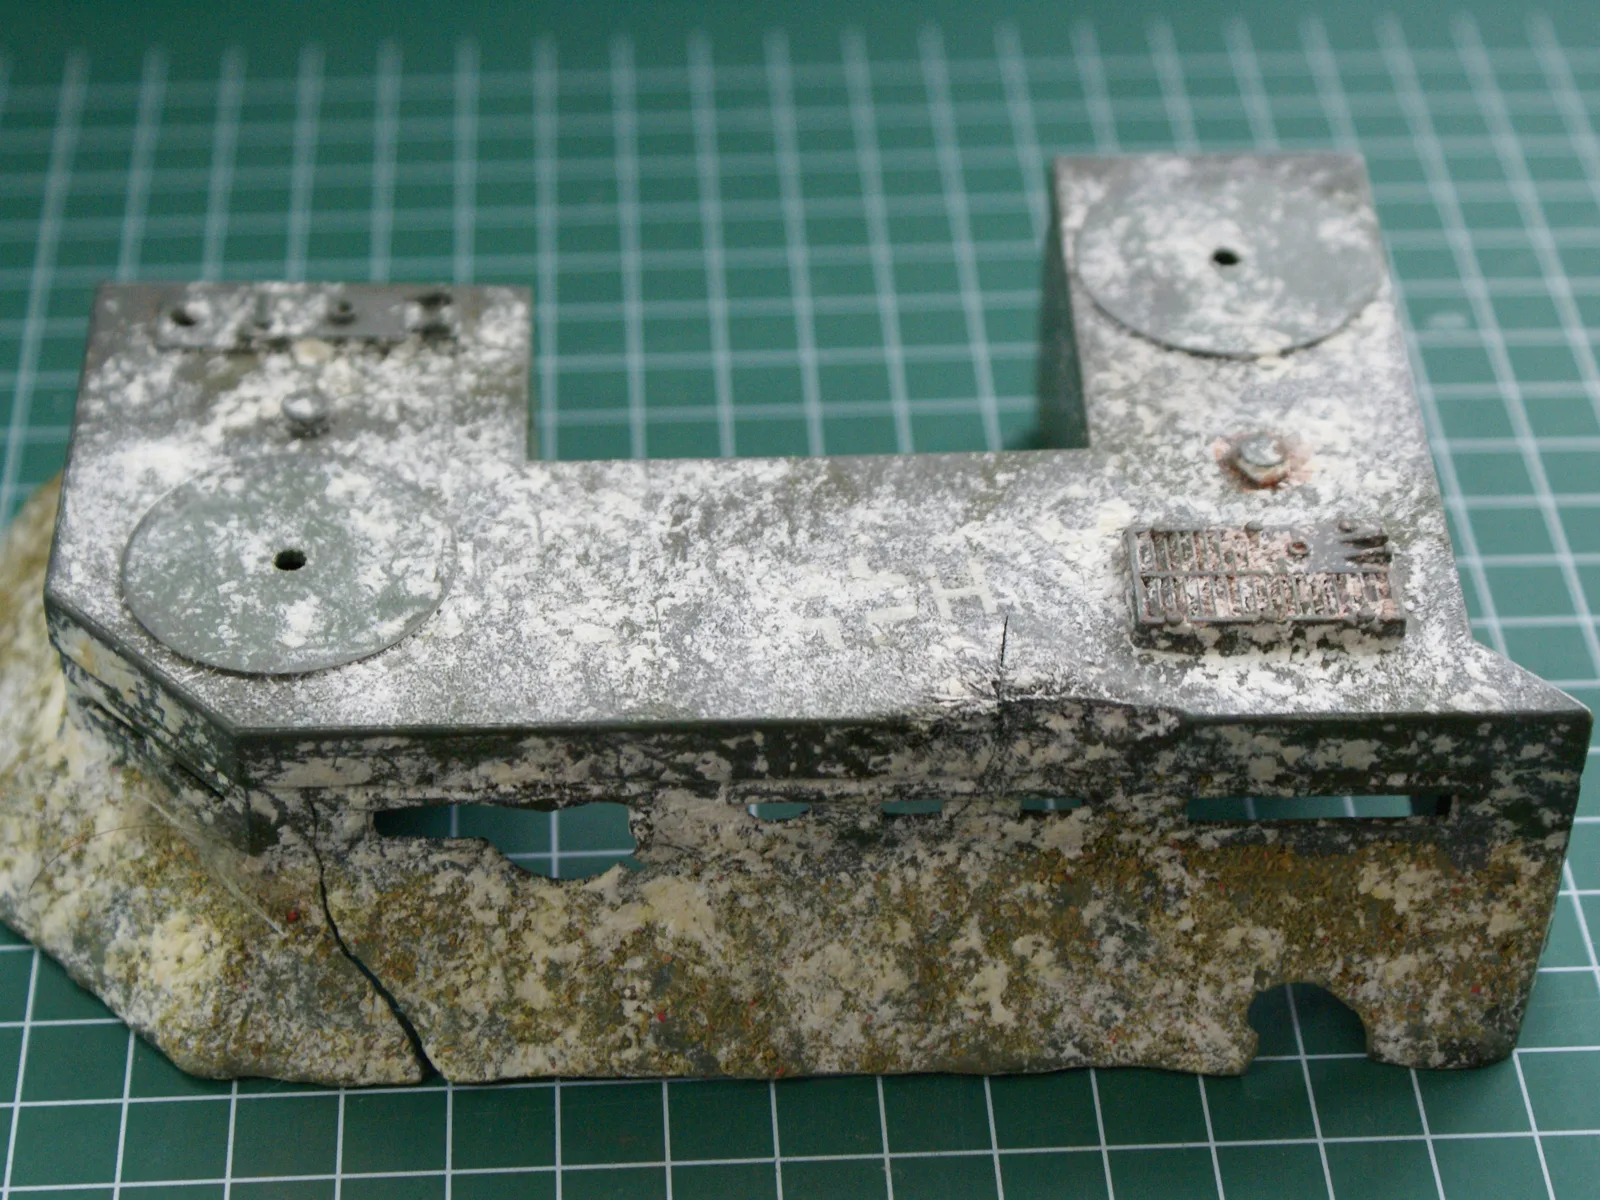
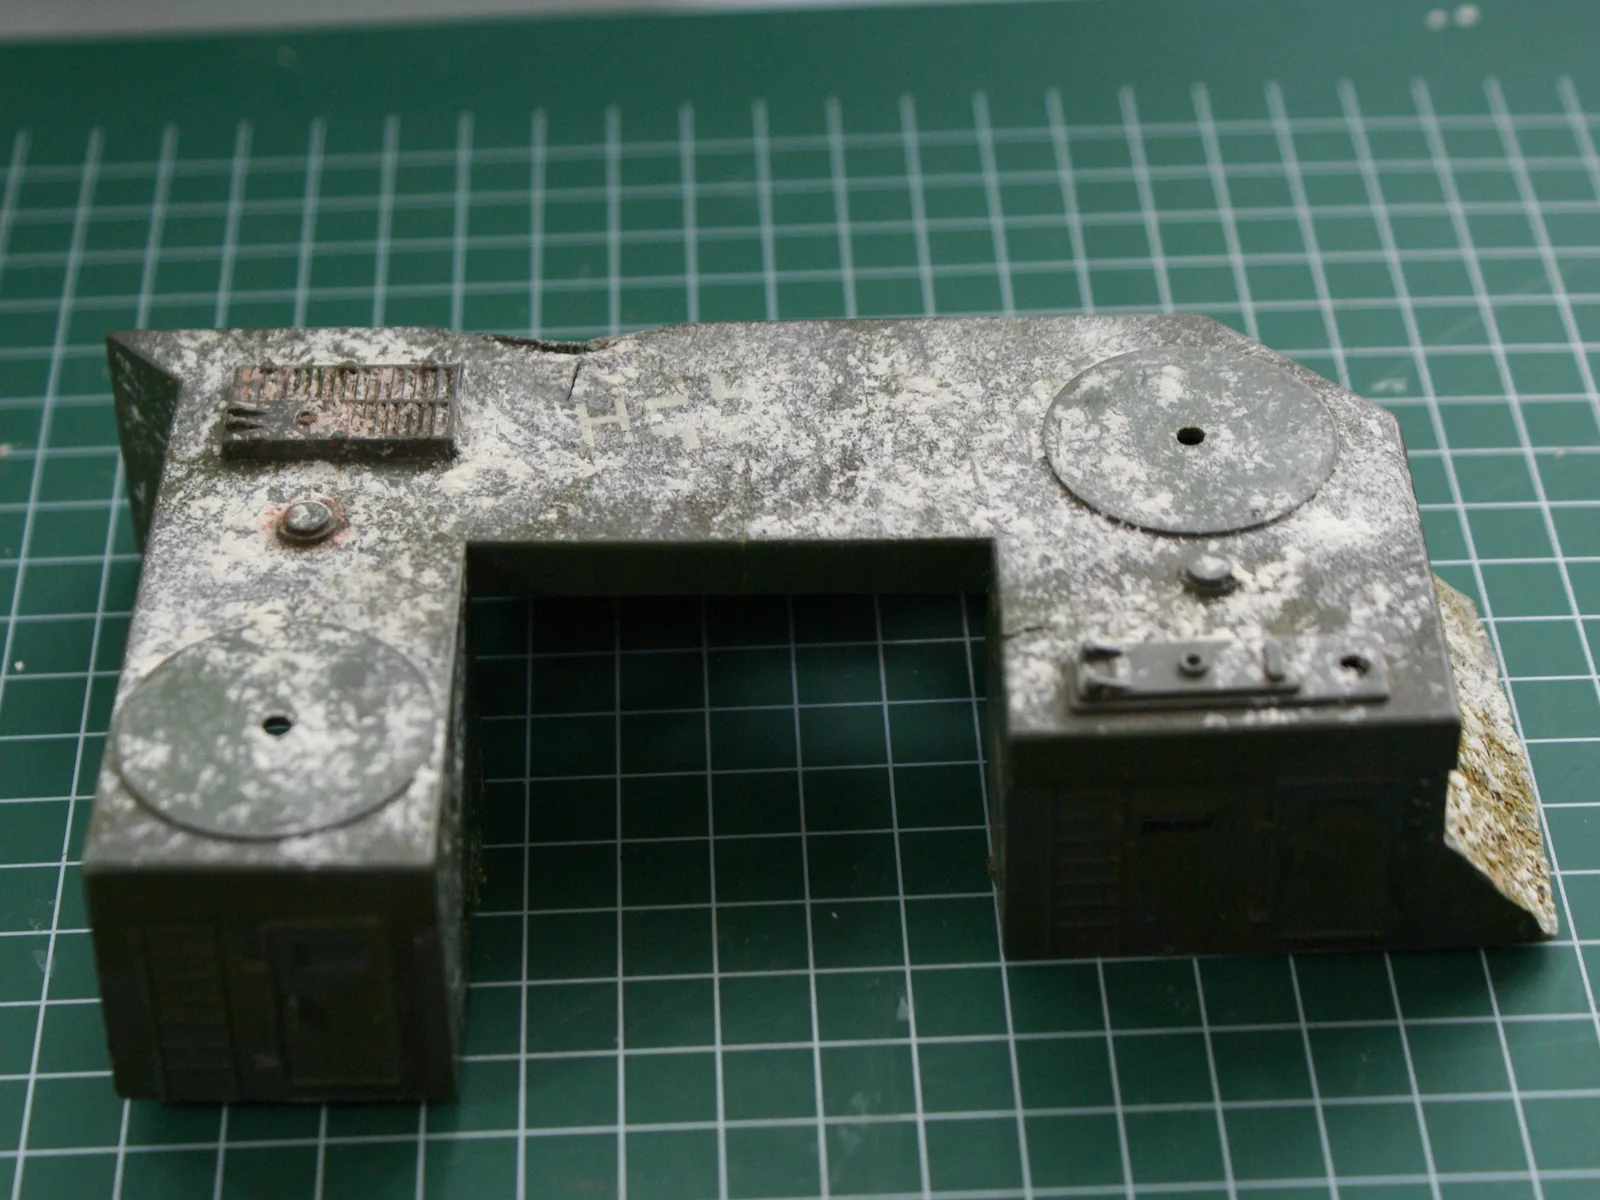
The memory stuck, so years later I did what every grown-up kid eventually does: I bought it again. This time I wasn't going to just build it. I was going to build it properly.
Two boxes, one fortress
Building it straight from the box felt like a missed chance. So I picked up a second Airfix kit, the Gun Emplacement, and started raiding it for parts. A lot of parts: the ventilation shaft, for example, and the steps I used for the new staircase. In the end, two kits went into this fort, and there's barely a corner that's still stock.
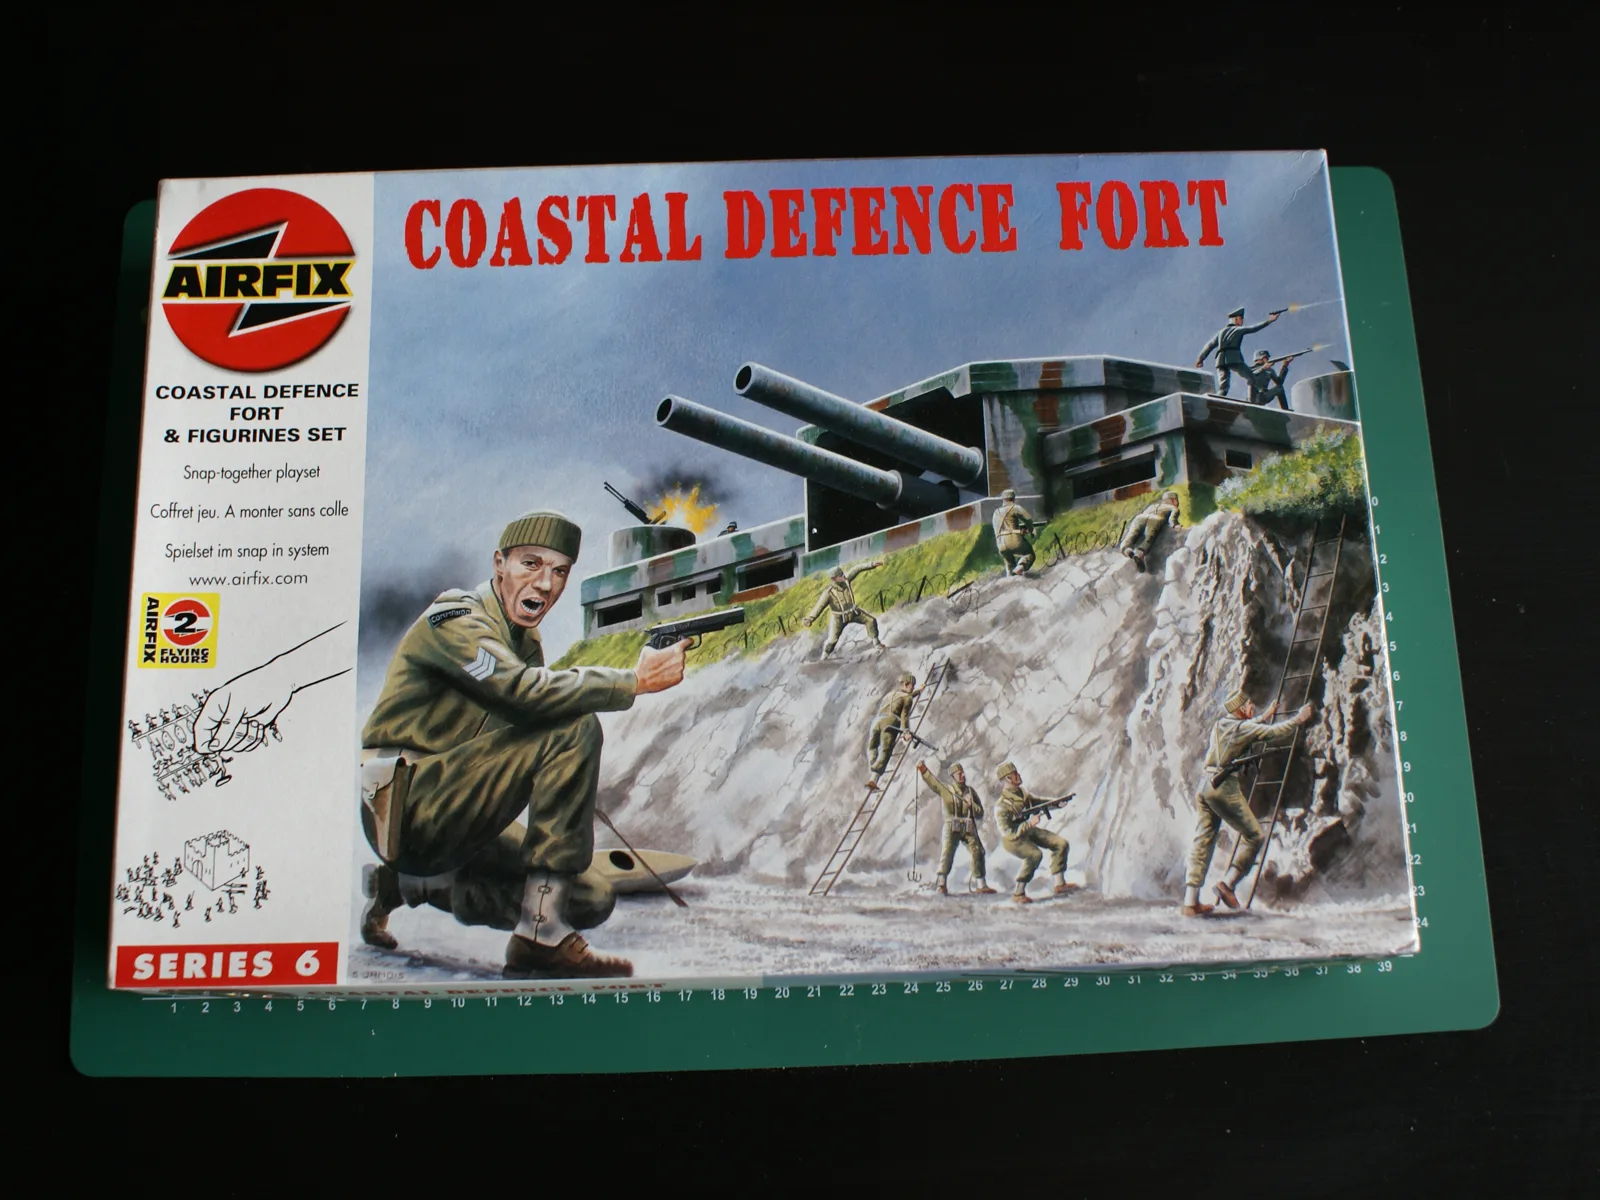
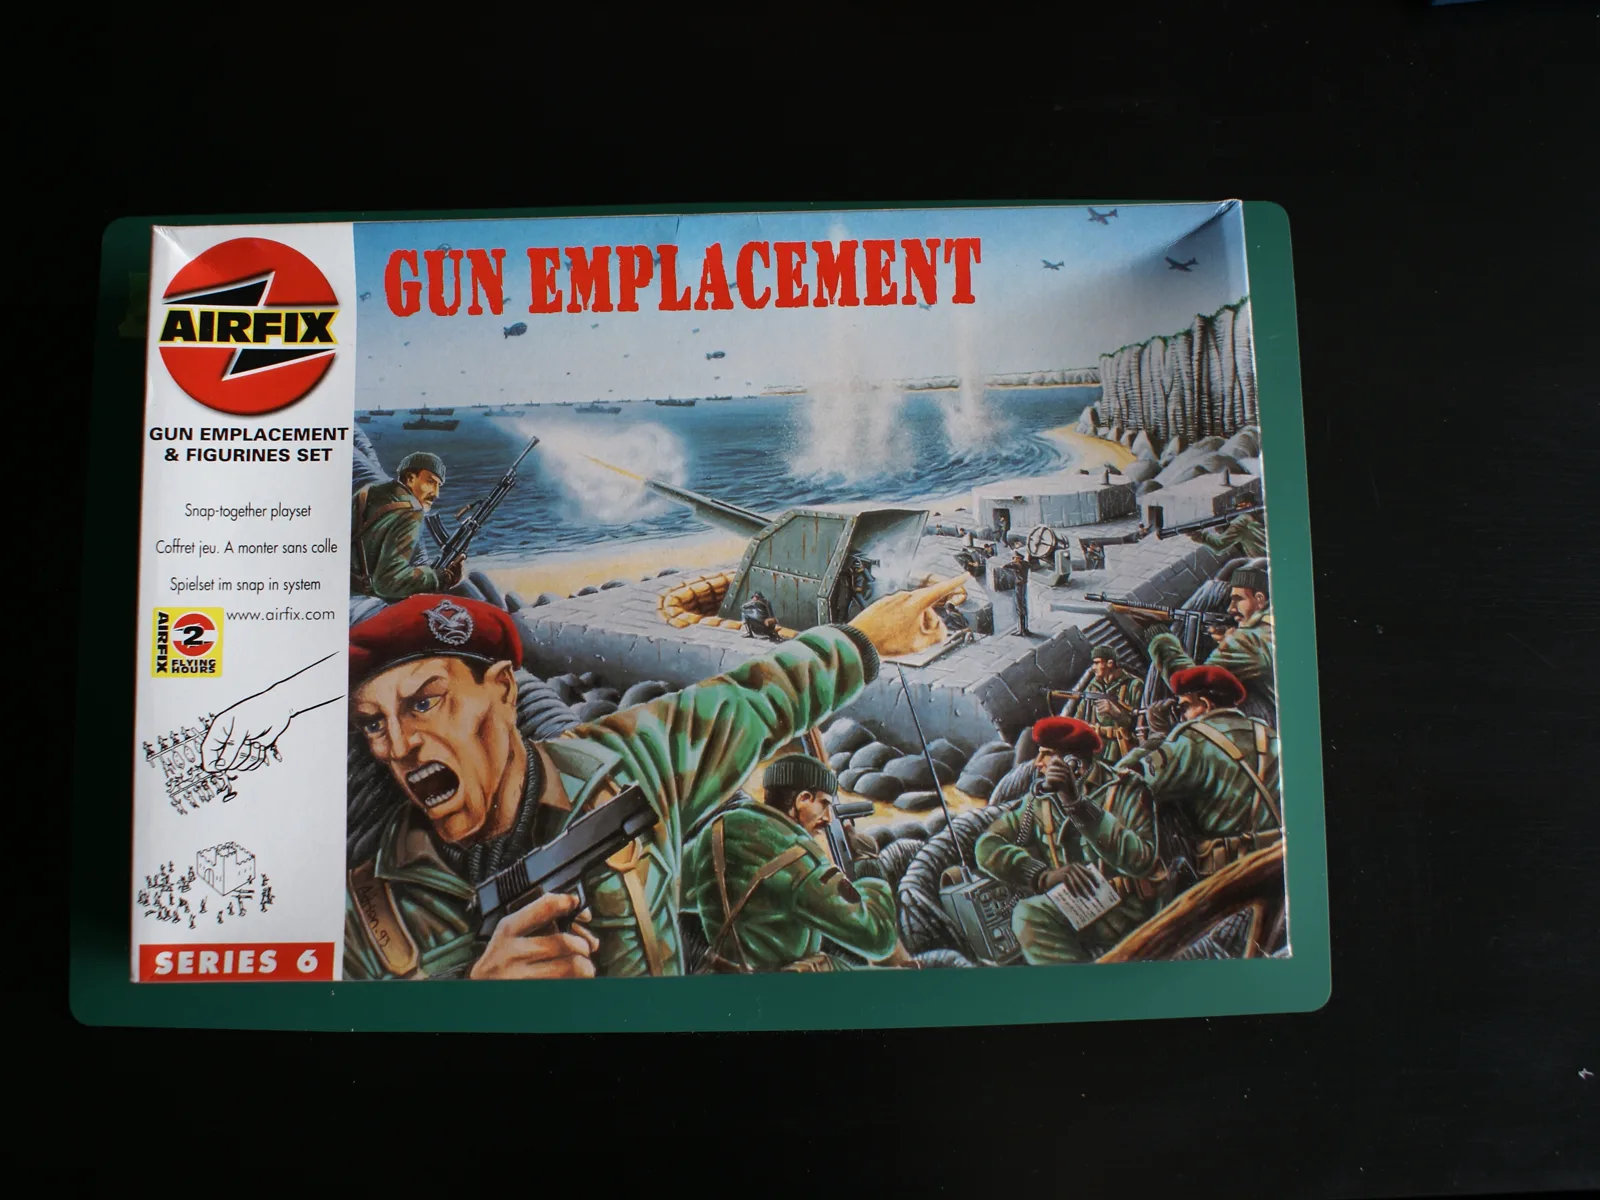
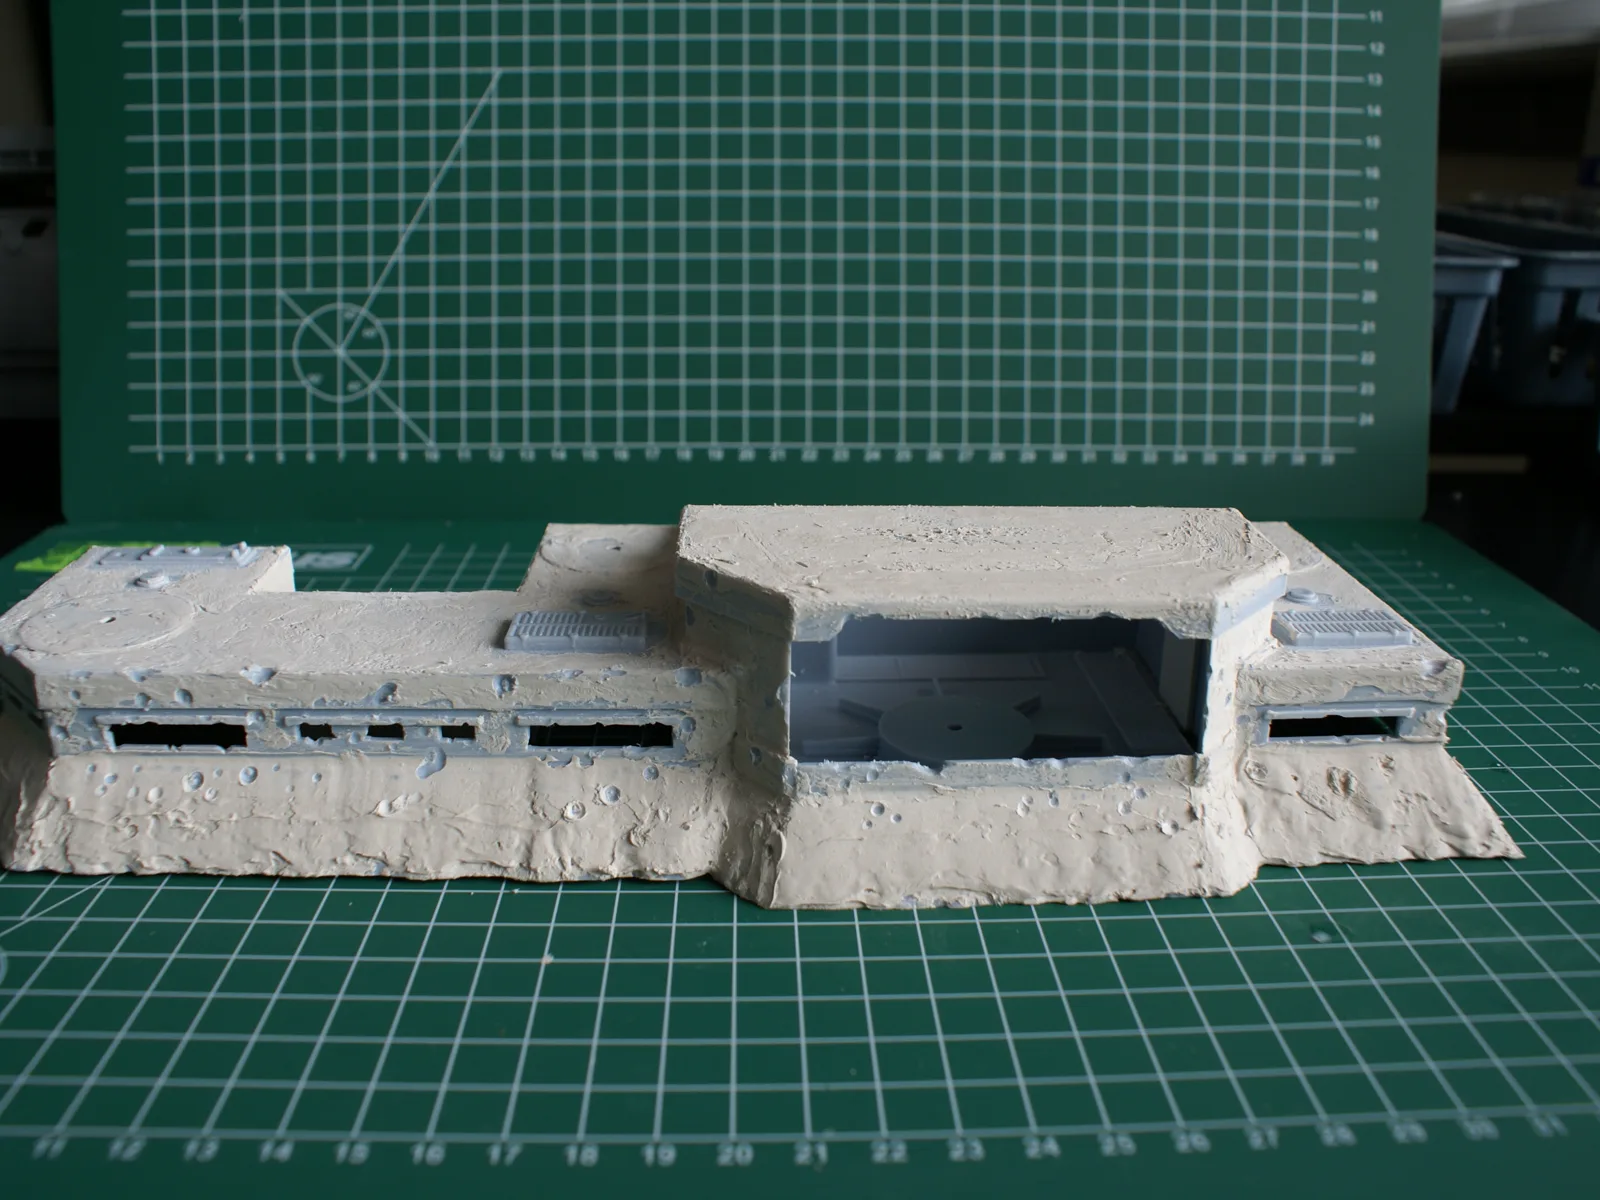
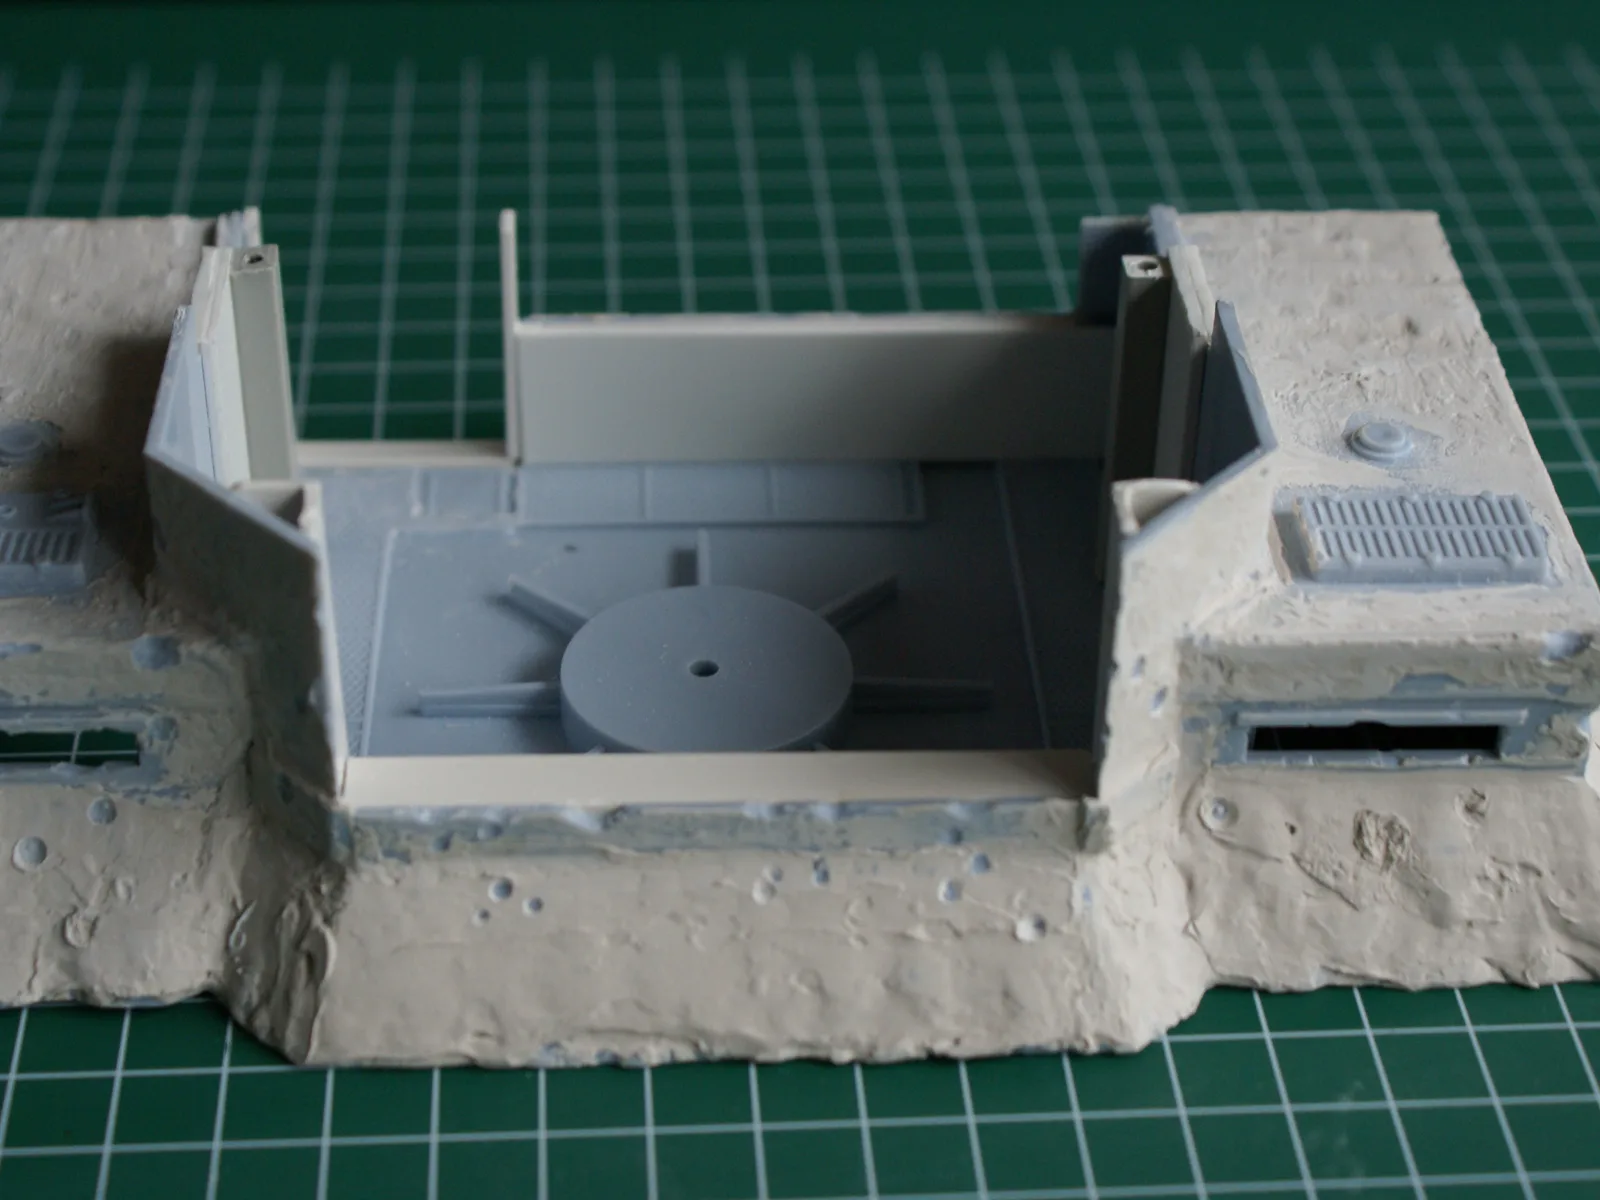
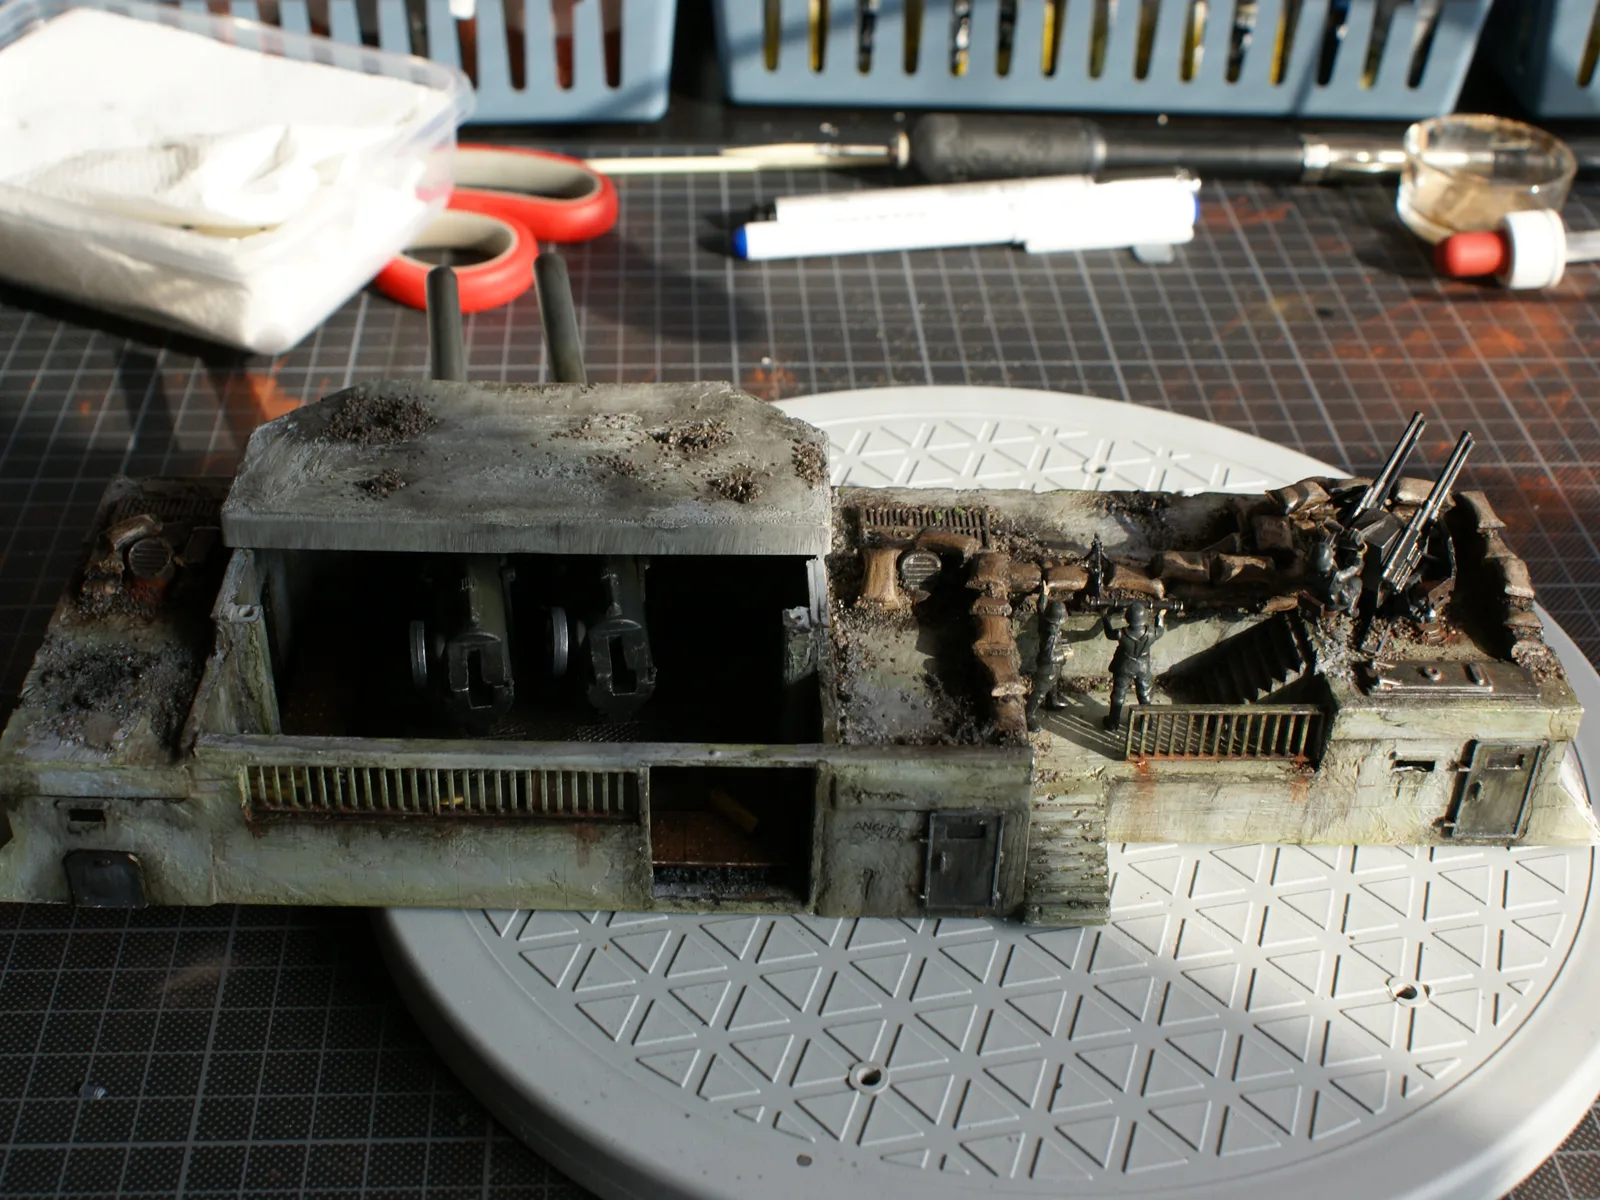
Here's the bare fort, assembled, before the real work began.
A new staircase in the middle
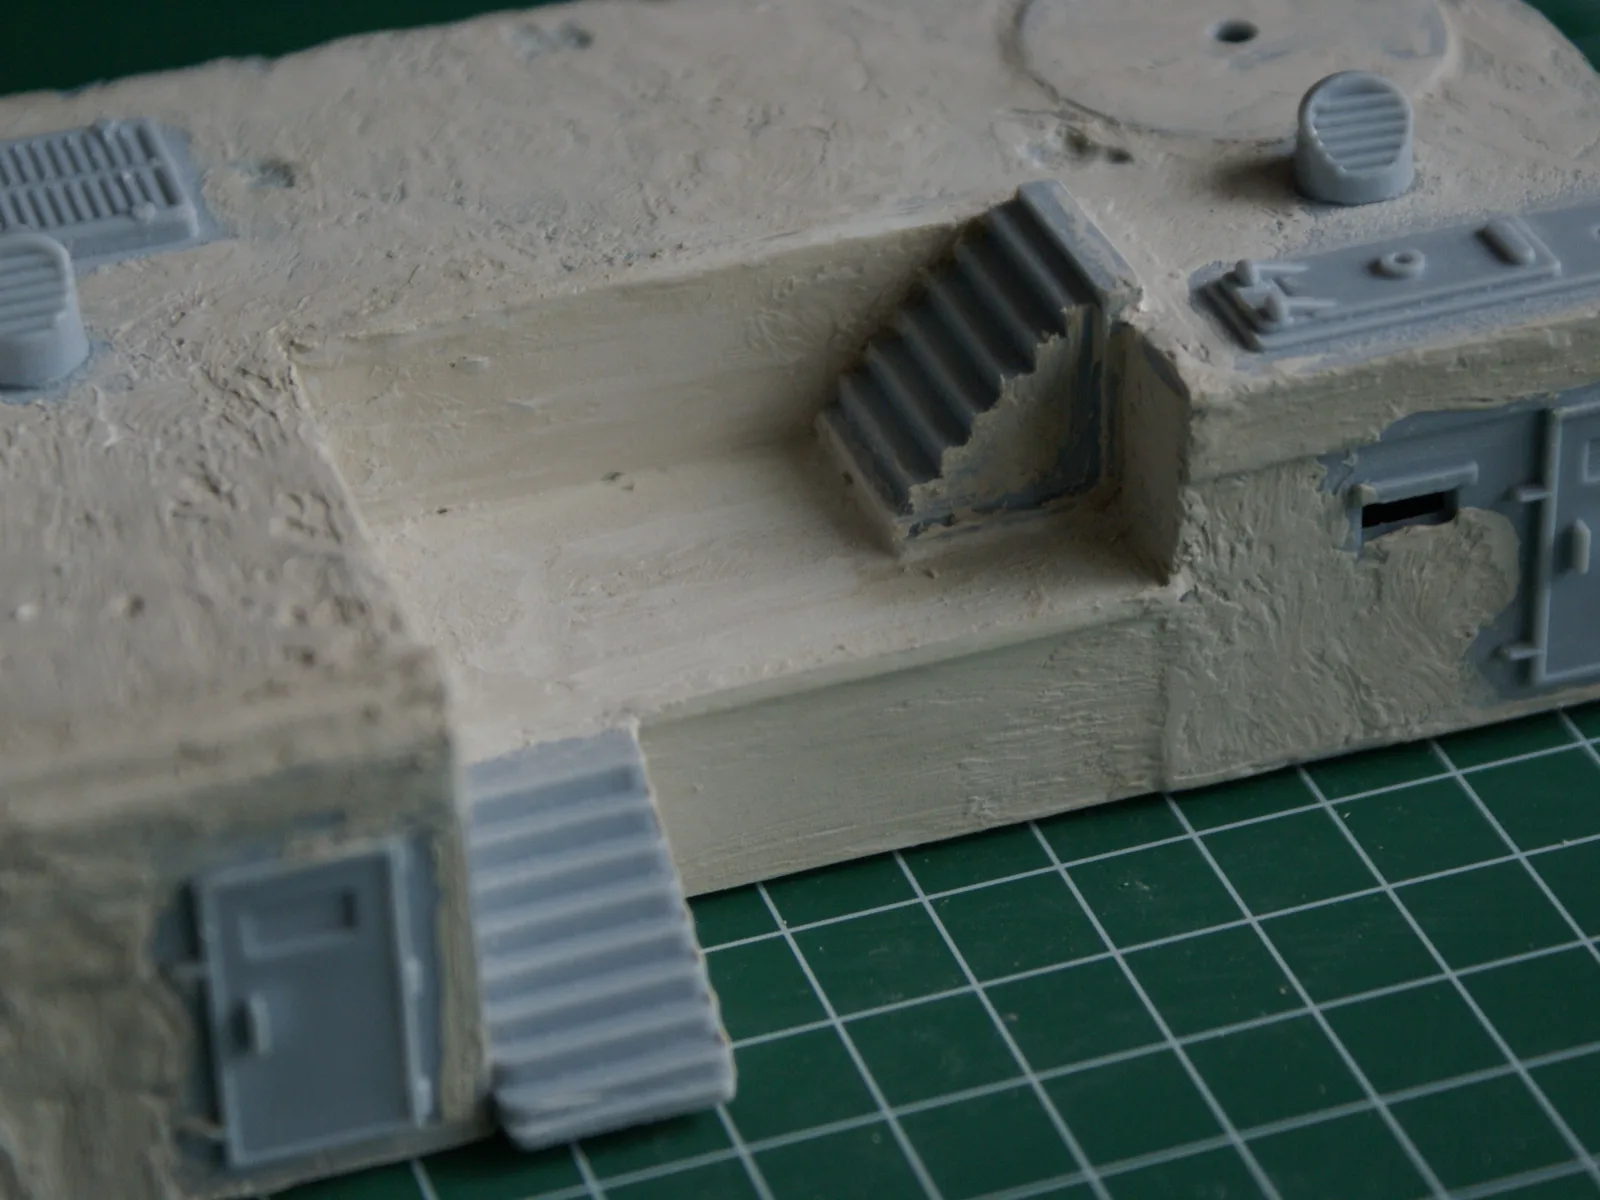
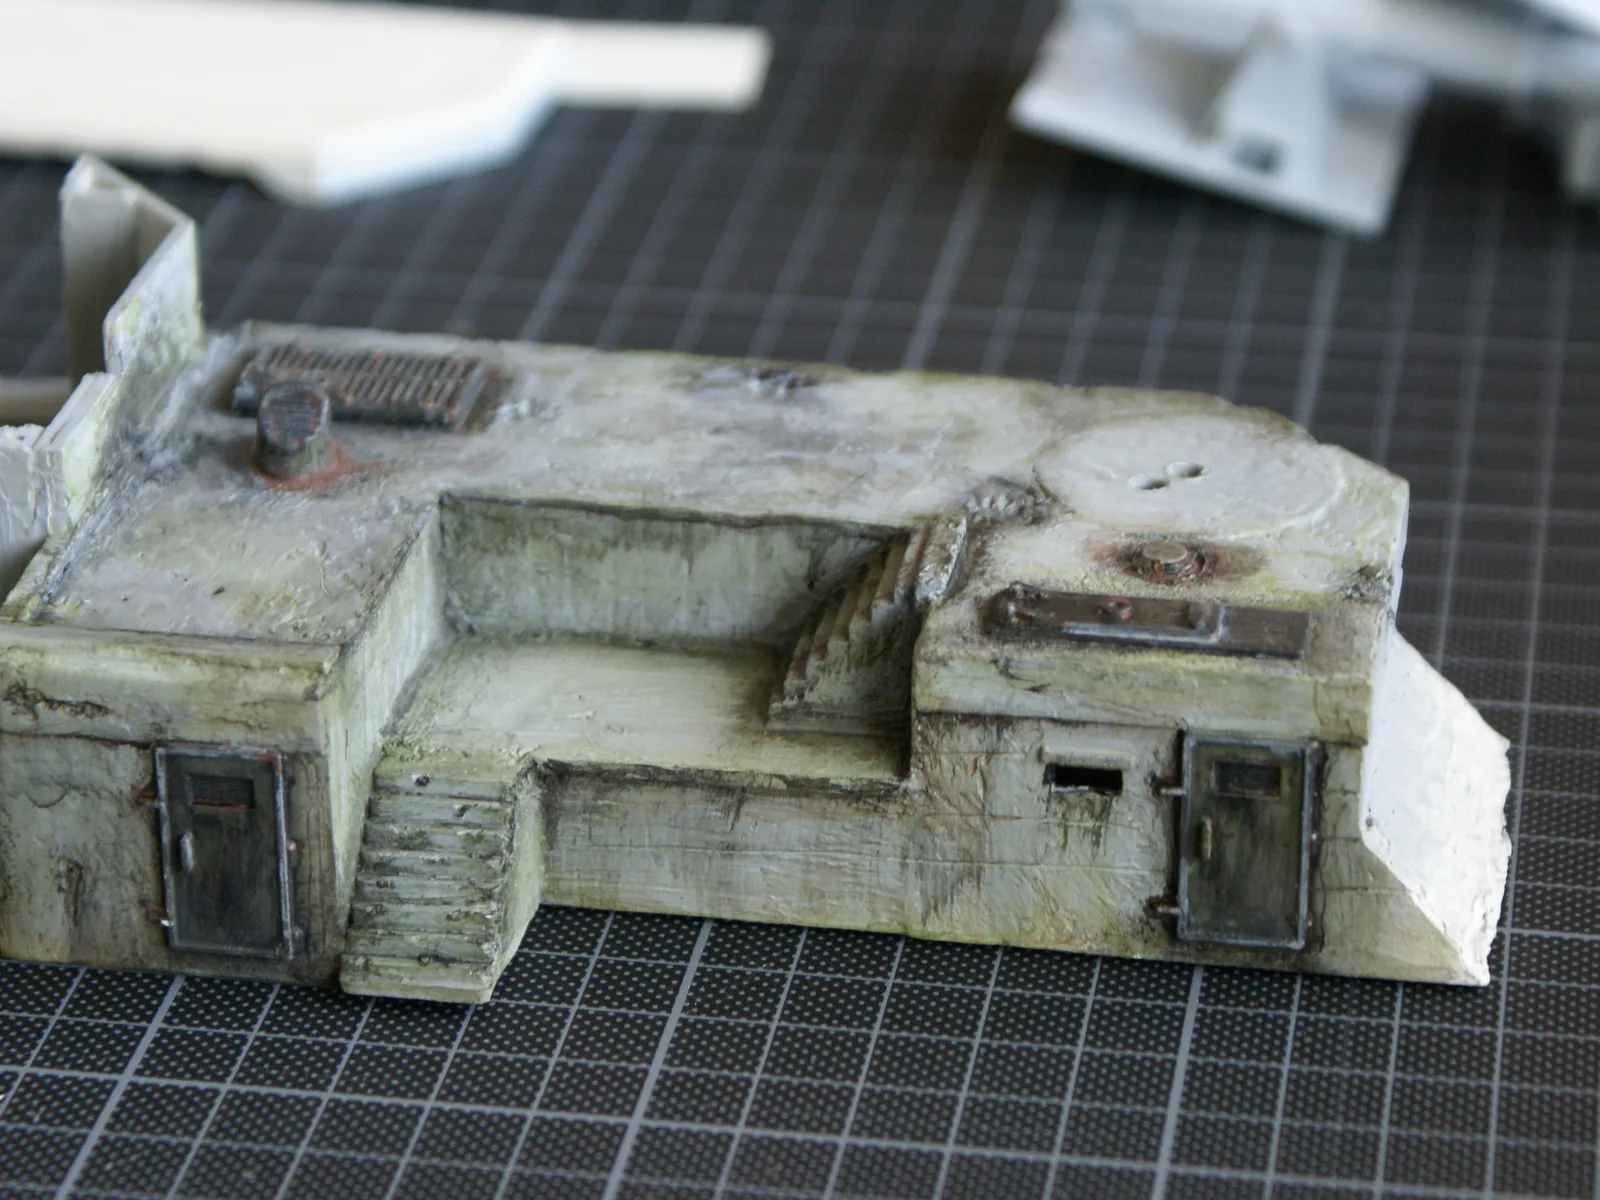
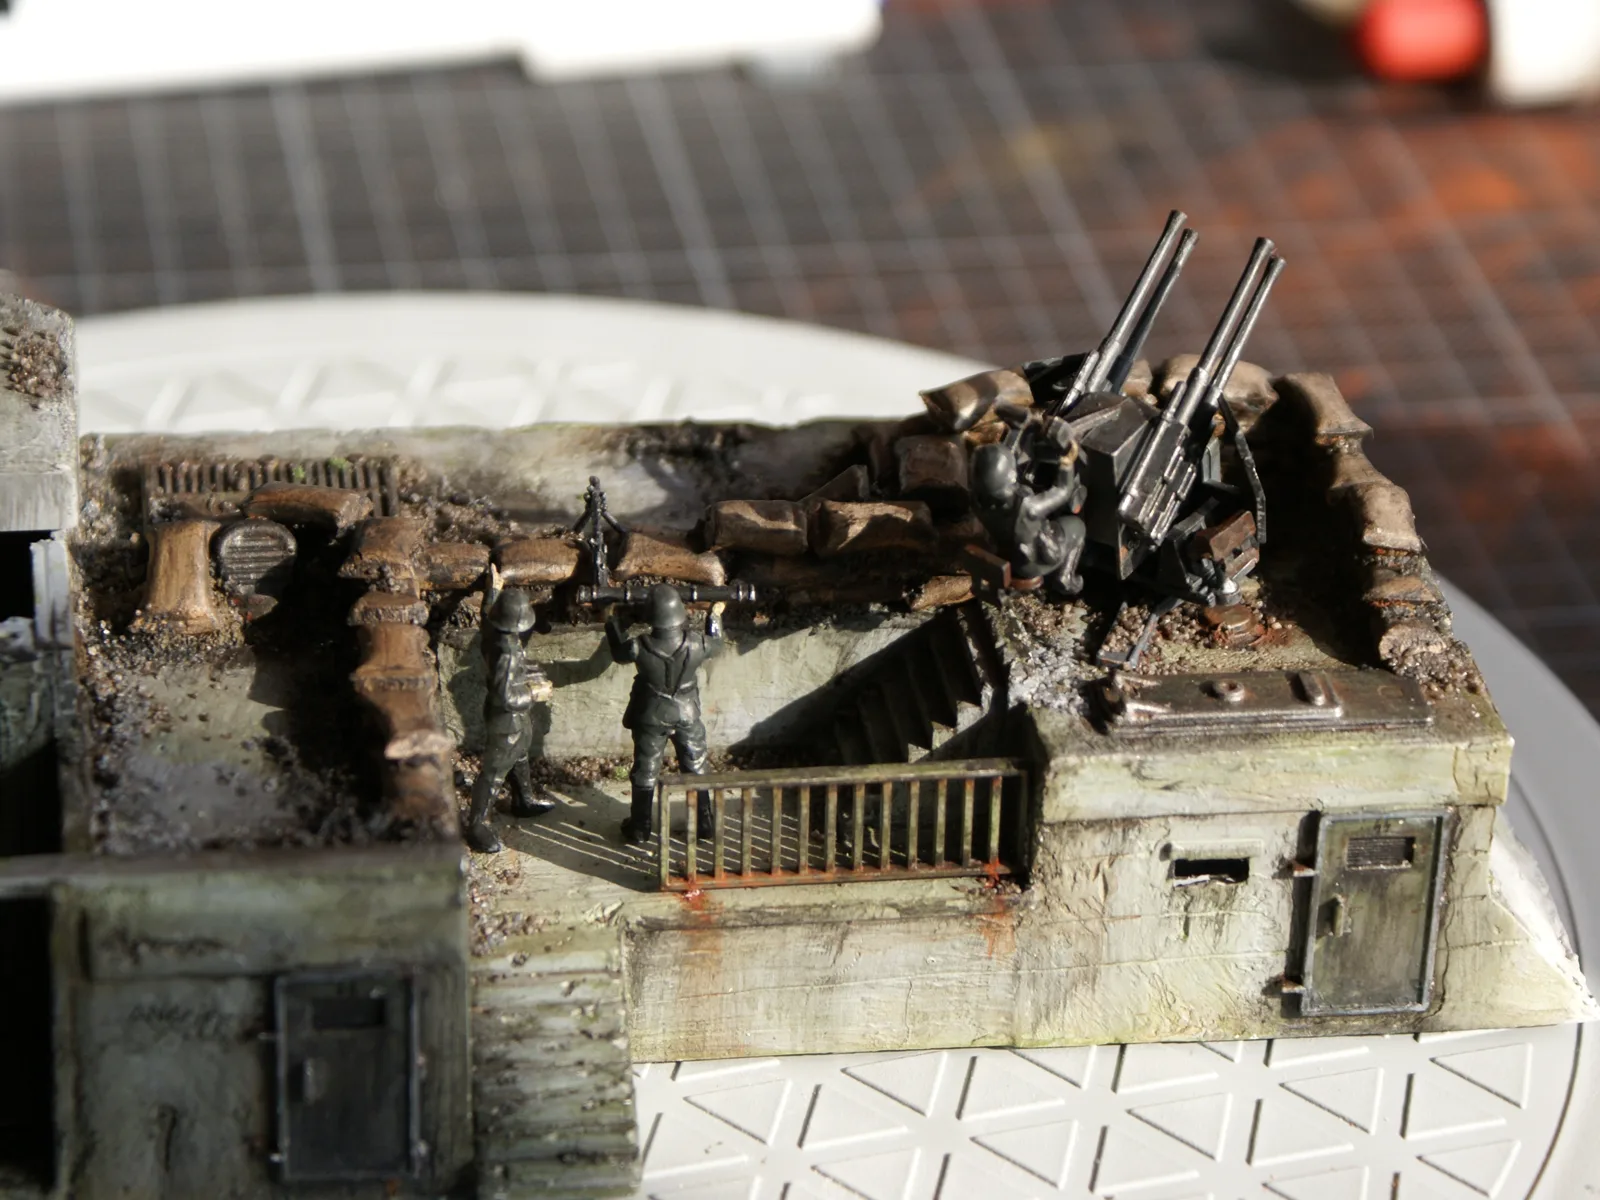
The biggest change is right in the centre of the fort. I built a staircase there, using steps from the Gun Emplacement kit, with a fixed section around it, so the crew can actually get from one level to the other. It sounds like a small thing, but it changes the whole fort: suddenly it looks like a place where people live and work, not just a toy with guns on it.
The big guns
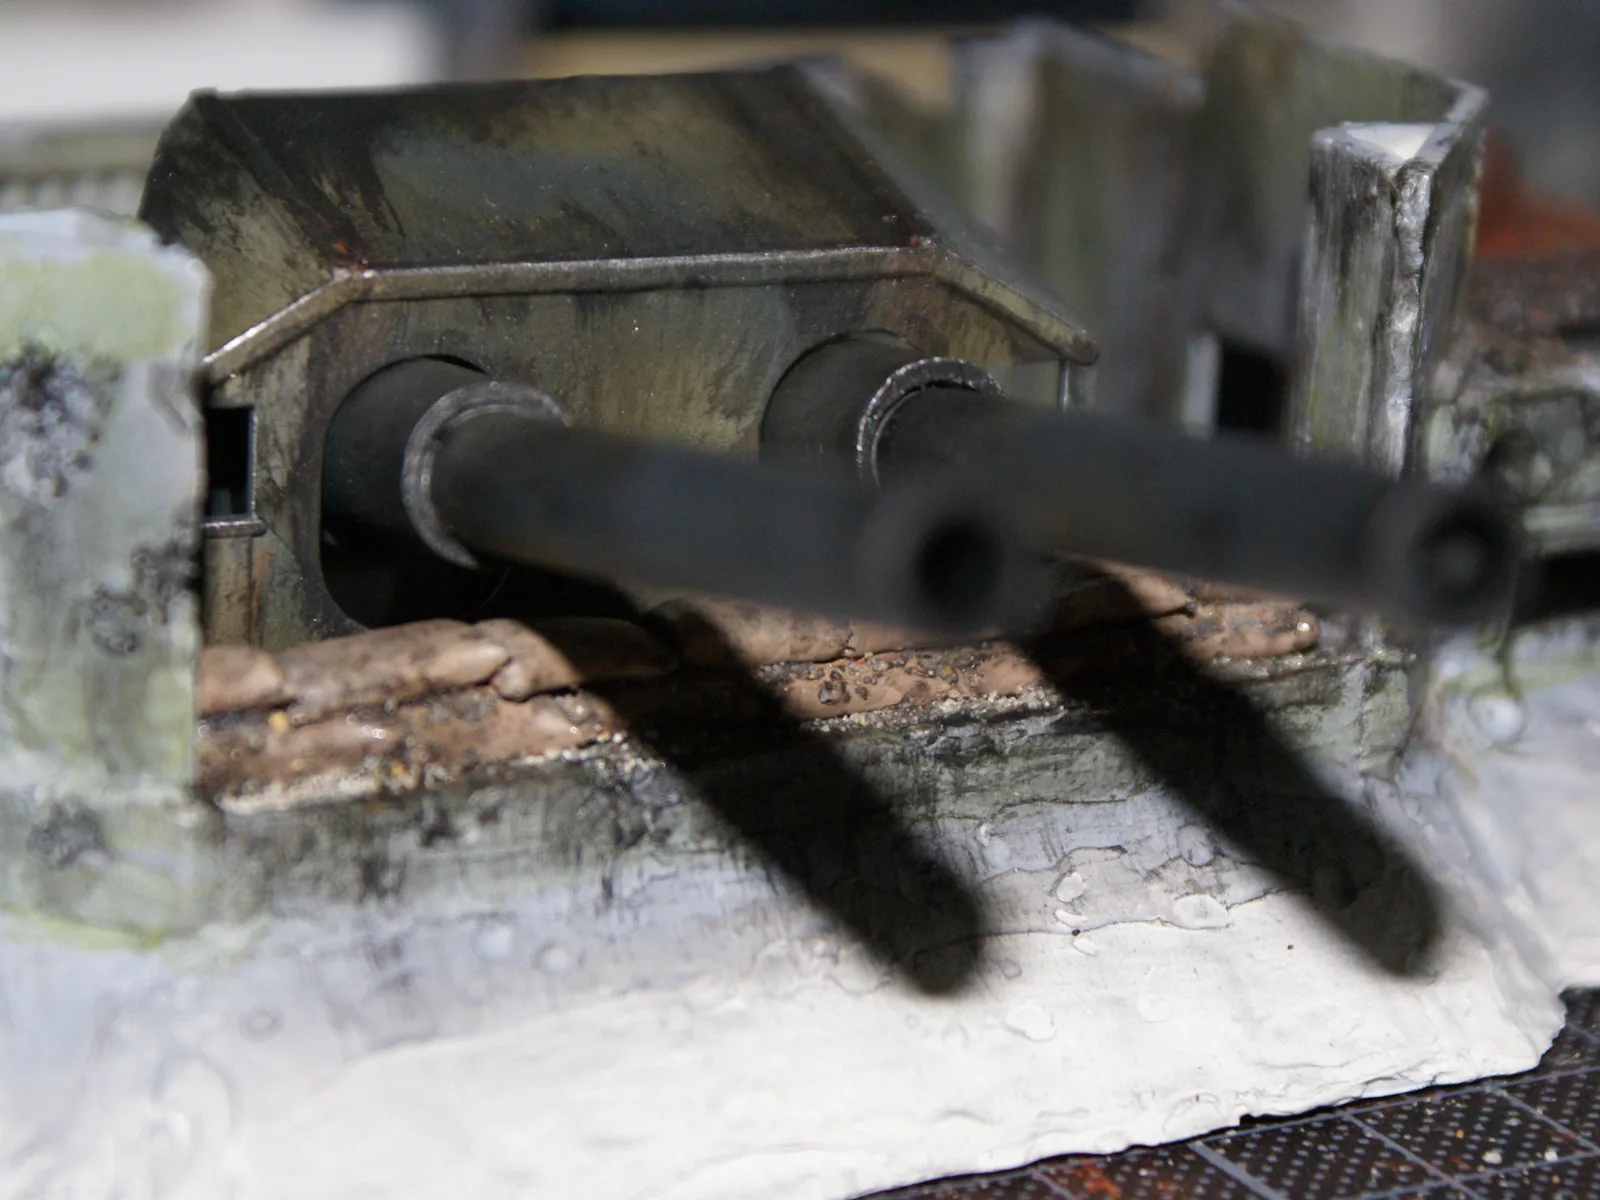
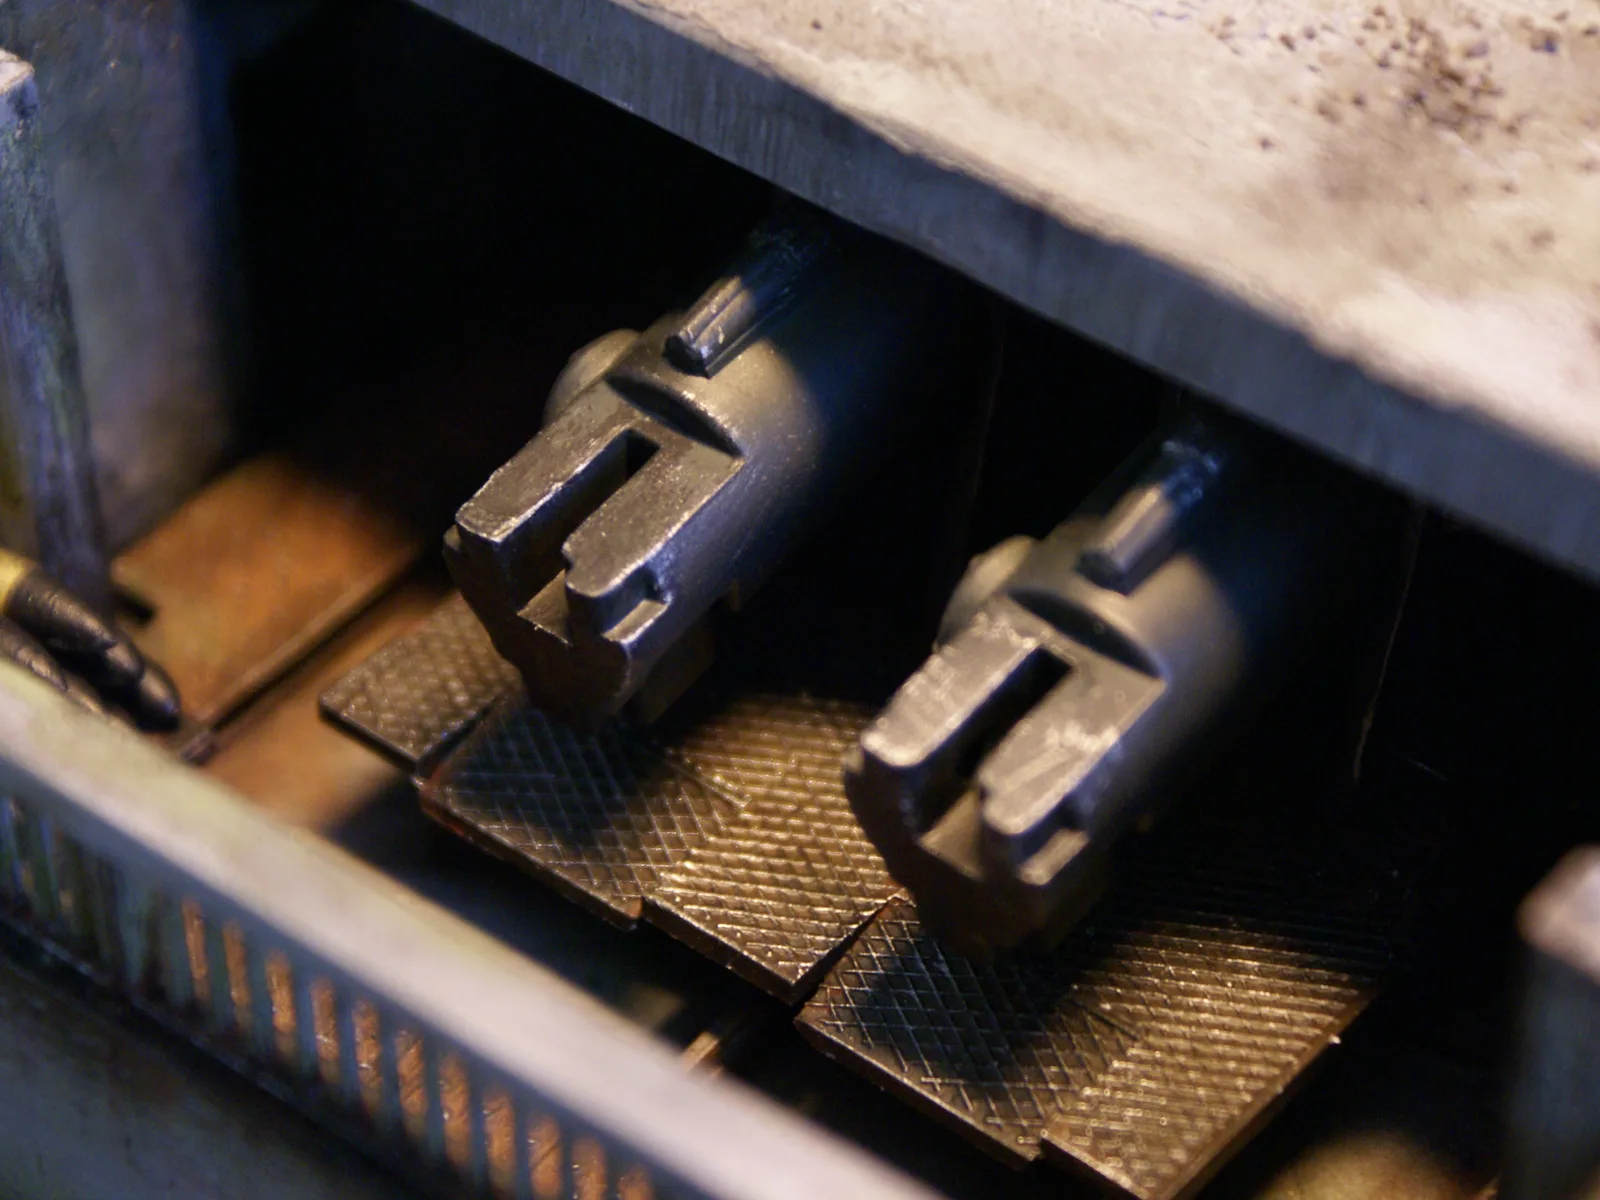
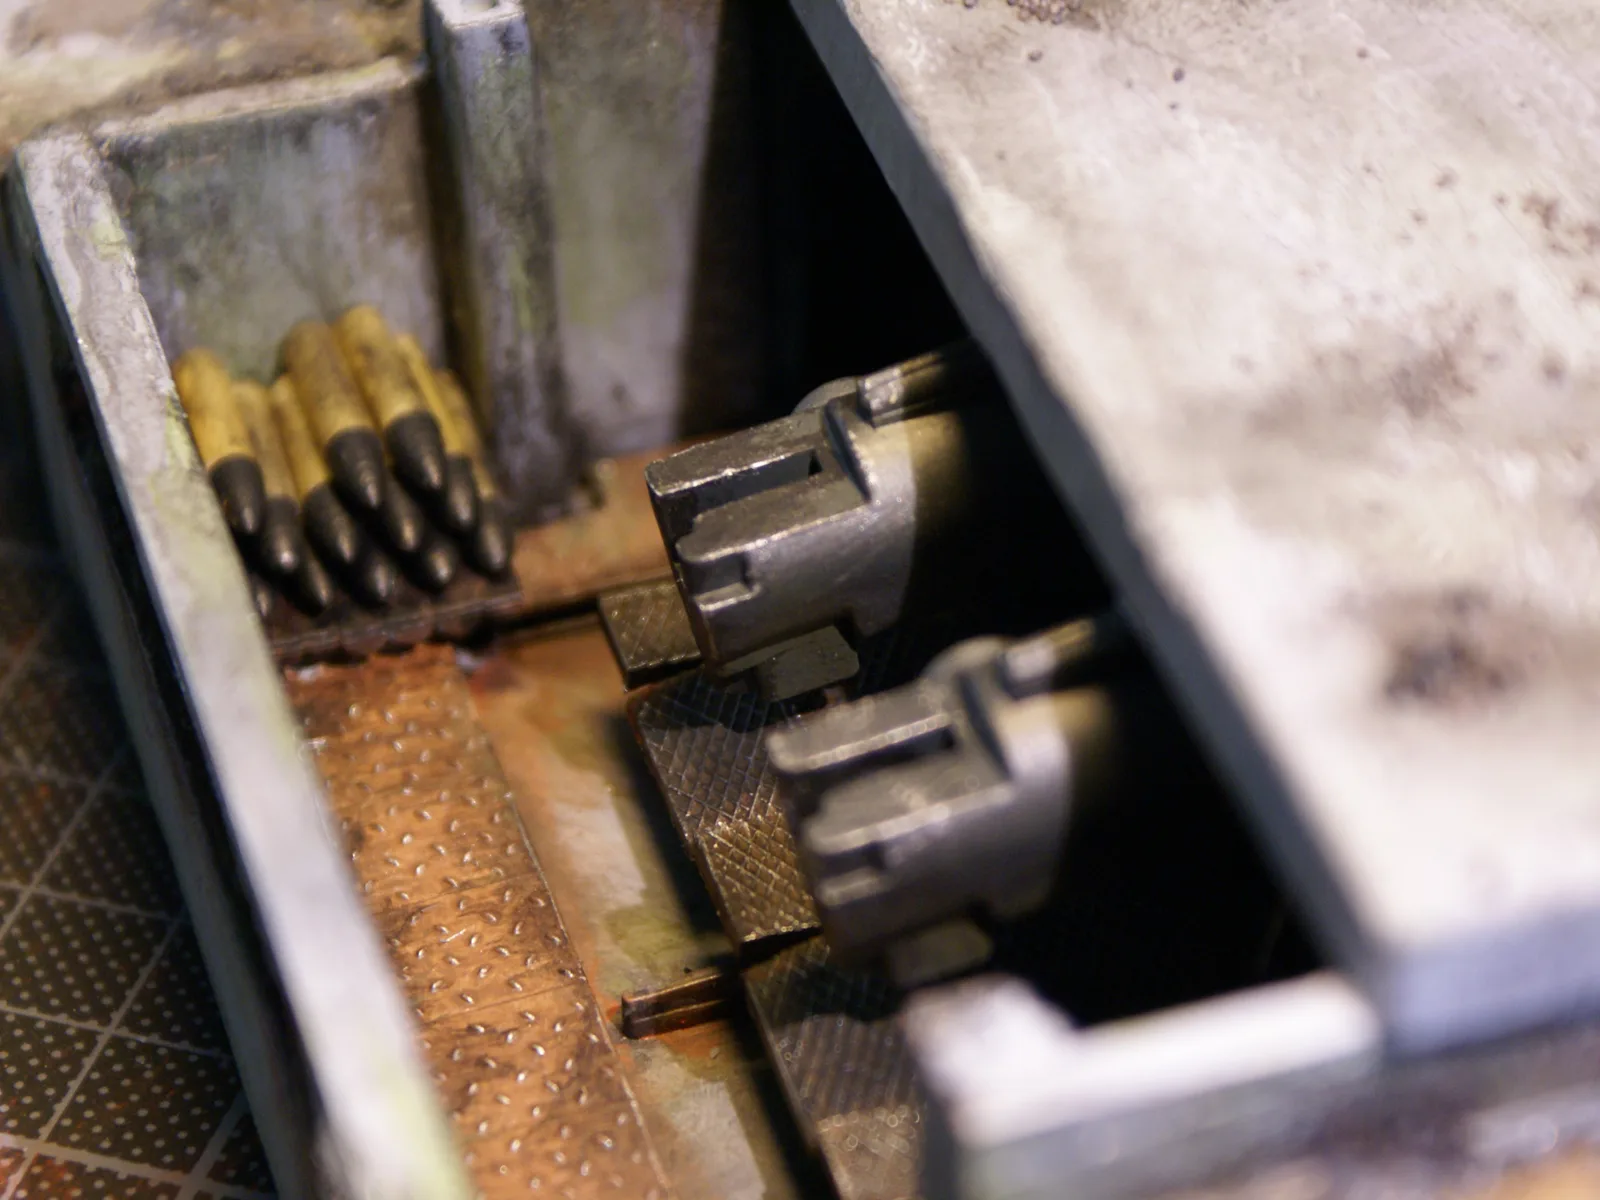
Of course, it's all about the guns. The main turret got the full treatment, inside and out. Behind the twin barrels you can see the breeches, and next to them a rack of shells, ready to go.
A quad gun on the roof
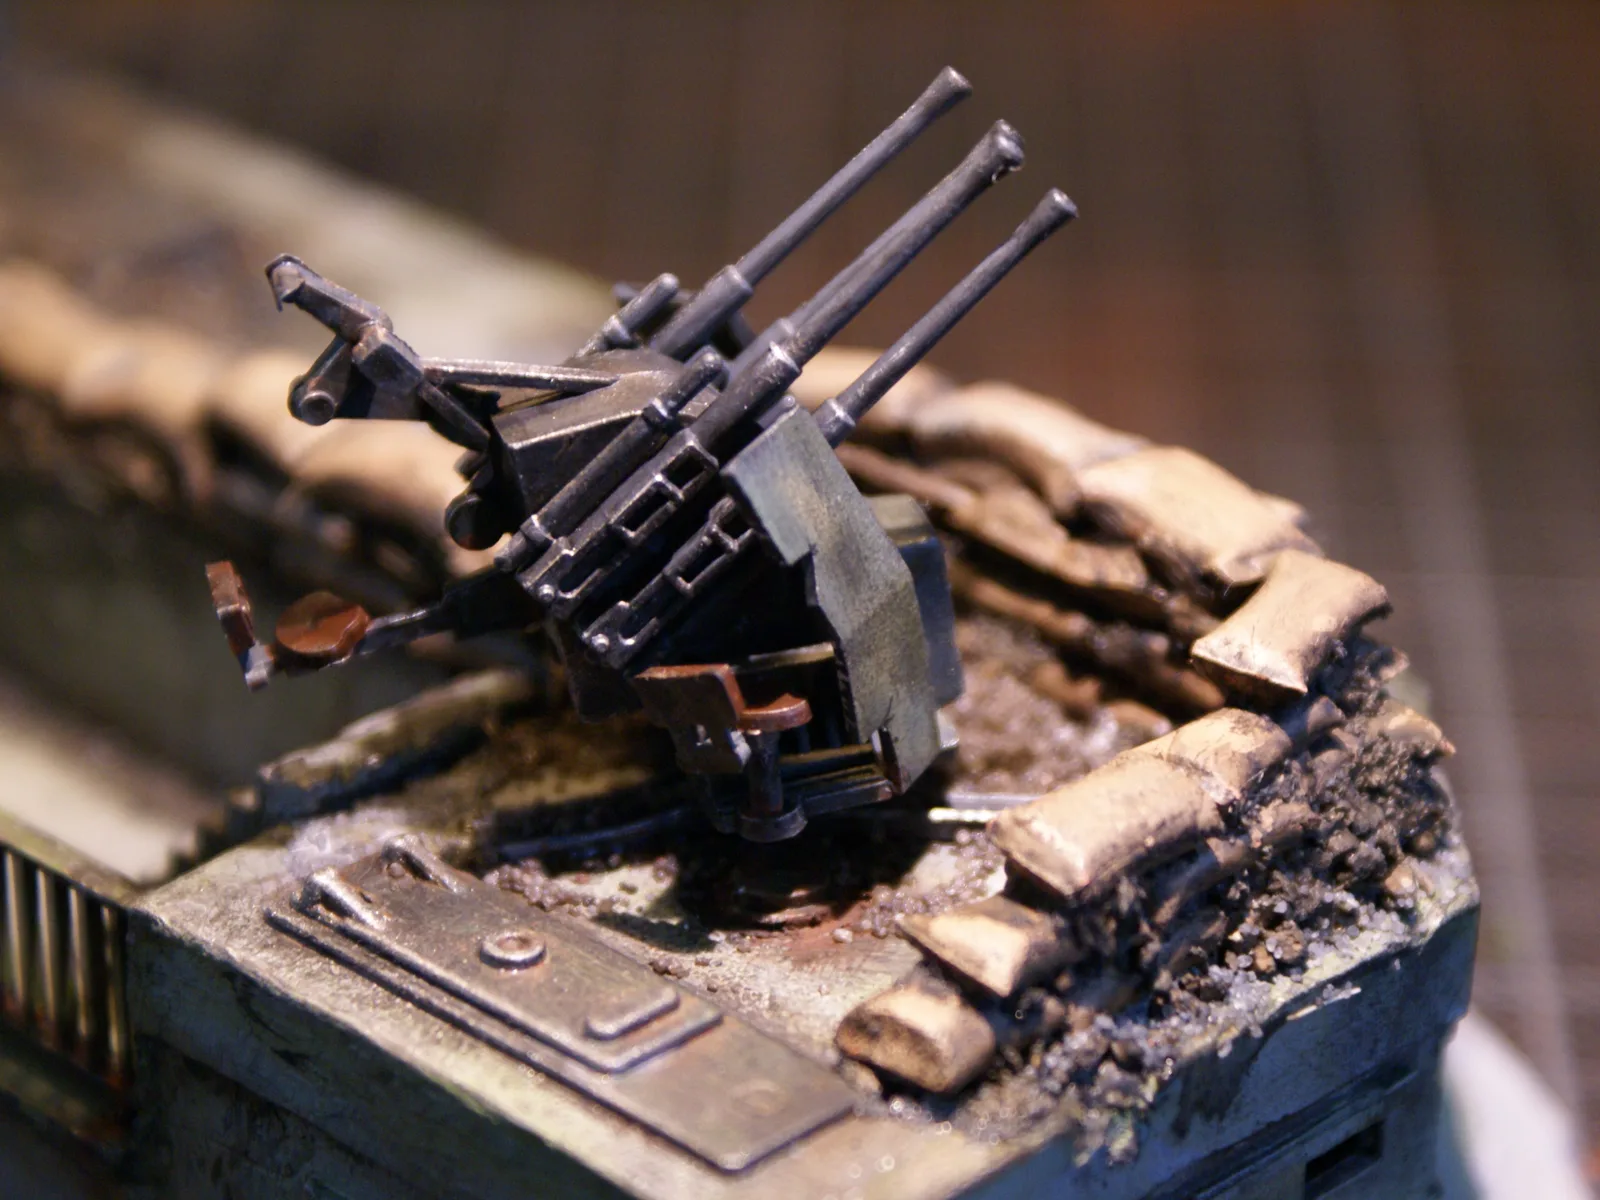
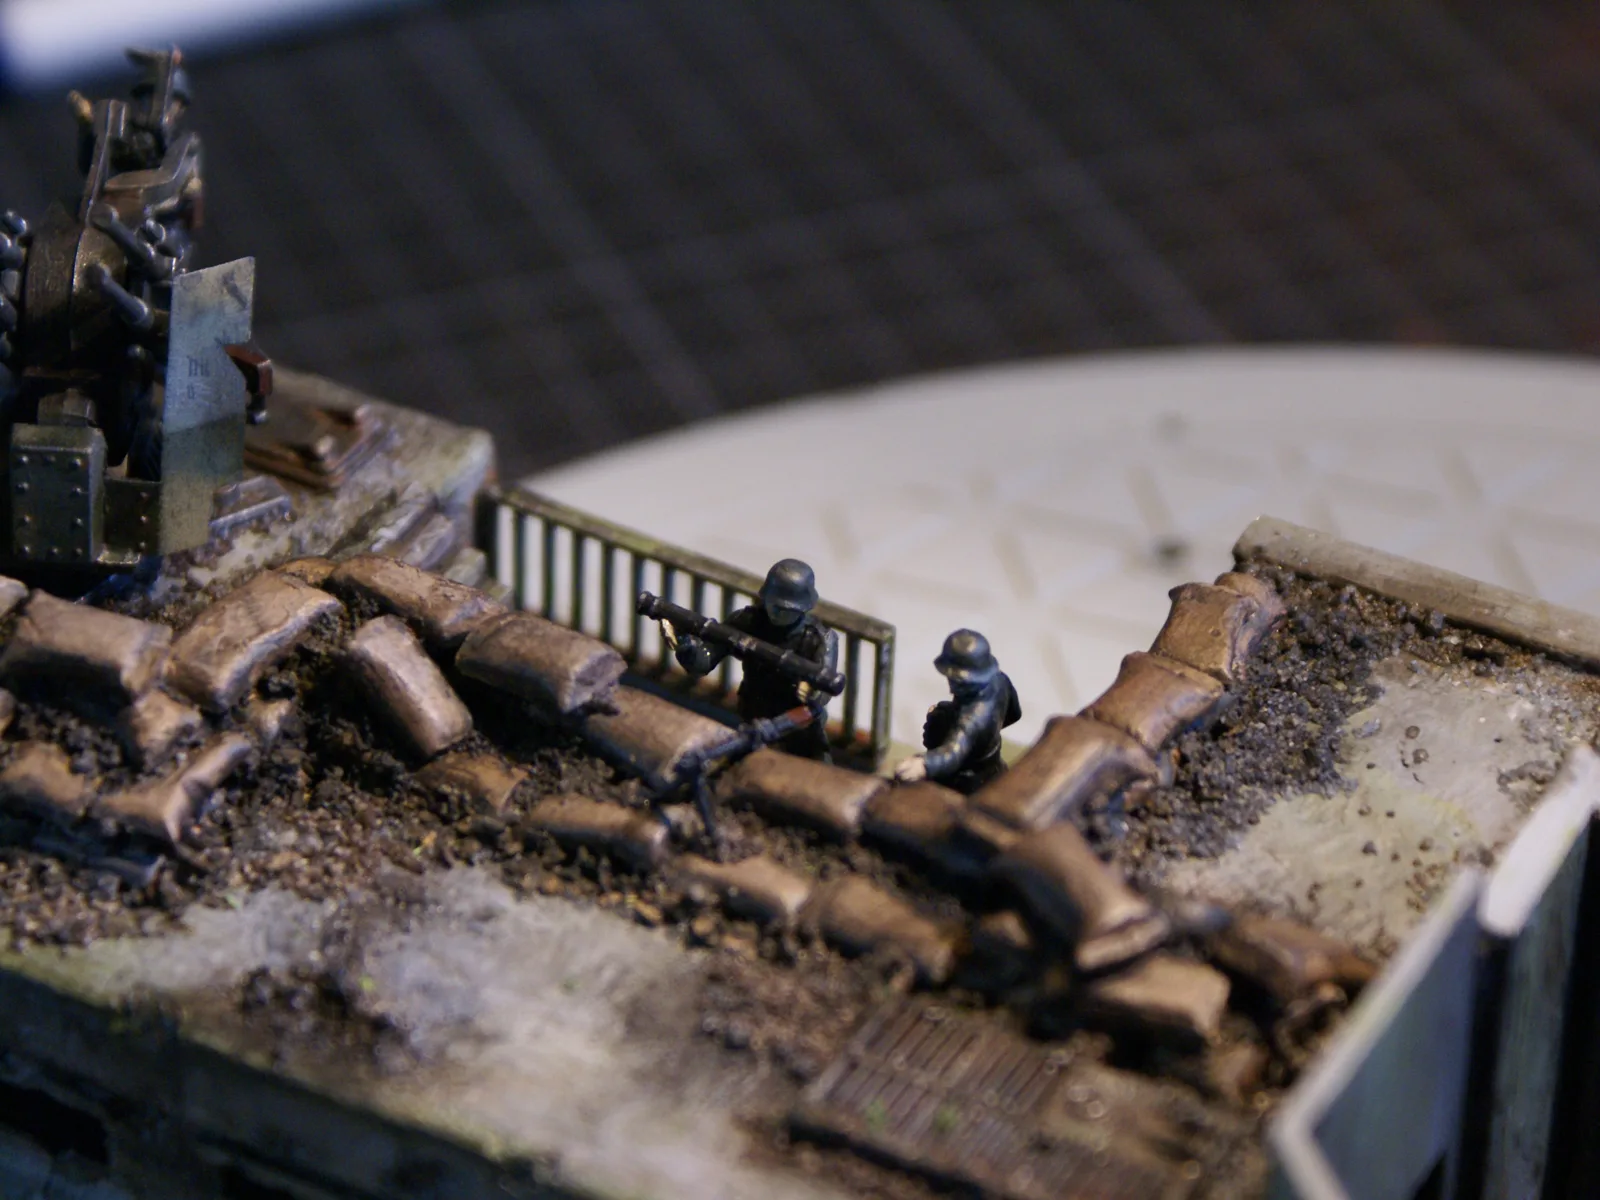
A fortress like this would never survive without something to keep the planes away. So on top I added a quad machine gun for anti-aircraft defence, with four barrels pointing at the sky, a gunner in the seat and a ring of sandbags around it.
Sandbags and a crew
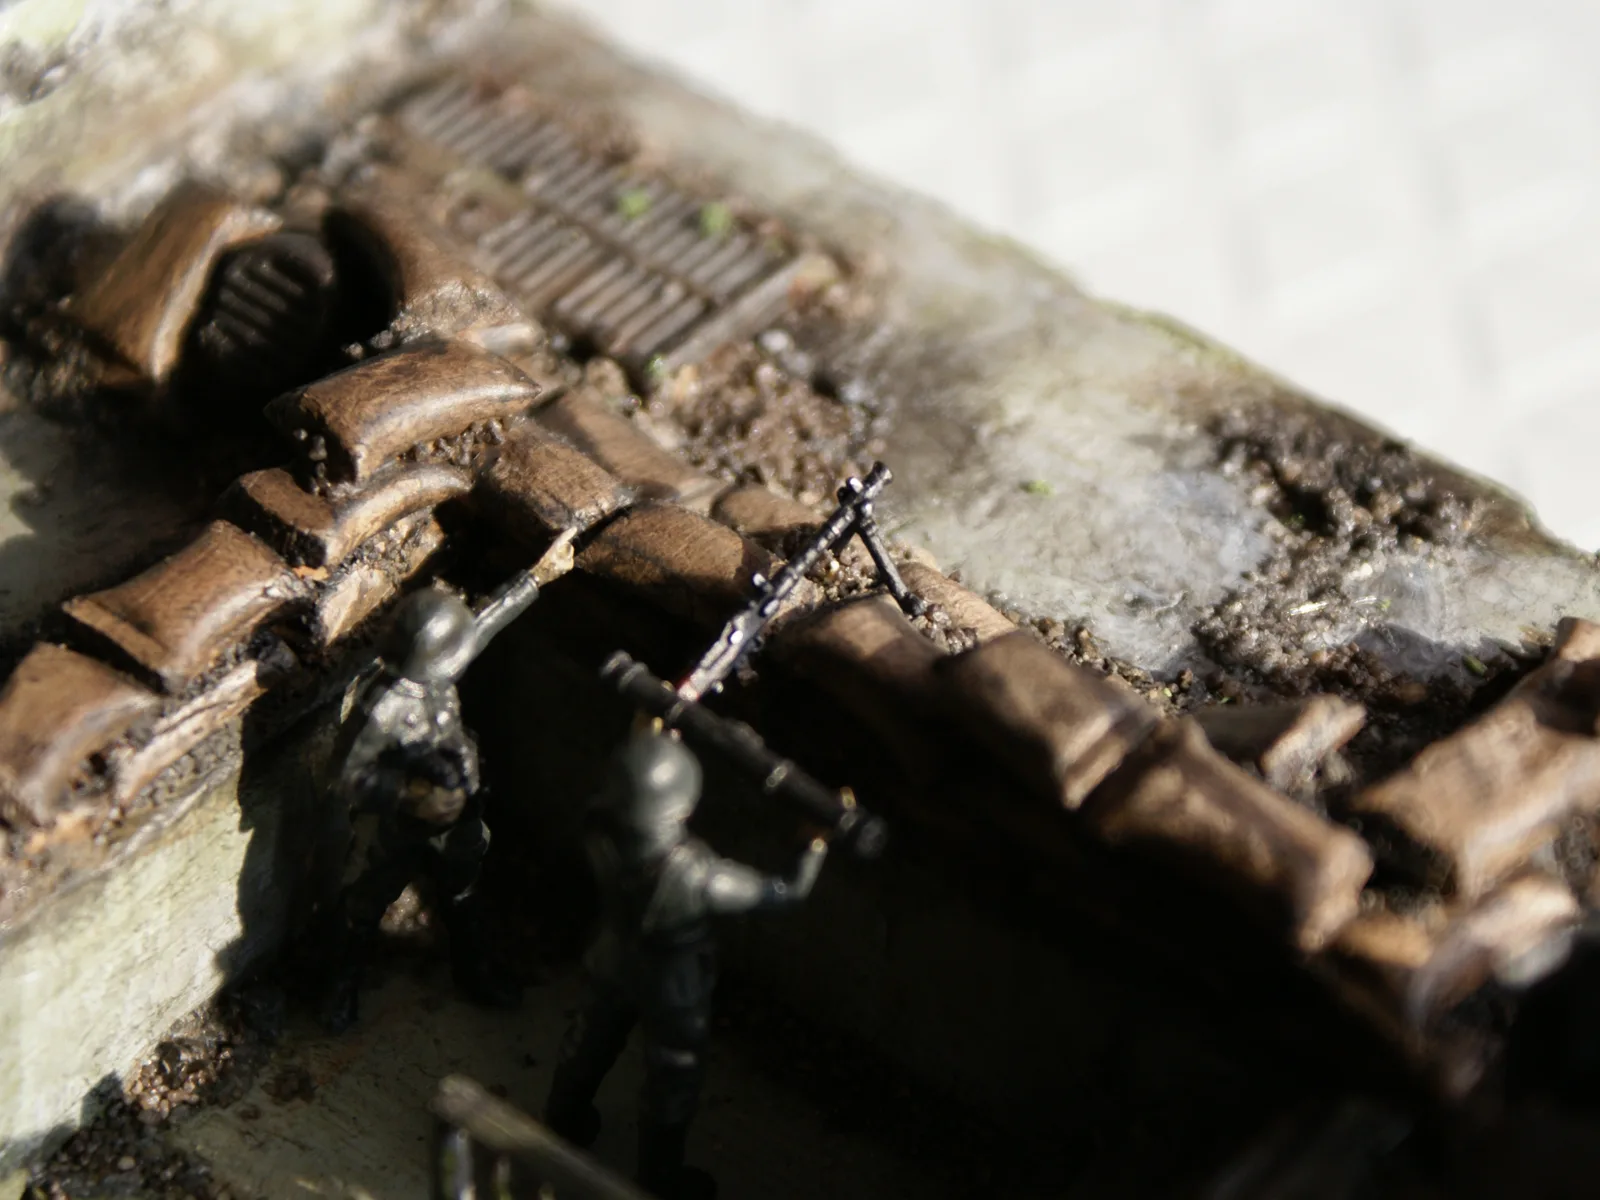
The last step was bringing it to life. Sandbags along every edge, the crew in position, railings, hatches and plenty of grime. That's the stage where a model stops being a model and starts telling a story.
The finished fort
It was a lot of work. Way more than my first build as a kid. But looking at it now, with the twin guns, the quad gun on the roof and the staircase right through the middle, it's the fort I always wanted to build as a kid. It just took me a few decades to get there.
You can watch the whole build, from the first parts to the final weathering, in the video at the top of this post. Did you build this Airfix fort as a kid too? Let me know in the comments under the video.