
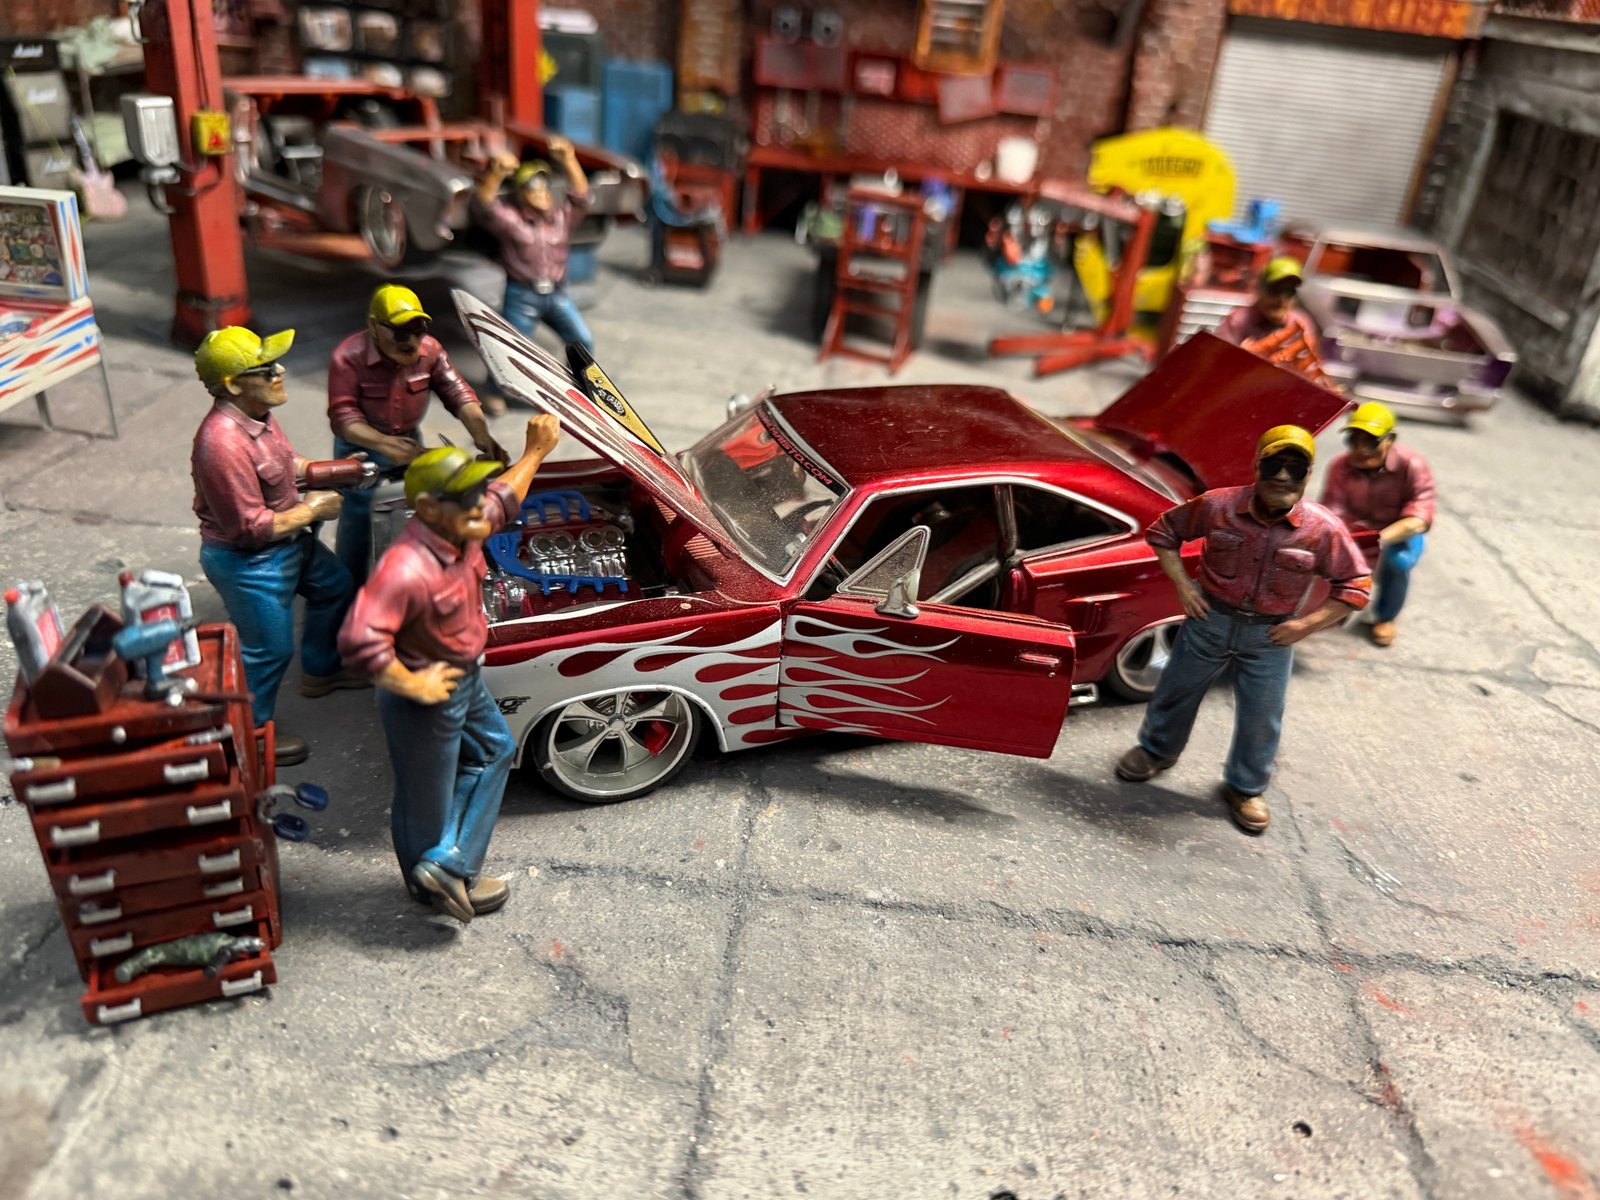
Lighting Your Models the Safe Way
Adding lighting transforms a model or diorama — glowing headlights on a hot rod, a flickering shop sign, a warm interior in a garage mancave. But LEDs are current-driven devices: connect one directly to a battery and it will draw far too much current and burn out in an instant. A current-limiting resistor is the small, cheap component that stands between "spectacular" and "puff of magic smoke". This calculator uses Ohm's Law to tell you exactly which resistor to use.
The formula behind the tool
The resistor value is found with R = (Vsupply − Vforward) ÷ I. You subtract the LED's forward voltage from your supply voltage to find the voltage the resistor must drop, then divide by the desired current in amps. Because resistors are only sold in fixed steps, the tool rounds up to the nearest standard E24 value — always choosing a slightly higher resistance is safer, giving a touch less brightness but longer LED life.
Knowing your LED's forward voltage
Forward voltage depends on colour. Red, orange and yellow LEDs typically sit around 1.8 to 2.2 volts, while white, blue and green LEDs need roughly 3.0 to 3.4 volts. If you do not know the exact figure, the colour is a reliable guide. Standard 3mm and 5mm LEDs are happy at about 20 milliamps; modern chip LEDs and warm-white "nano" LEDs used in models often run comfortably at 5 to 10 milliamps, which also keeps them cooler in an enclosed model.
Wiring multiple LEDs
For several LEDs, wiring them in parallel — each with its own resistor — is the most forgiving approach, because one failure does not take down the rest and each LED gets the correct current. You can wire LEDs in series to save resistors, but only if the sum of their forward voltages stays comfortably below your supply. The power rating figure tells you the minimum resistor wattage; a common quarter-watt resistor covers virtually all small-scale model lighting, but check it for higher currents.
Always add a switch and, for battery setups, consider a simple JST connector so you can swap cells without re-soldering. Plan your wiring runs before you close up the model — retrofitting lights into a sealed body is the number-one lighting regret.