– Rewire The Fury With EZ-Wire –
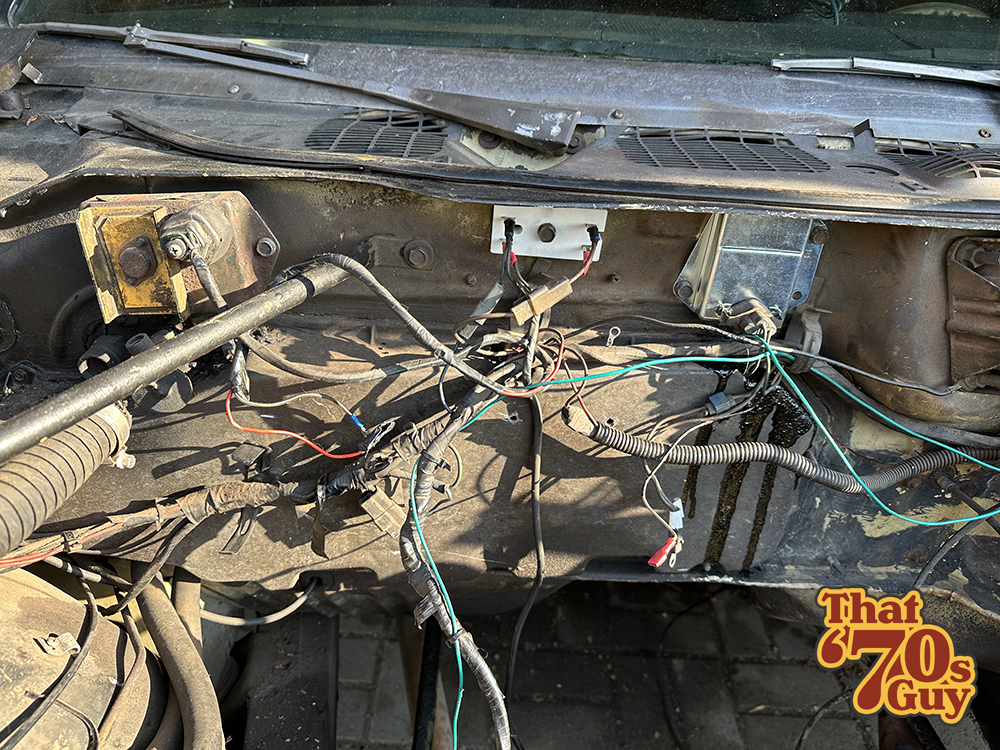
Anyone who’s ever owned a classic car knows this all too well: those old wires beneath the dashboard—and often throughout the car—are like fragile candy strings. Bend them the wrong way, and they snap, weakened by years of wear. And let’s not forget about the corroded contacts, which are notorious for causing those elusive, hard-to-diagnose electrical issues.
Rewiring the entire car had been on my mind for a while, but since I’m no electrician, the idea was a bit intimidating. However, with the engine out of my Fury, I told myself, “It’s now or never.” So, I took the plunge.
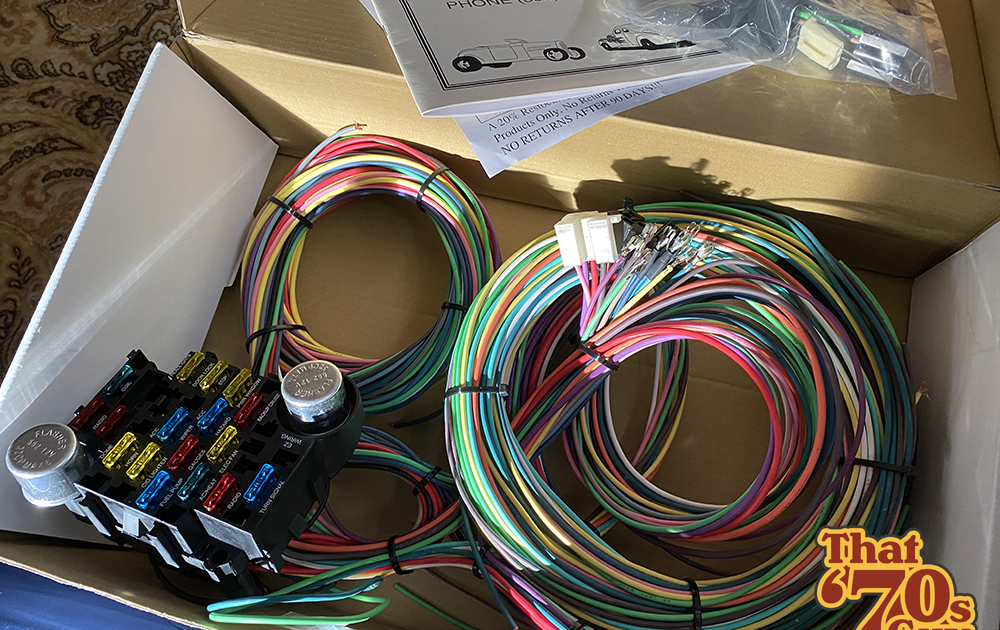
There are plenty of companies offering universal wiring kits, but I chose EZ-Wire’s 21-circuit kit. Since I’m giving the Fury a more minimalistic makeover—ditching features like air conditioning, cruise control, and even the heater—the 21-circuit kit fits the bill perfectly.
Part One:
– This is how it looked –
50+ years of wear and tear
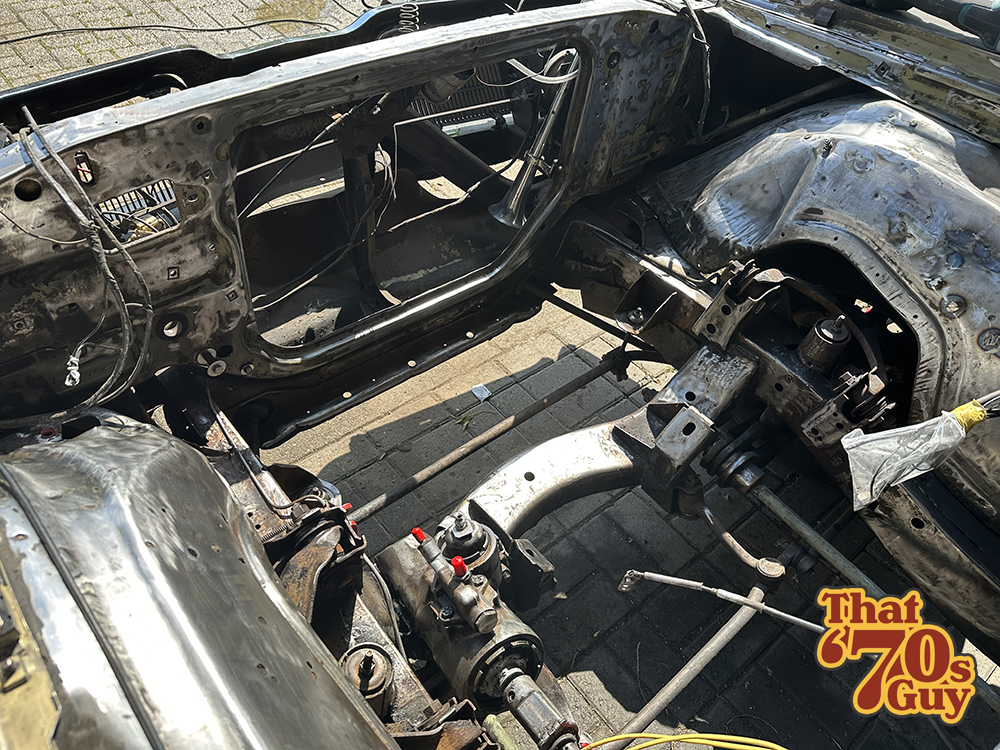
If you own a classic car, you’re likely familiar with the tangled mess of wires connecting various components like the CDI, condenser, and more. It’s a chaotic sight, to say the least. So, I decided to strip it all down—every wire, every extra part—and prepared myself a complete overhaul of the engine bay. I’m rebuilding everything from the ground up, turning that mess into something clean and minimal.
Removed everything and sanded to bare metal
PART TWO:
– Cleaning & painting the engine bay –
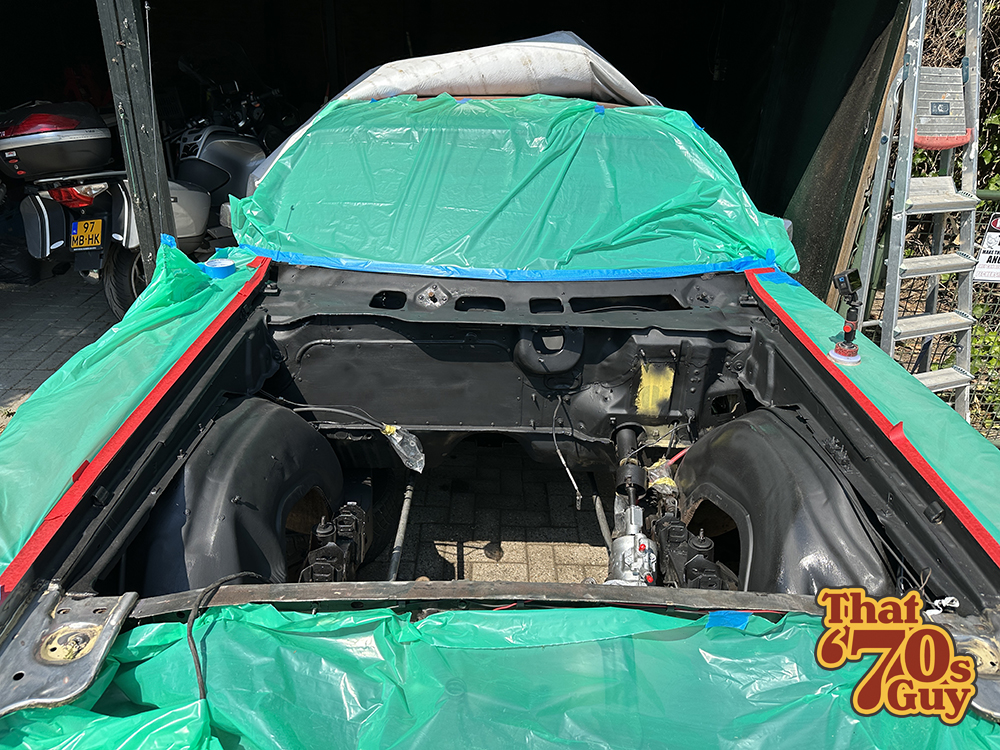
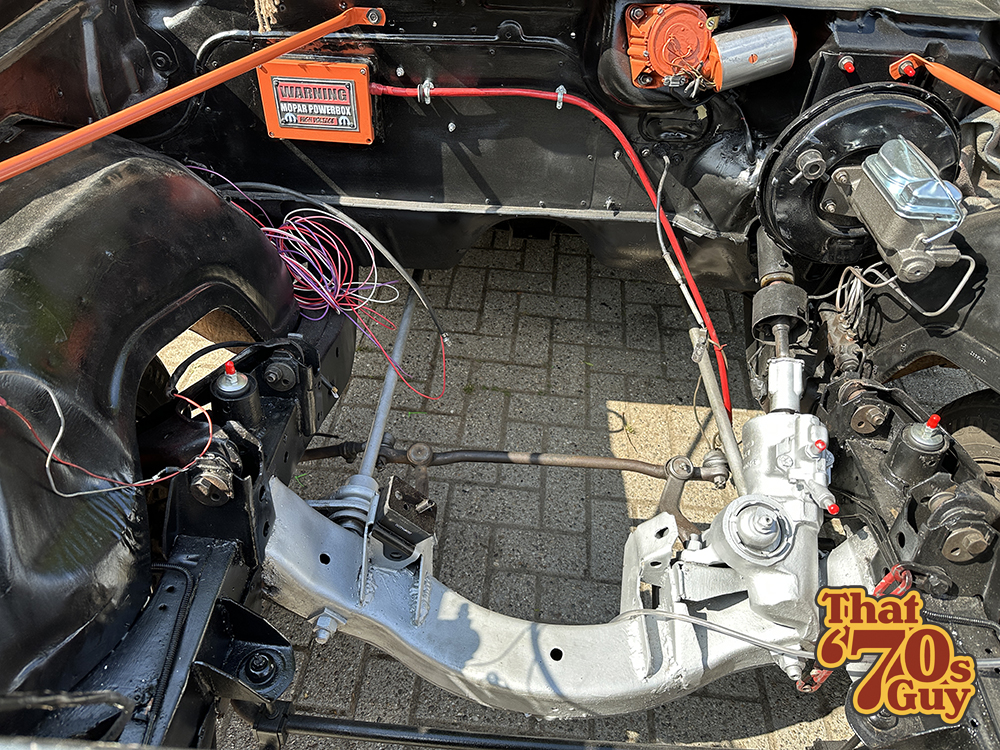
After carefully sanding every surface, I gave the entire engine bay a fresh coat of black paint—it was a lot of work, but the result was absolutely worth it. I decided to remove the heating system from the firewall and replaced it with a metal panel. And I 3D-printed a custom box that will house the main 12V hub, running directly from the trunk batteries and connected the starter cable.
Spraypainted outside with some rattlecans, yeah!
You can already see some EZ-Wire coming into the engine bay
The EZ-Wire kit is impressive for the price. It uses GXL 125 high temp cross linked polyethylene jacketed wire that is grease, oil, gas, and acid resistant. Each color coded wire is labeled every 6 inches over its entire length so checking a circuit is easy. Each circuit wire is labeled so you know exactly where it goes. The wiring is organized in car location groups so you can pull it in groups.
With this setup, wiring your vehicle becomes not only simpler but also far more efficient.
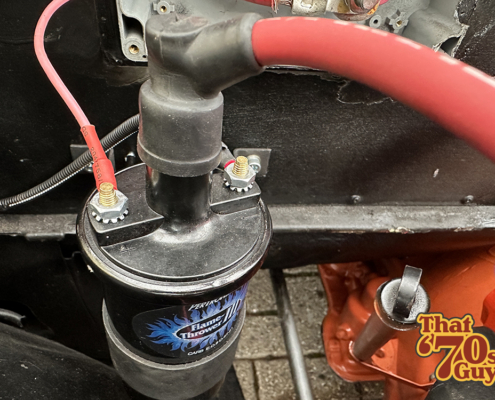
Installed coil
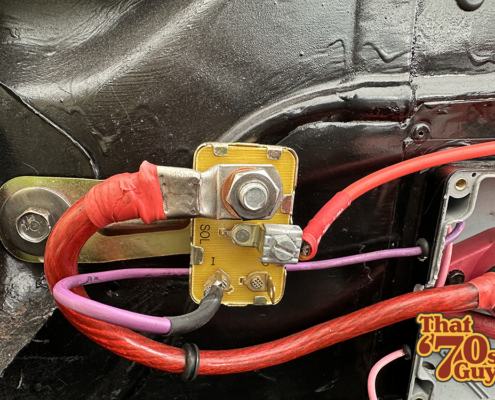
Starter relay
Part Three:
– ROUTING ALL THE WIRES –
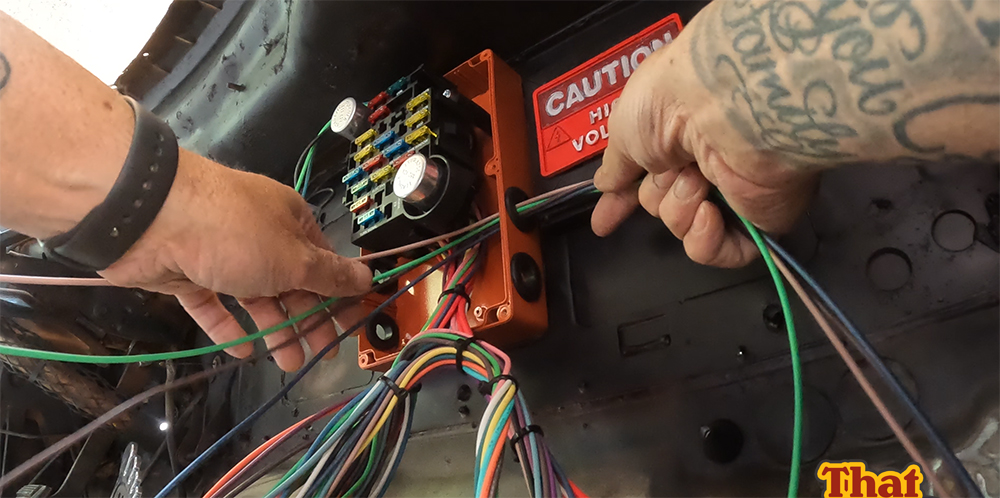
The heart of the EZ-wire kit is this fusebox
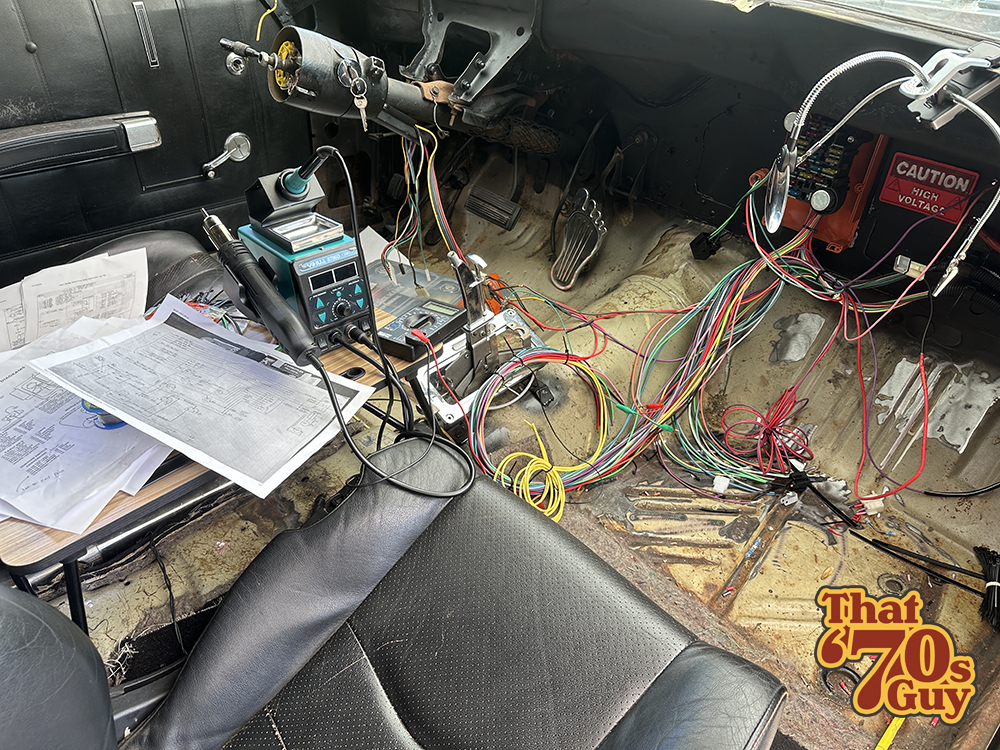
I decided to install the fuse box on the right-hand side under the dashboard, thinking it would be easily accessible through the glovebox. In hindsight, not my best idea. Some of the wires were too short, so I had to extend them, which added extra work. If I had to do it all over again, I’d definitely place the fuse box on the driver’s side. But hey, you live and learn—it’s done now!
The EZ-wire 21 kit contains 18 fuses and 21 circuits. Radio, Coil, Dome Light, Backup/Cruise, Horn, Cigarette Lighter, Fuel Pump, AC/Heat, Radio, Turn Signal, Horn, ACC, Wiper, Gauges, Hazard, Fan, Power Window, Power Door Locks, Brake, Headlights.
All wires are color and text coded.
The most significant challenge I encountered was the lack of detailed instructions. Even a basic schematic of the harness would have made a world of difference during the installation process. Some key steps were either missing or poorly explained, which led to a bit of confusion.
However, I had an excellent experience with the EZ-Wire helpdesk. They were incredibly helpful, guiding me through the toughest parts when I got stuck, and their support was truly appreciated.
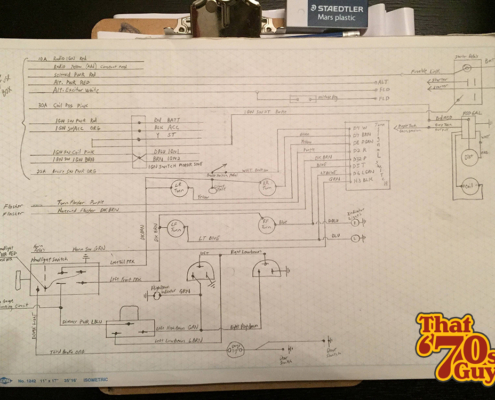
I referred alot this schematic I found online
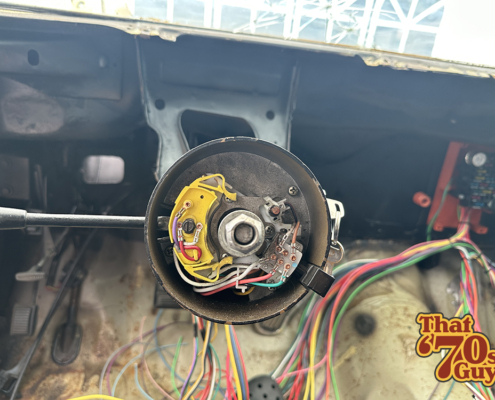
Probably the hardest part to wire: the steering colomn
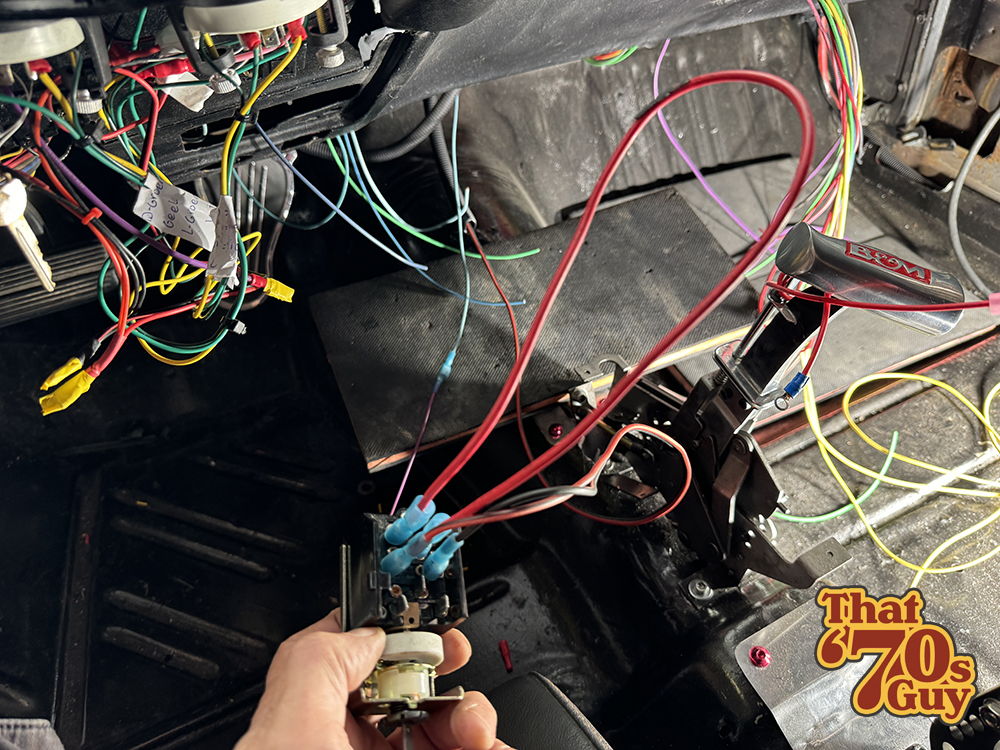
Rewiring the headlight switch, which i dumped at the end
– ANOTHER JOB WELL DONE! –
After two months of hard work, I finally got all the wiring done—and it’s working perfectly again! I ended up ditching the complicated headlight switch since I couldn’t get it to function properly, and replaced it with a simple flip switch connected to a relay. It was a straightforward fix, and it works like a charm.
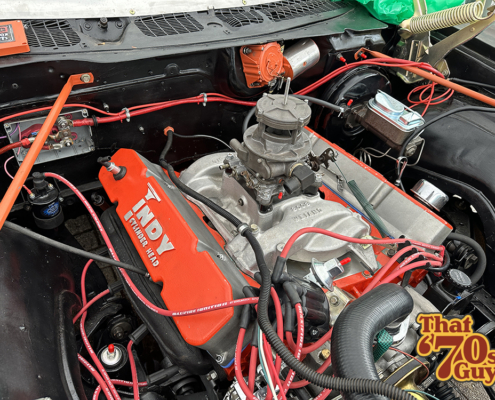
The best part? Dropping the big block into the freshly restored engine bay, the moment we’d been waiting for. It fired up right away! Another project successfully completed.
Thanks for checking out my post on the EZ-wire installation. If you’re thinking about upgrading your wiring, be prepared for some serious headaches (and maybe a bit of swearing). But trust me, in the end, it’s absolutely worth it. Good luck!
Looking great! And it started right up!
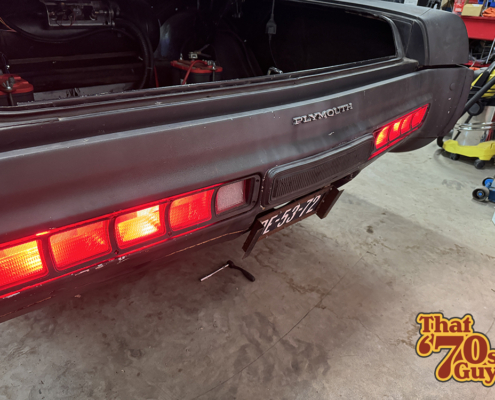
And all lighting worked
External Links:
- EZ-Wire
- EZ-Wire Manual Download 21-circuit-manual


Leave a Reply
Want to join the discussion?Feel free to contribute!