– Custom Dashboard & Center Console –
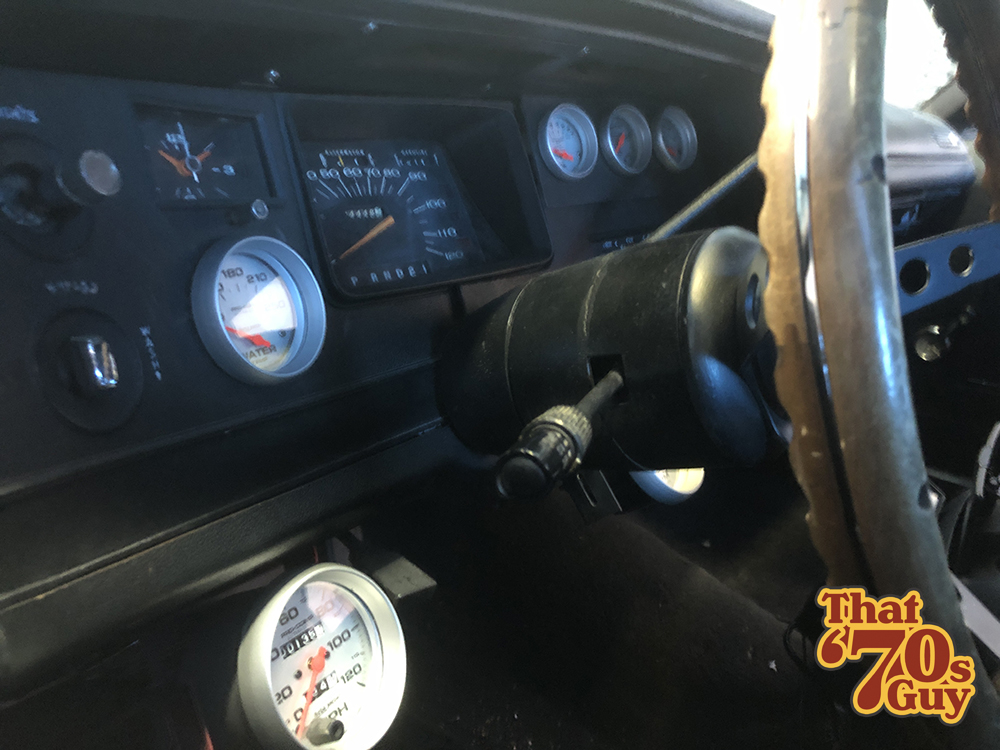
When the Plymouth Fury rolled off the assembly line in 1972, it wasn’t known for a flashy dashboard. It was all about simplicity—a large, basic instrument cluster that housed the essentials like temperature, fuel, and alternator gauges. But one crucial thing was missing: a tachometer!
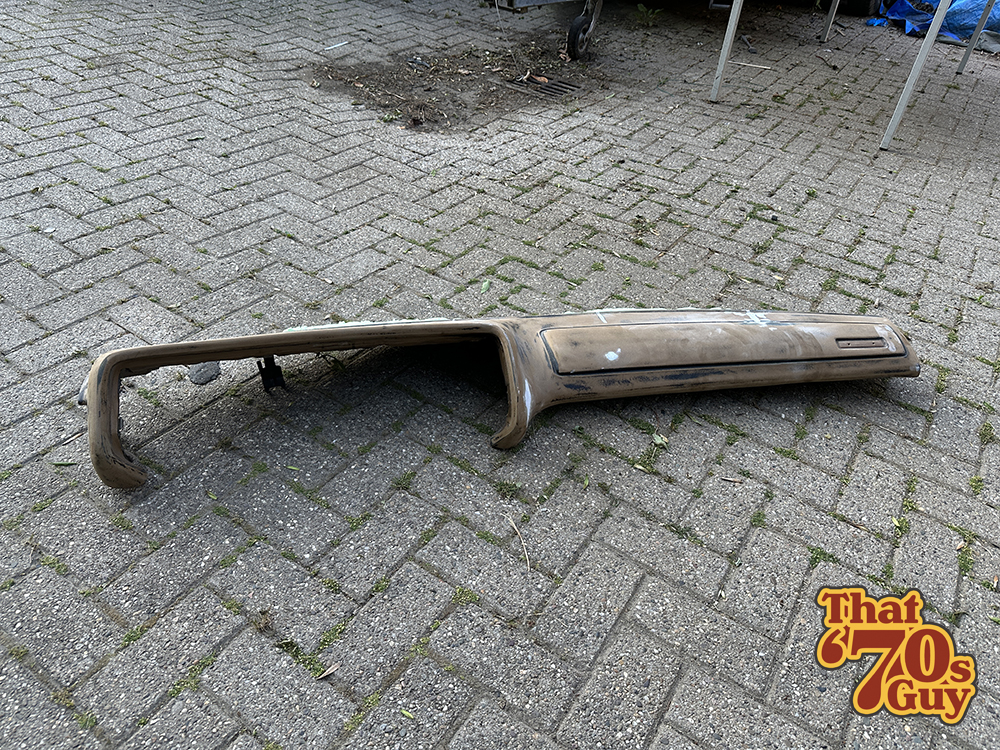
Over the years of owning my Fury, I added extra gauges wherever I could squeeze them in, but the result was a bit of a mess, with things looking scattered and out of place. Plus, like many muscle cars from that era, the dashboard had developed some major cracks. That’s when I decided it was time for a complete overhaul—new gauges, fresh look, the works!
And while I was at it, why stop there? I figured the center console could use an upgrade too. So, I got to work adding an armrest and installing a few extra switches. Let’s just say, things were about to get a whole lot more interesting!
Part Uno:
– Repairing the dashboard –
Filled up all cracks from the dashboard
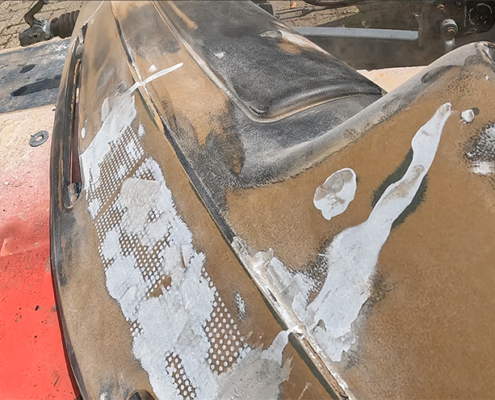
I stripped the interior down to its bones—ripped out the dashboard, seats, and even the carpet. Then, I repaired the cracks in the dashboard, filing them down and filling them with bondo. After smoothing everything out with sandpaper, I sealed off the speaker holes and blocked the ventilation openings.
No need for a heater in this build—I’m going all in.
Also filled the speakerholes with bondo
PART DUE:
– That lower part of the dashboard –
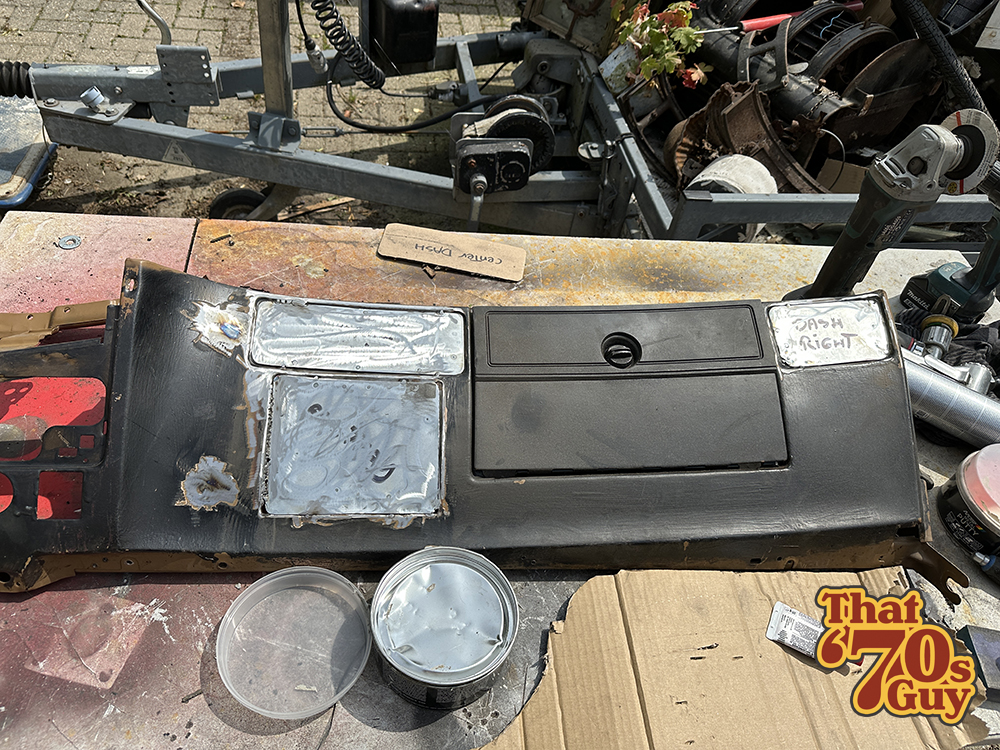
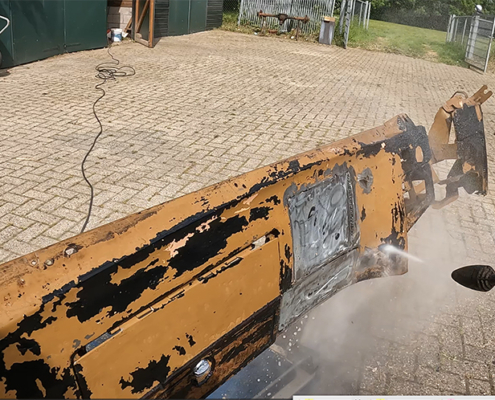
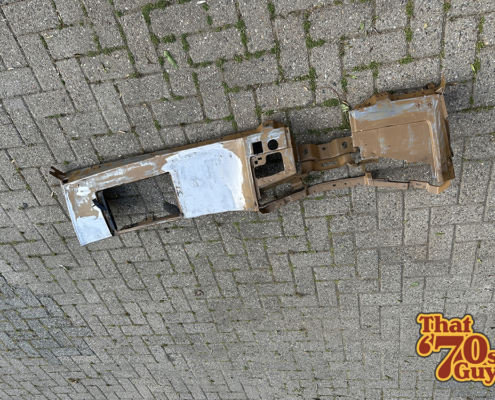
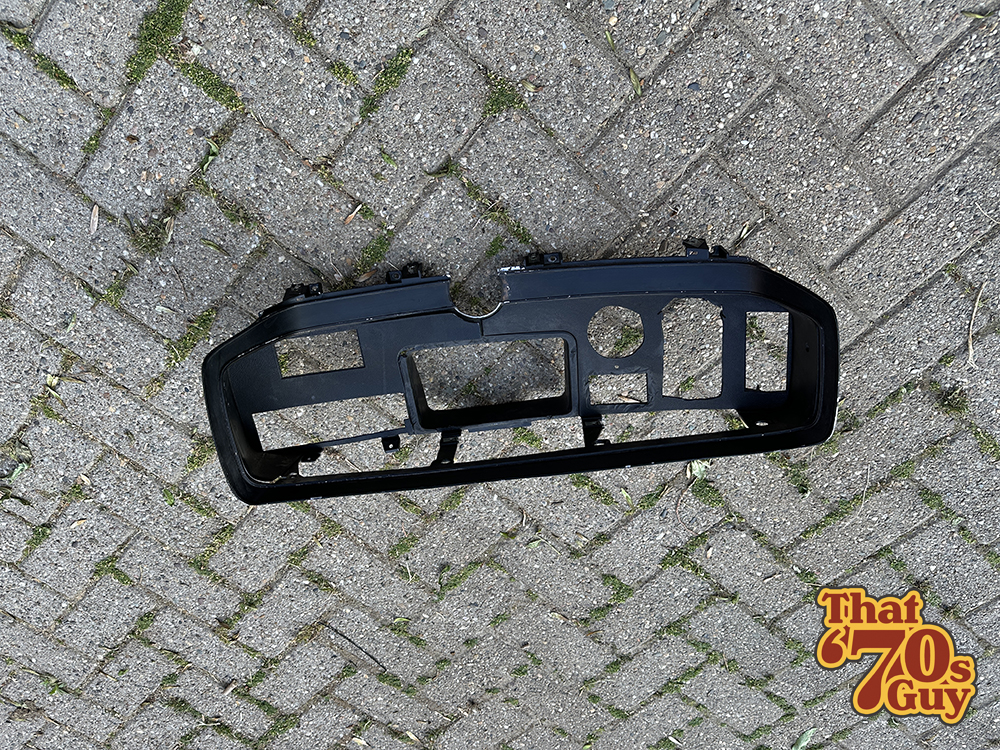
This dashboard is made up of two main components: the upper and lower sections. Well, technically three if you count the instrument cluster, but we’ll get to that later. Now, it was time to focus on the lower section. I stripped off the old paint, and since I don’t smoke and the car no longer has a ventilation system, I decided to remove both the ashtray and vents.
The openings were welded shut with sheet metal and sanded smooth.
I welded shut the ashtray and air vents
Removed all paint layers with paint remover
Sanded down and ready for paint
I painted the entire lower section pitch black, giving it a fresh, bold look. I also removed all the old screws and replaced them with brand-new ones for that shiny finish. Once the upper part is complete, both sections will bolt together seamlessly, forming the full dashboard.
Part Tre
– Wrapping it up with vinyl –
Now that is starting to look good!
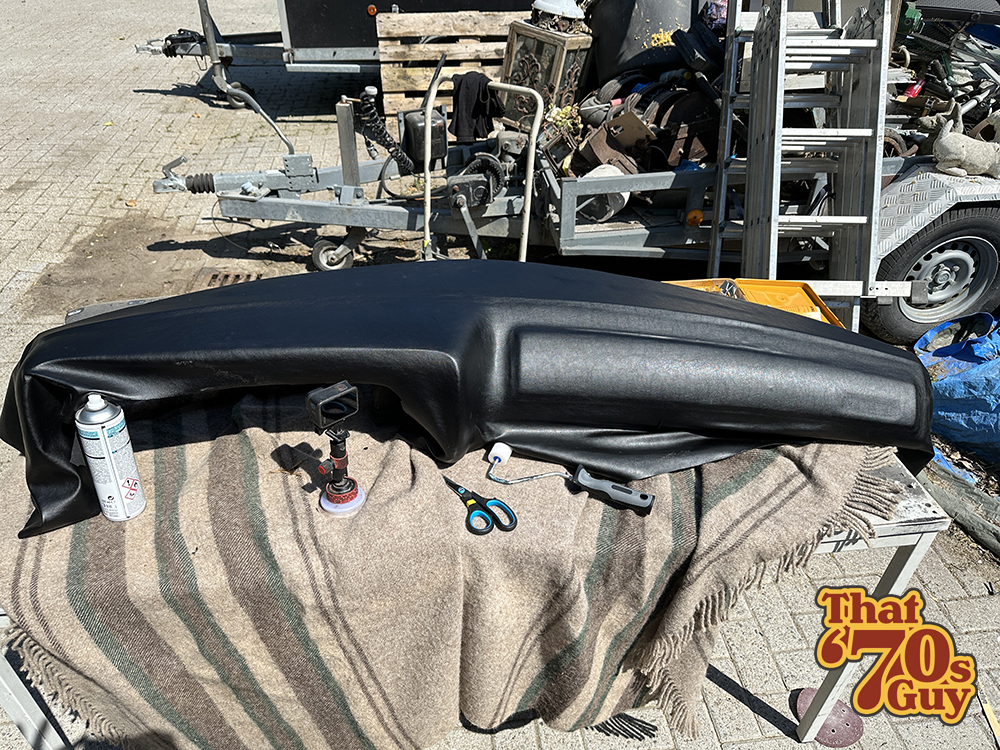
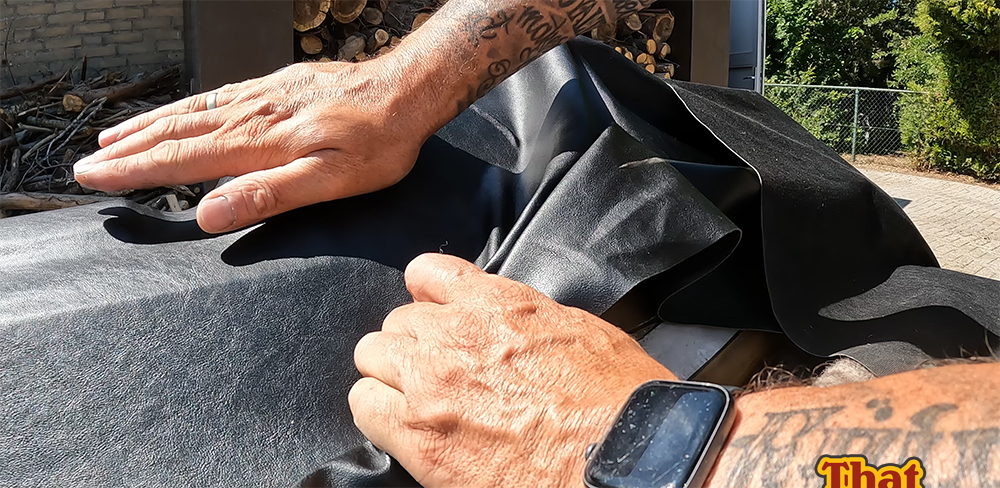
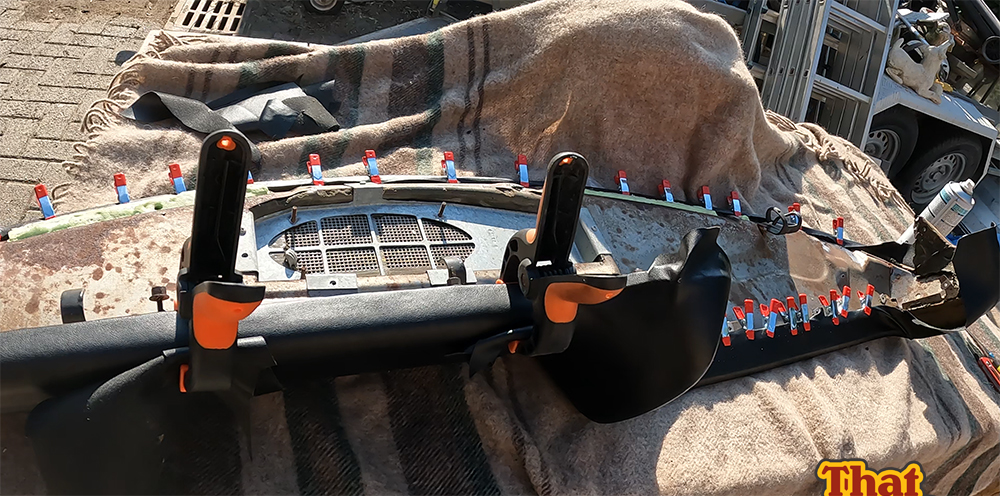
Vinyl was the perfect choice for the dashboard, as painting simply wasn’t an option with this material. So, I picked up a piece of black vinyl from a local market and set to work, carefully applying it to the dash. I used spray adhesive on both the vinyl and the dashboard, then pulled out a heat gun to stretch and mold the vinyl into place.
It wasn’t easy—especially with all the intricate curves of a 1972 Fury dashboard and it took alot of time and patience, but after hours of work, I finally had the vinyl in place. I clamped it down and left it to dry for a full 24 hours.
The result? Absolutely stunning!
Stretching the vinyl onto the dash
I clamped everything down with lots of clamps from the dollar store
Part Quattro
– The instrument cluster –
The heart of the EZ-wire kit is this fusebox
This was the moment I had been waiting for—transforming that plain, uninspiring Fury dashboard into something far more exciting. The stock cluster, with its single oversized gauge cramming in all the information, just wasn’t cutting it. I craved more: more gauges, more detail, and a touch of that race-inspired aesthetic.
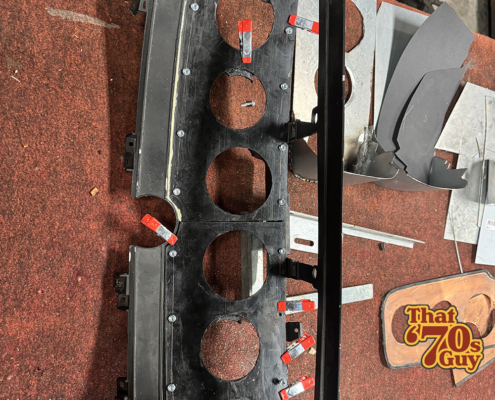
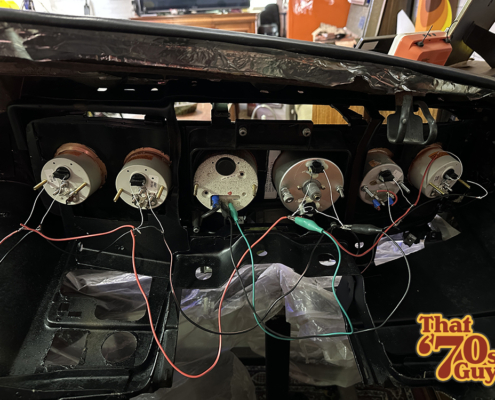
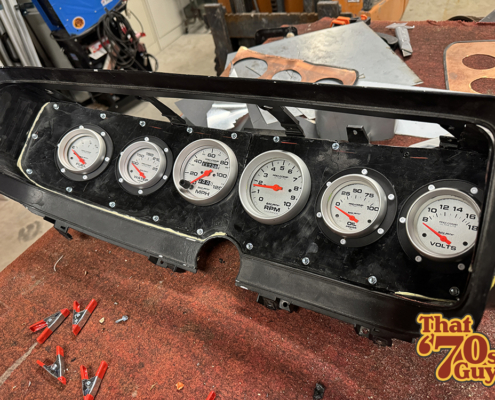
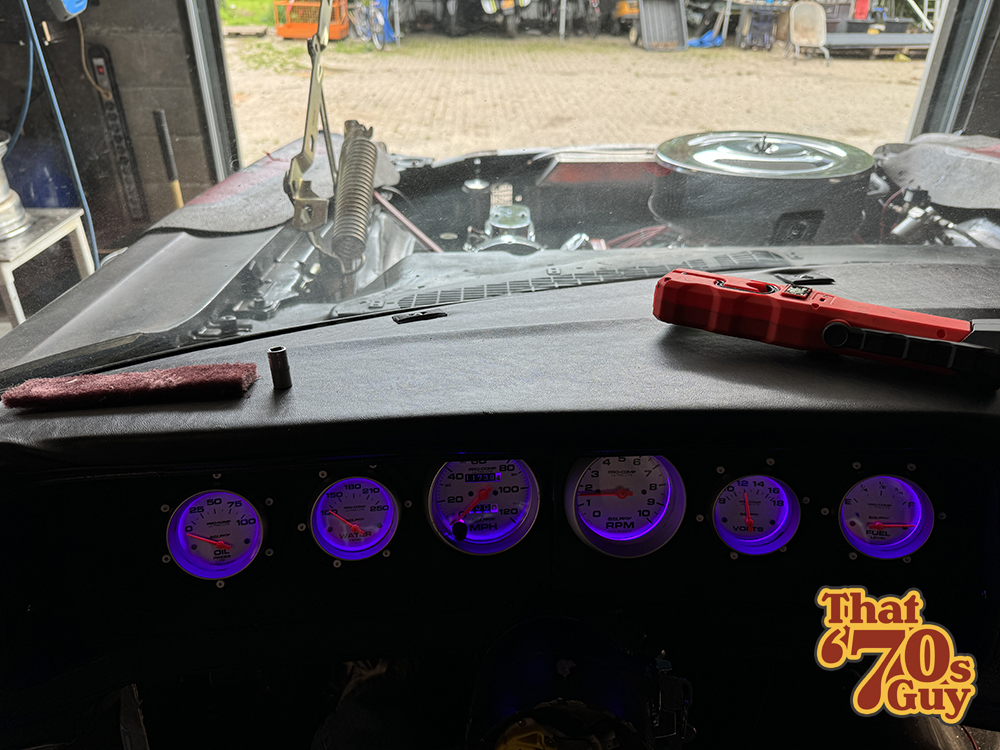
So, I tore out the entire middle section of the cluster and replaced it with two sturdy pieces of thick plastic. Into this custom panel, I carefully installed six evenly spaced Autometer gauges. To give it a unique, steampunk vibe, I 3D-printed four circular accents with faux screws for the smaller gauges, complemented by real bolts all around for an authentic touch.
This was the dashboard I had envisioned all along—exactly the bold, mad max look I was after!
Cutting up 6 holes for the Autometer gauges
Testfitted and connected all gauges
And this is how it all turned out!
Part Cinque
– New Carpet for the Fury –
But first this: check out this awesome purple color!
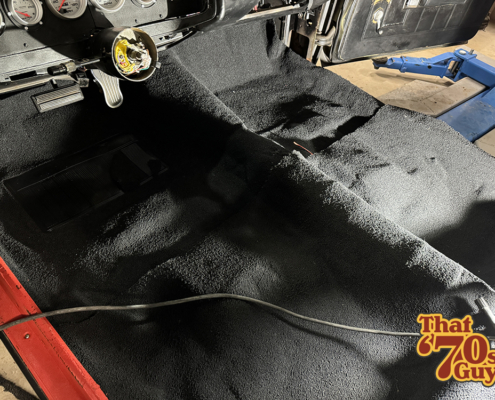
But let me tell you, we weren’t even close to being ready! I had my sights set on replacing that old, worn-out carpet, and guess what? I stumbled upon a perfect match on RockAuto for just 200 bucks. It came pre-molded to fit my car like a glove.
So, I ordered it, pulled out the seats, ripped up the old carpet, and got to work. Honestly, laying in the new one was a breeze.
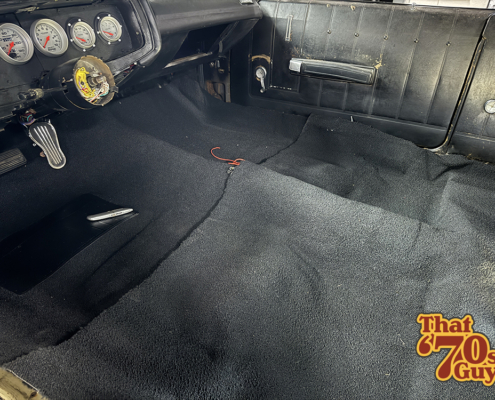
The new carpet came in two pieces, just like the original. All I had to do was cut out the hole for the floor shifter, and boom – done! With that fresh carpet installed, the interior looked brand new again!
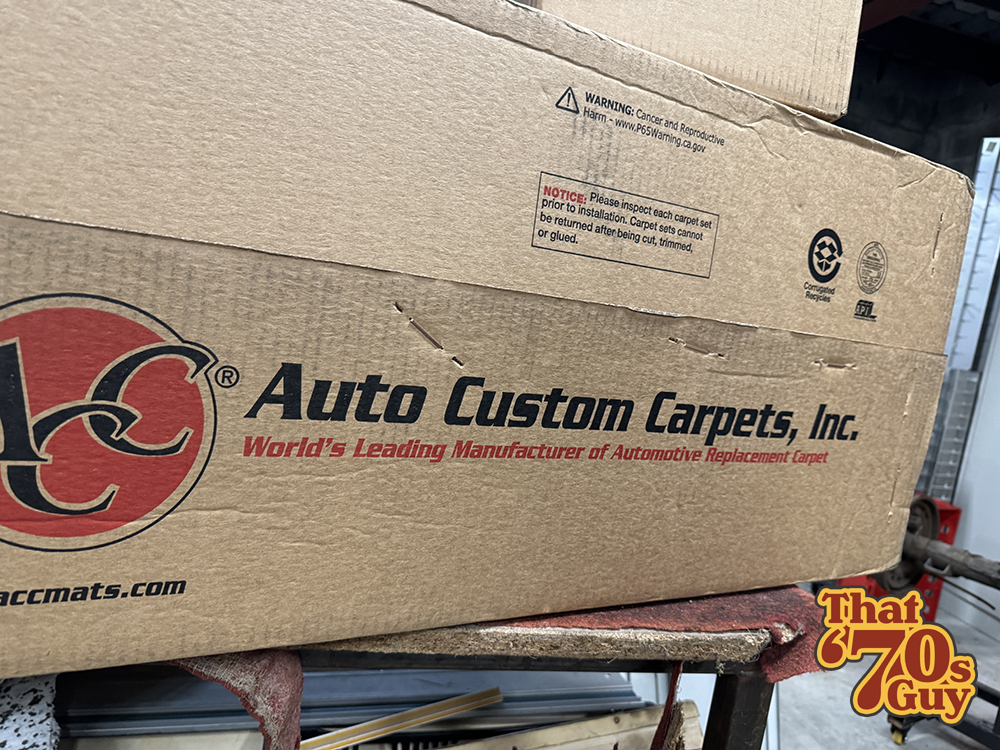
It came in this box
Fresh new carpet
The fact that it was pre-molded sure helped alot
Part Sei
– Center Console –
Looking great! And it started right up!
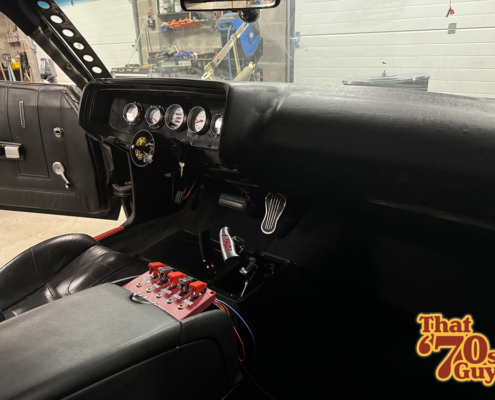
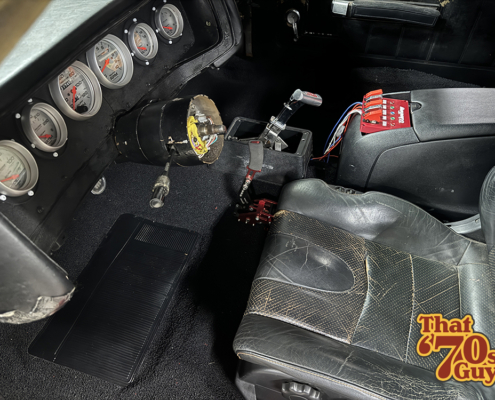
I’d already swapped out the bulky front bench in my Fury for a pair of awesome Nissan 300ZX seats, but I wanted to take it a step further. I needed an armrest between the seats with some added storage space—and a place to relocate all the switches from the dashboard for a cleaner look.
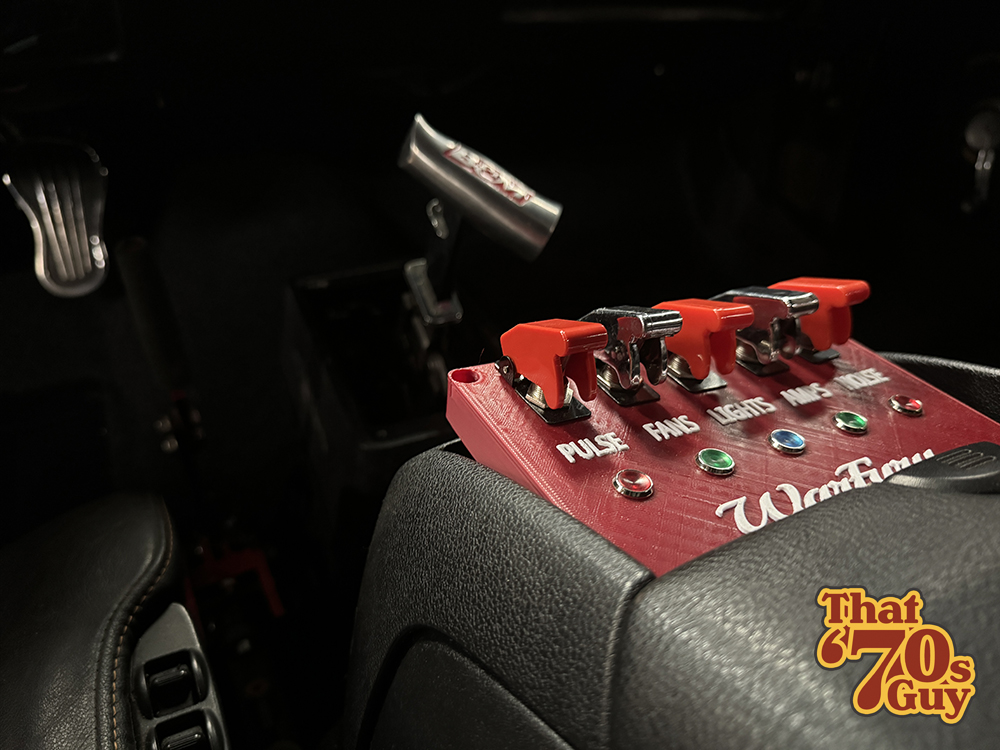
After some thought, I decided to go with a Ford Focus armrest. Of course, it needed some customization to fit perfectly into the Fury. I removed the cupholders, 3D-printed a custom switchbox, and transformed it into a functional, stylish centerpiece for my interior upgrade.
The switchbox contained the following:
- Pulse – To close or open de front headlight covers
- Fans – Switching my electric fans to full power when stuck in traffic
- Lights – Ive got rid of that stock headlight switch and used a relay and this switch to turn the lights on
- Amps – Powering my Subwoofers and Amps
- Noise – Open or close the exhaust cut-outs
Looking great! And it started right up!
Looking great! And it started right up!
External Links:
- EZ-Wire
- EZ-Wire Manual Download 21-circuit-manual



Leave a Reply
Want to join the discussion?Feel free to contribute!